Dashboard & Centre Console ...
6 October 2019
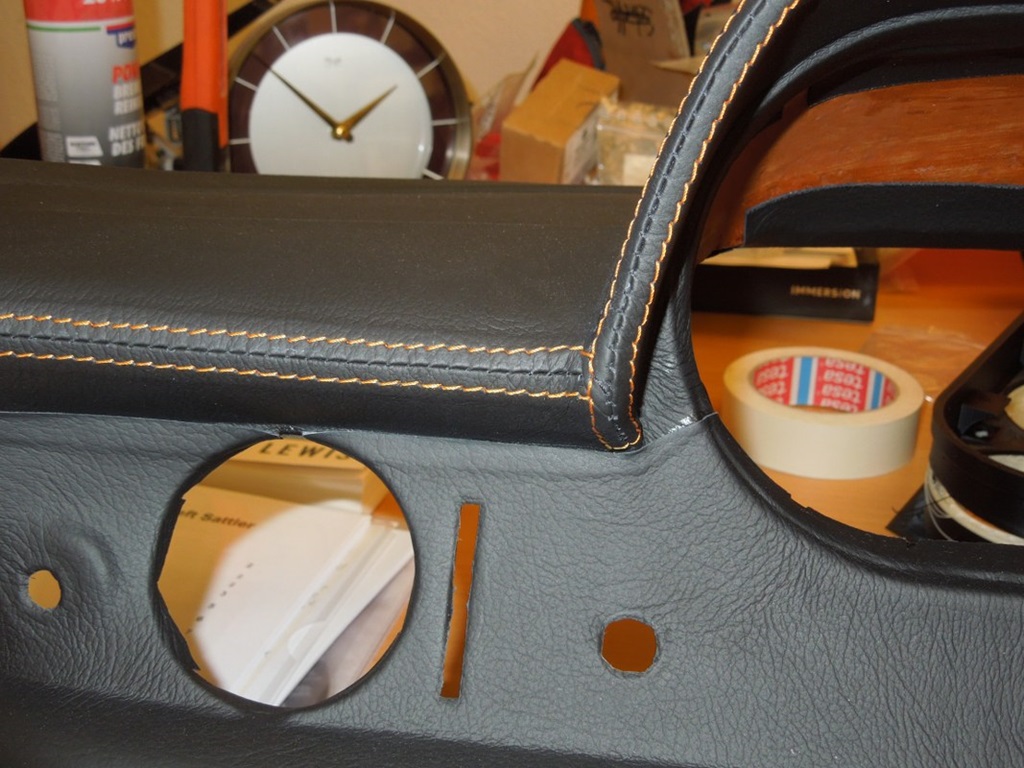
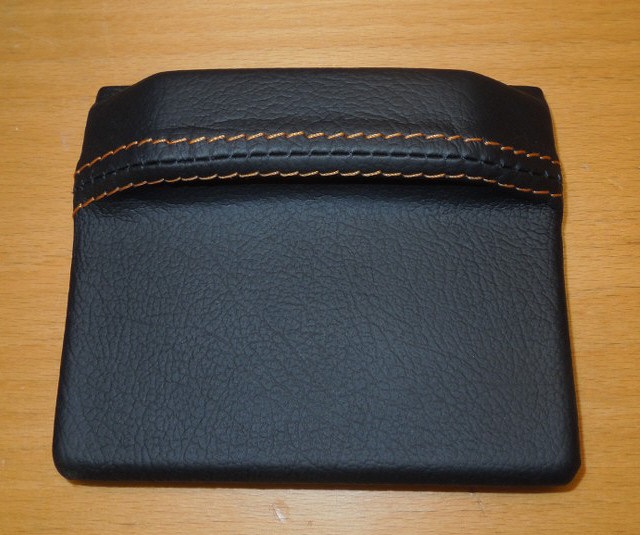
Today I could pick up the dashboard and the centre console from the saddler. He's an artist and after discussing the details already in March, he finished those two bits. The result is absolutely sensational!
We use black Mercedes leather with the original texture. Stitching is done in bright orange, fitting the final colour of the car. I've written a detailed spec with all the bits and pieces, e. g. which switches overlap with the leather and where the leather has to be pulled into the hole.
The seat bench needs some restoration first; this might be finished by the end of the year; black leather with orange stitching too, seat heating integrated.
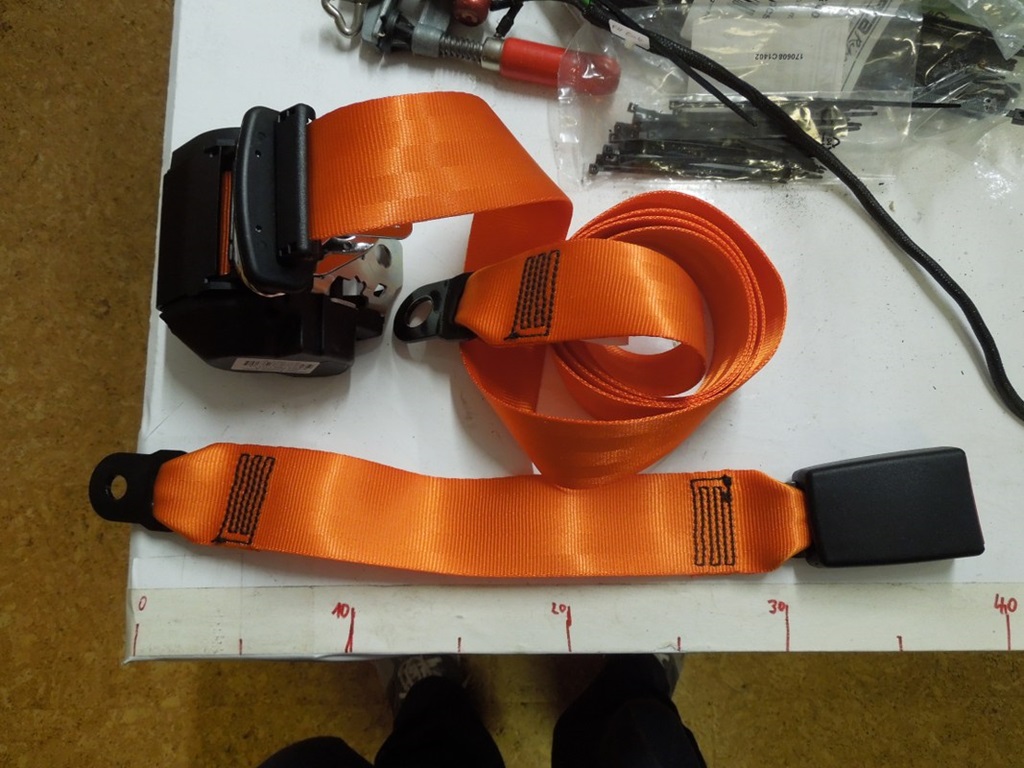
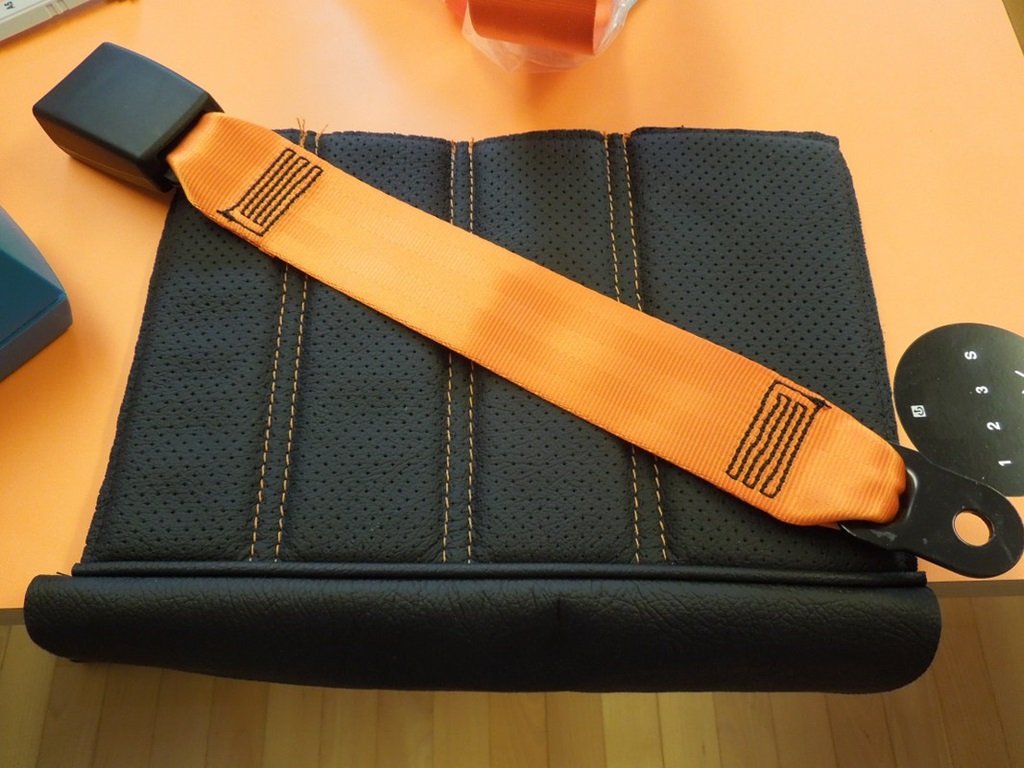
I also managed to source two bright orange (!) seat belts for the seat bench. The belt itself has to be certified as well as the machines the seat belt is produced with … but I got it ;-)


Seat Bench Sample Leather ...
30 June 2020
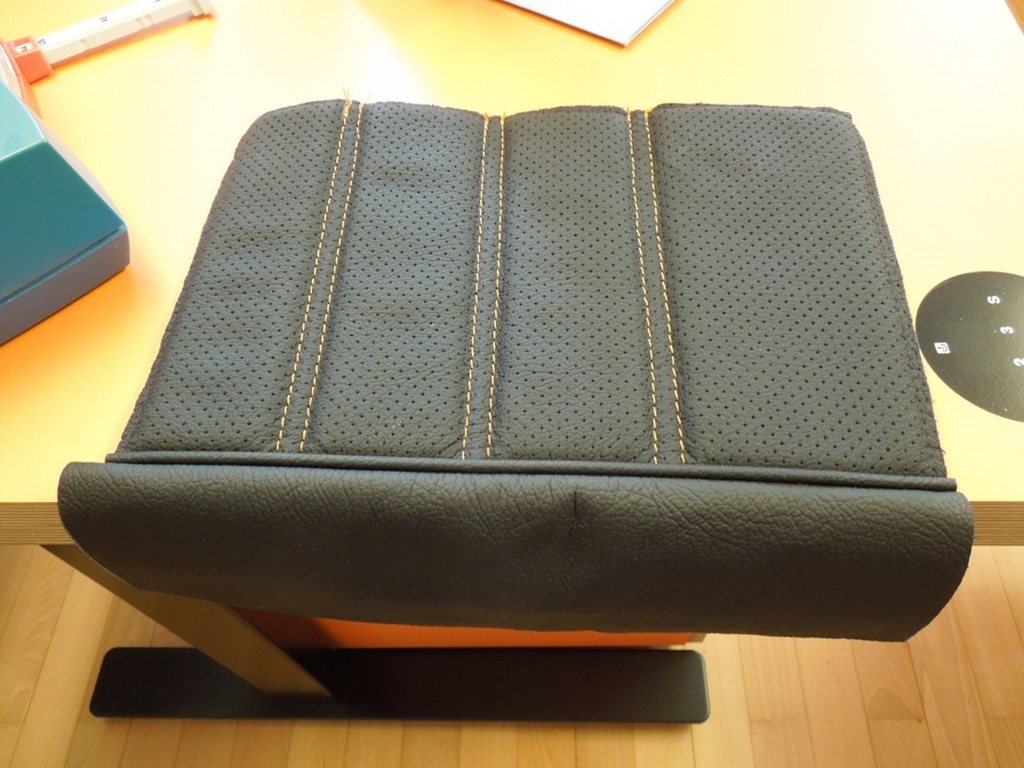
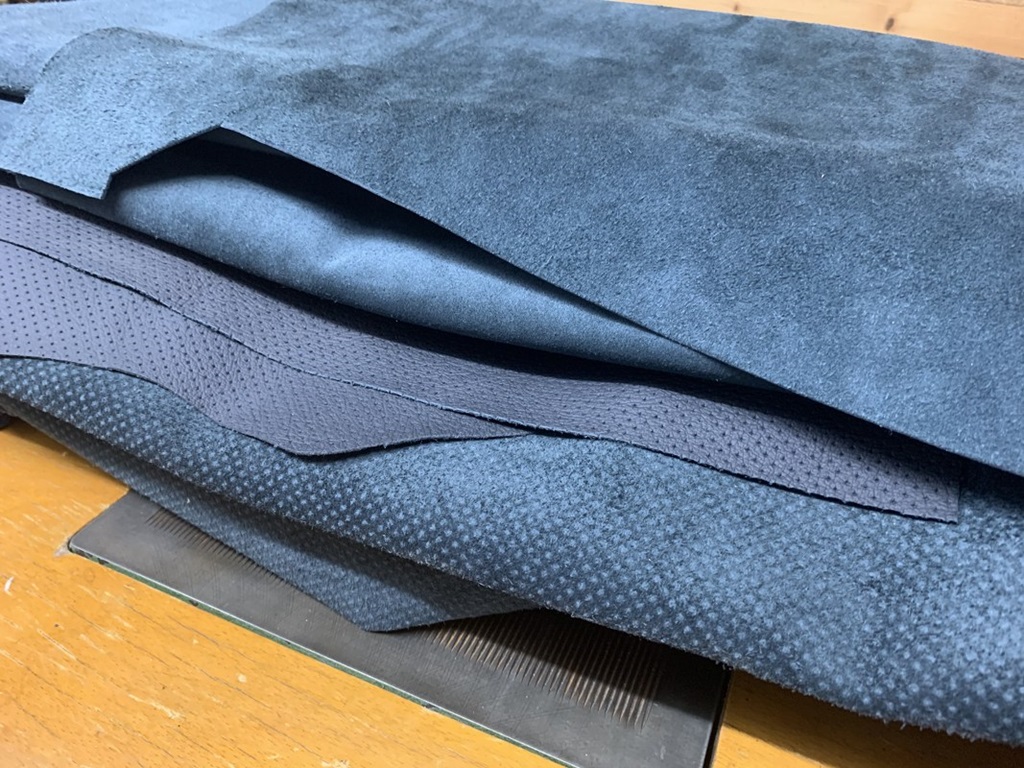
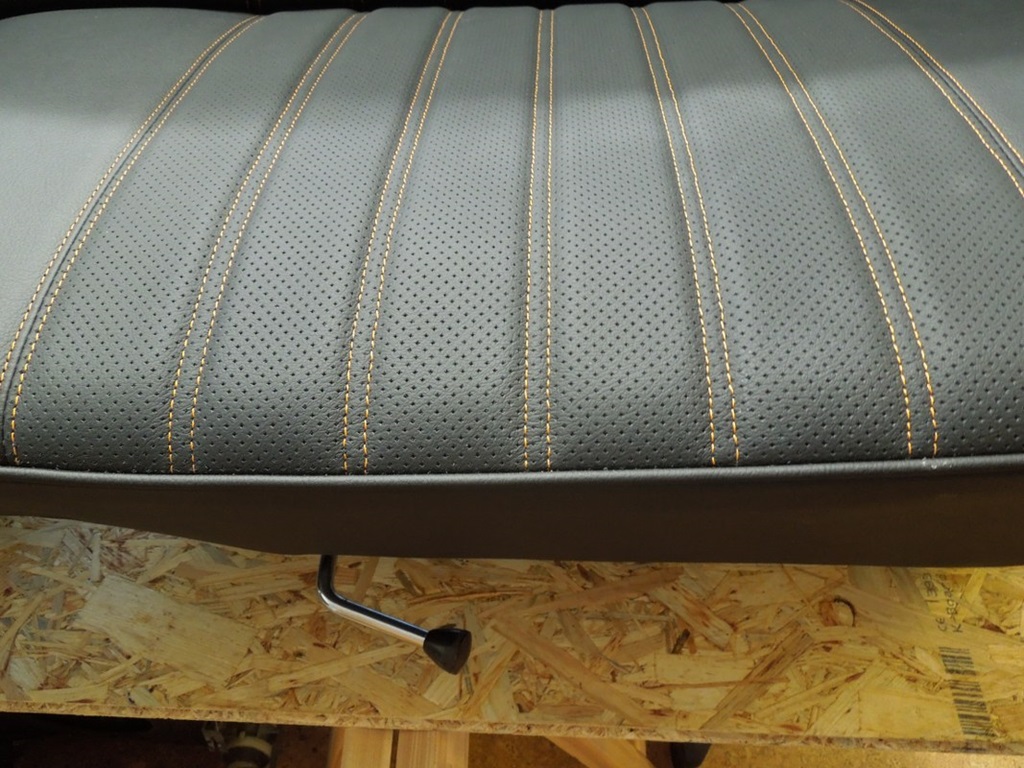
Today we drove to the saddler. The seat bench base is restored now, even one of the spring elements was replaced and rebuilt in the original fashion. We also had a look at a leather sample, where we decided that the piping remains black and not orange. The leather is - identical to the dashboard - the original Mercedes leather.
Imho it looks very good and I'm looking forward to picking up (sic!) the bench at the end of July.
Seat Bench finished ...
31 July 2020
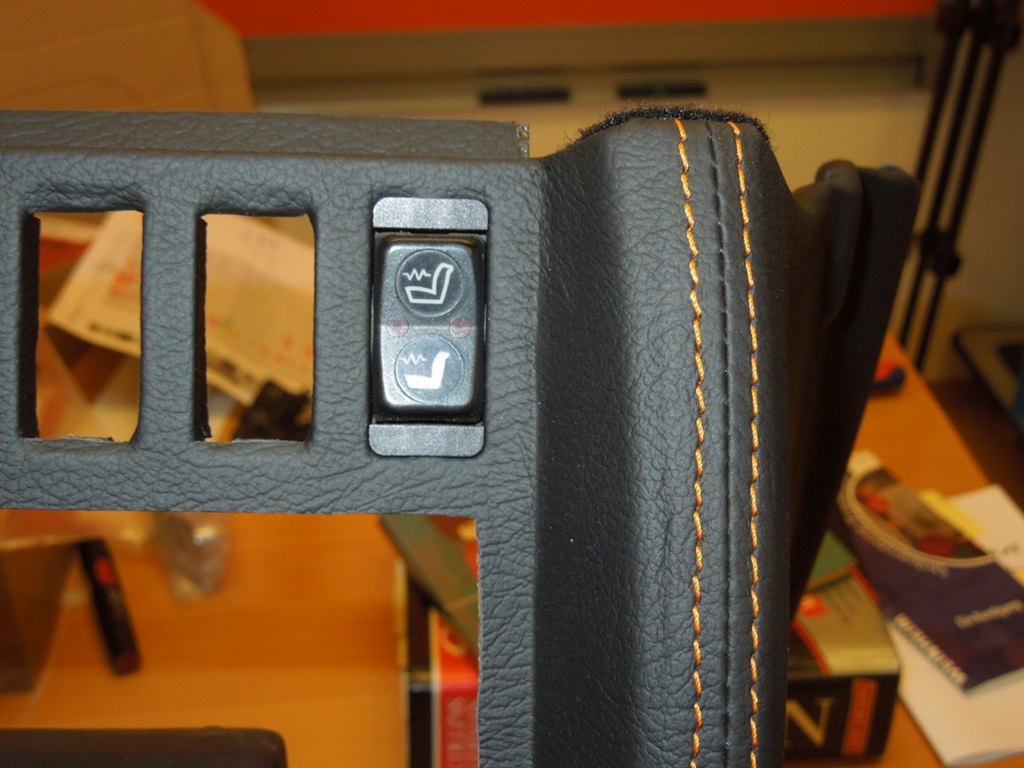
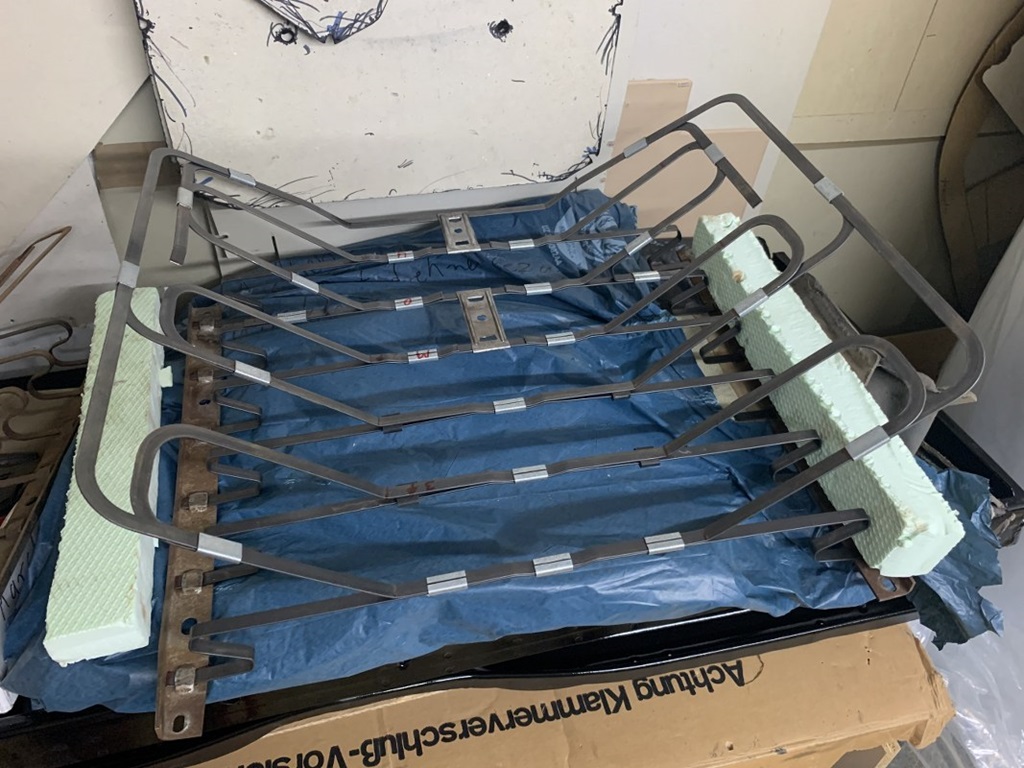
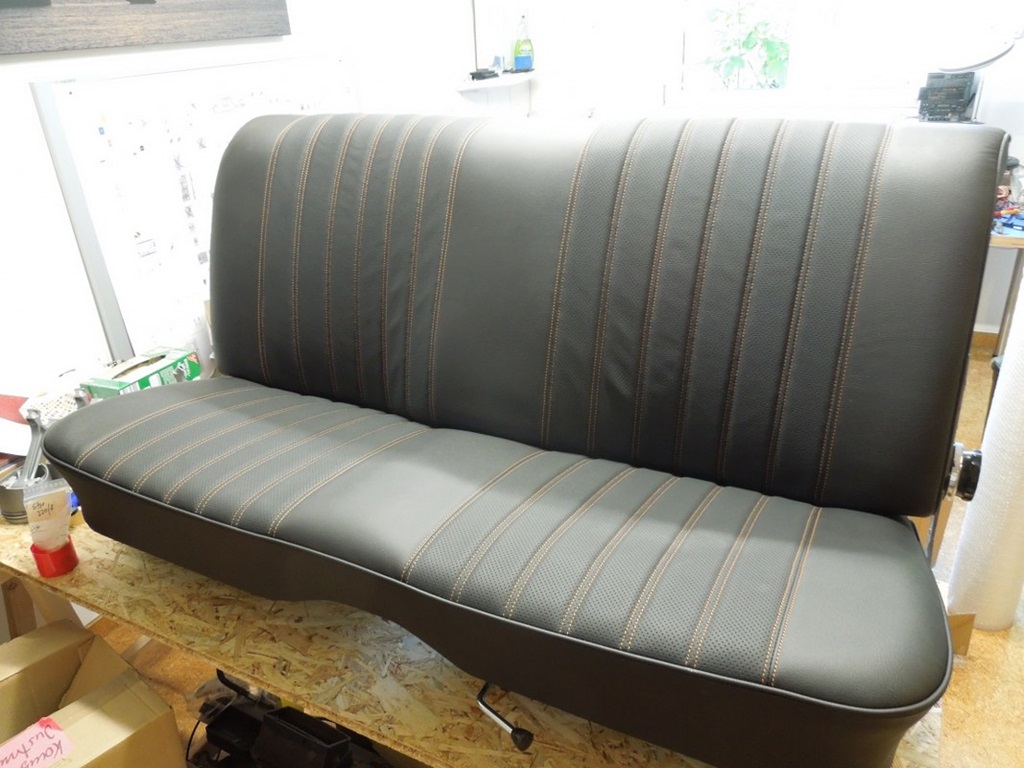
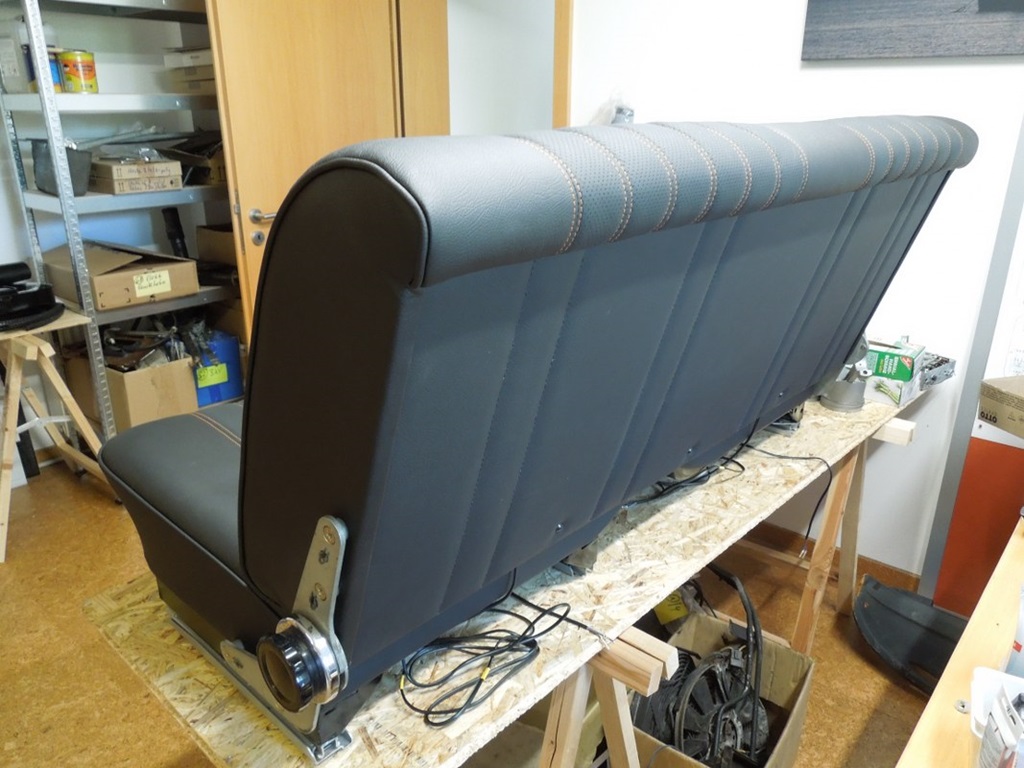
Another drive to the saddler today. The seat bench base is completely finished, frame sandblasted, painted, springs restored. What I didn't know was, that underneath that horrible seat covers there was the original MB Tex cover ... so this original Mercedes leather is rebuilt 100% original. Seat heating is included, nice details with the cable opening. Identical to the dashboard and the centre console it's black leather with orange stitching. Next step will be when the car is finished, carpets, ceiling and door panels.
Leather on impact absorber ...
11 August 2020
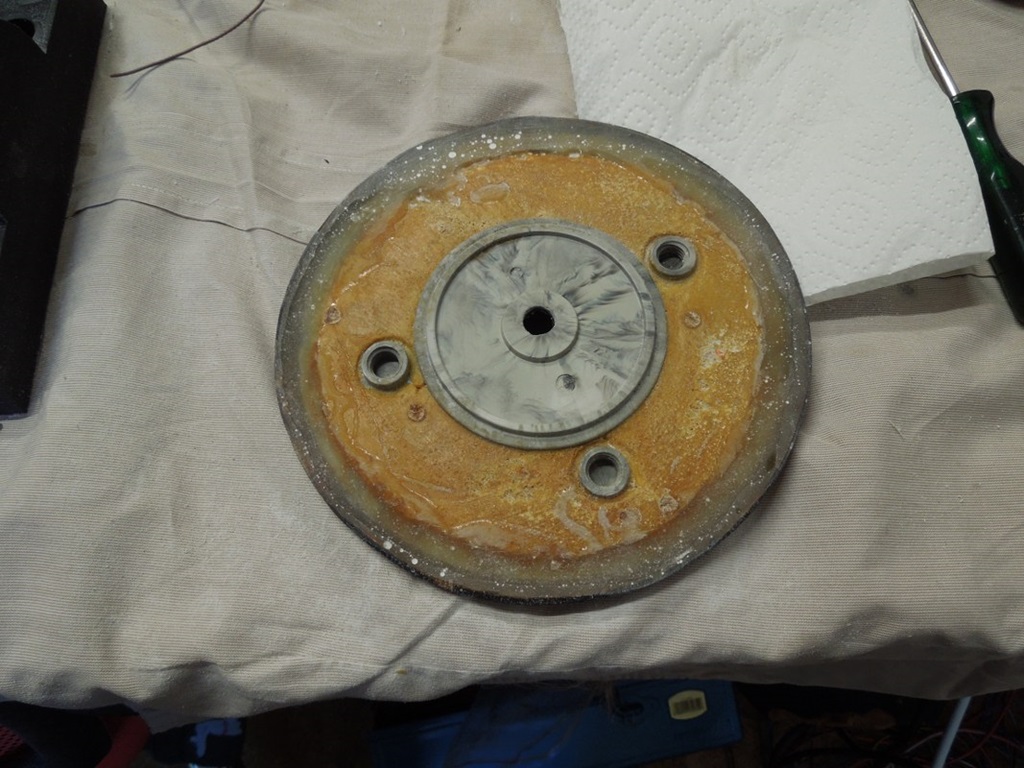
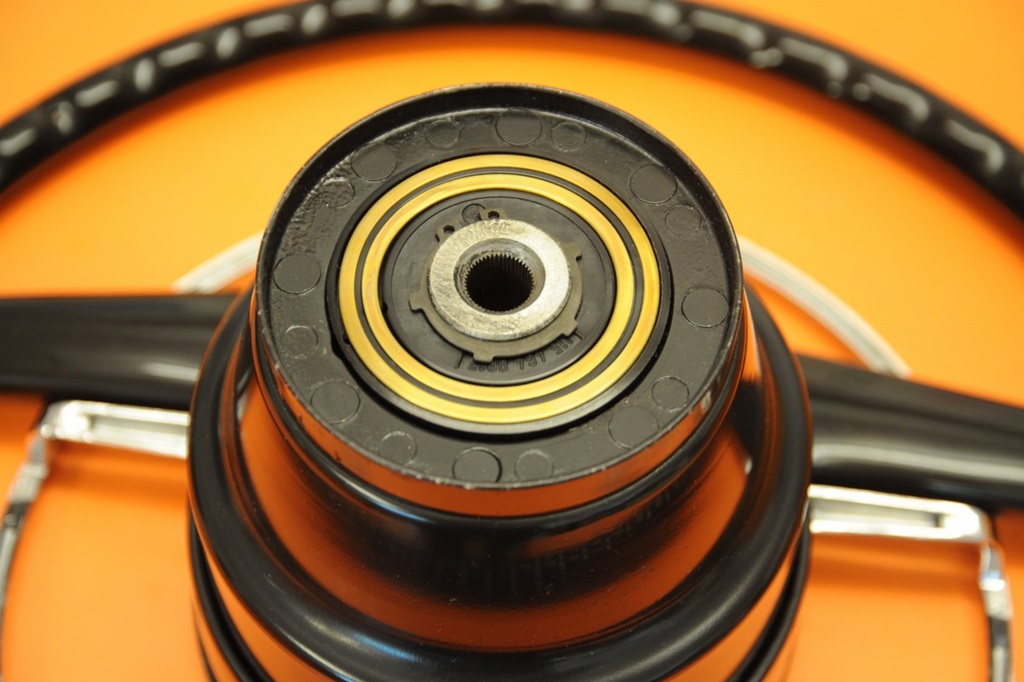
As the saddler said, it cannot be done - leather on the steering wheel impact absorber - I had to try it myself. Got some spare leather from the seats and started.
Not my idea, there's a great report on the "stroke-8 forum", which I used and modified.
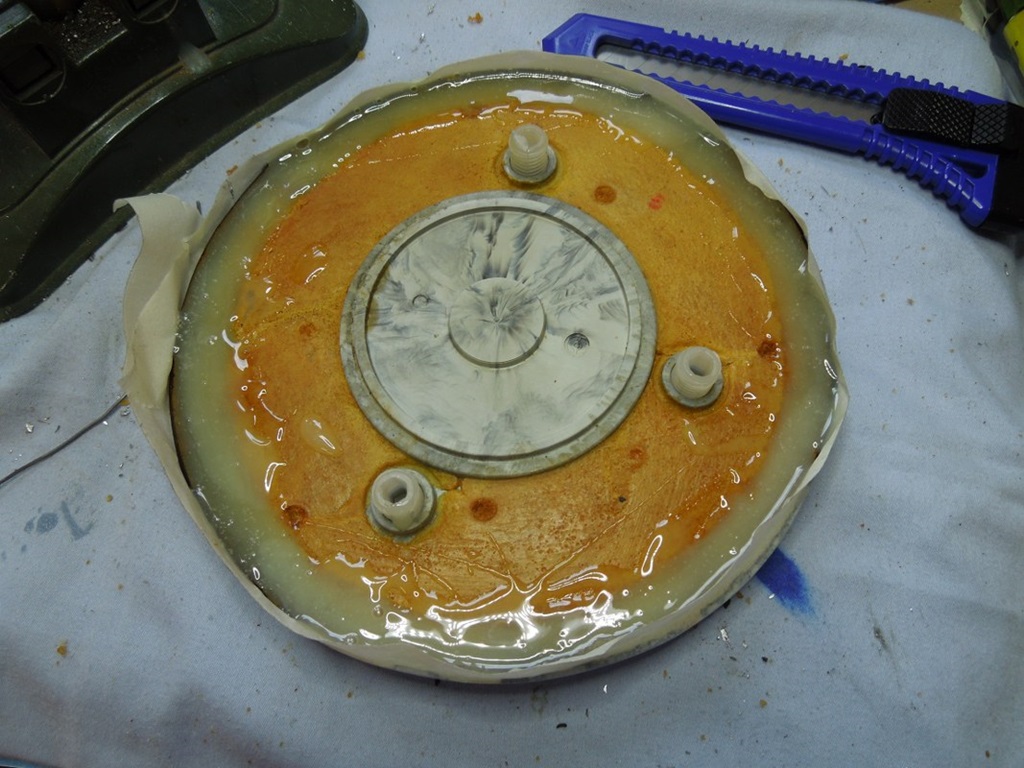
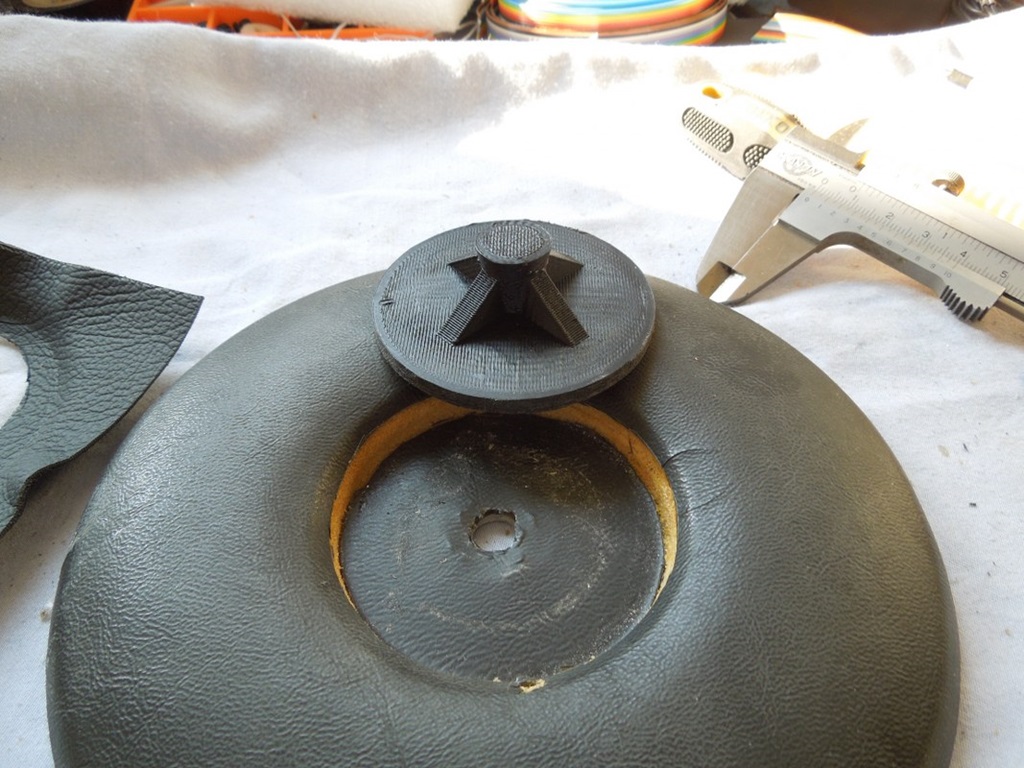
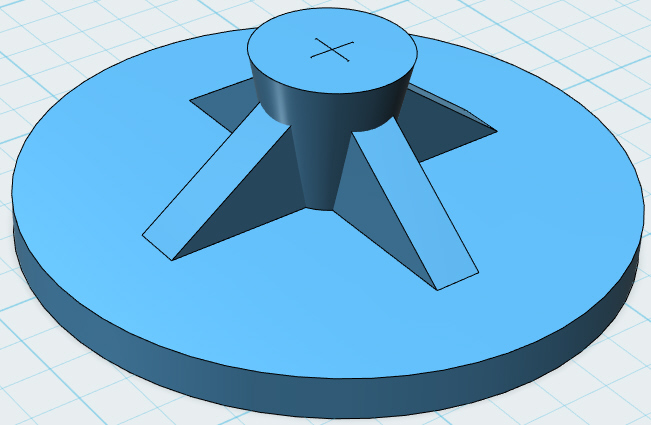
First you have to strengthen the edge of the absorber as the material is not strong enough when the leather is pulled over it. Therefore I took out approx. 1cm of the foam and filled it up with 2-component glue. As the natural leather is approx. 1.5mm thick, I had to take out some material of the absorber in the middle. To not ruin the Mercedes star, I designed a little tool with a handle and the same diametre, so I could press the leather in the hole in the middle.
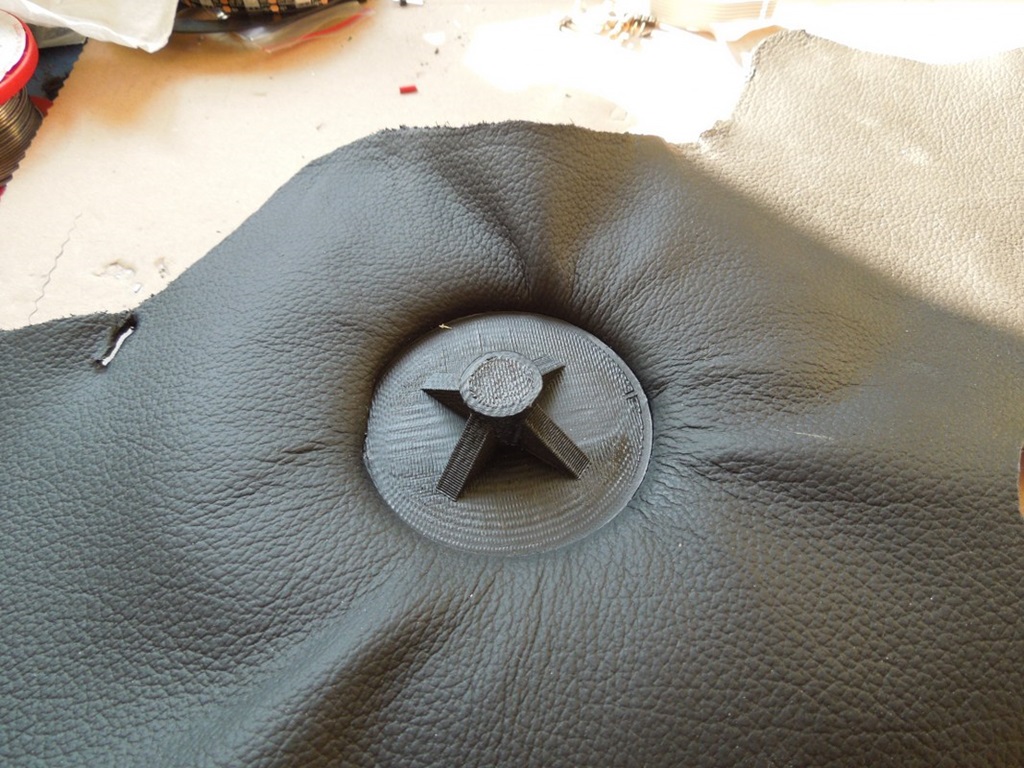
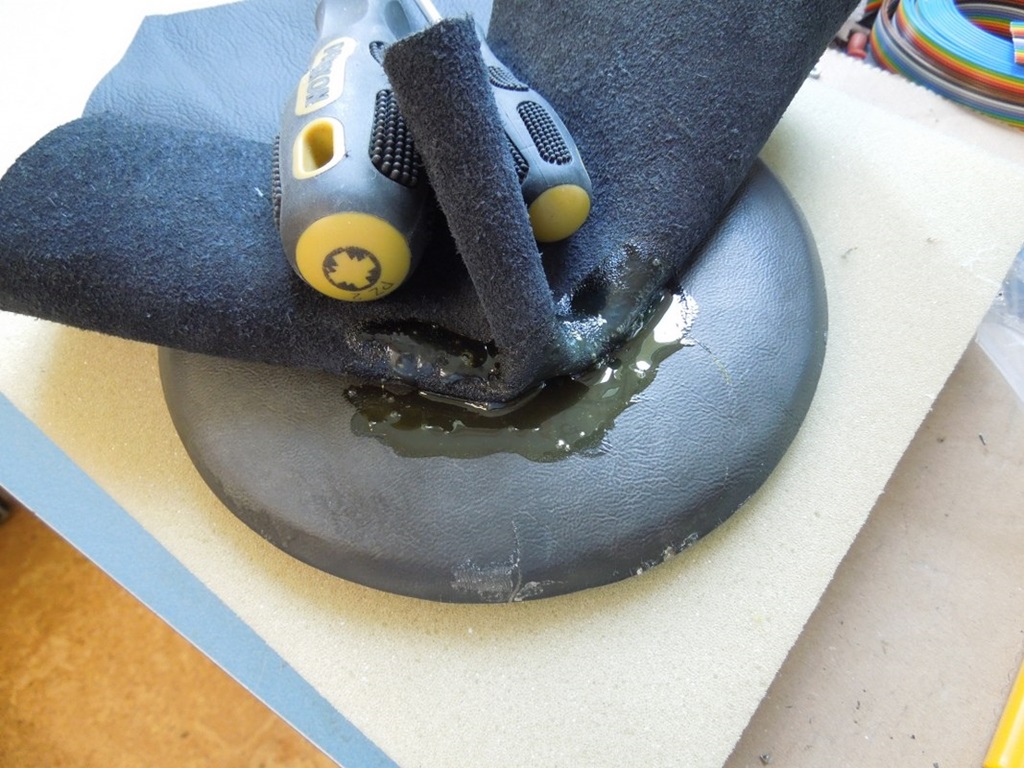
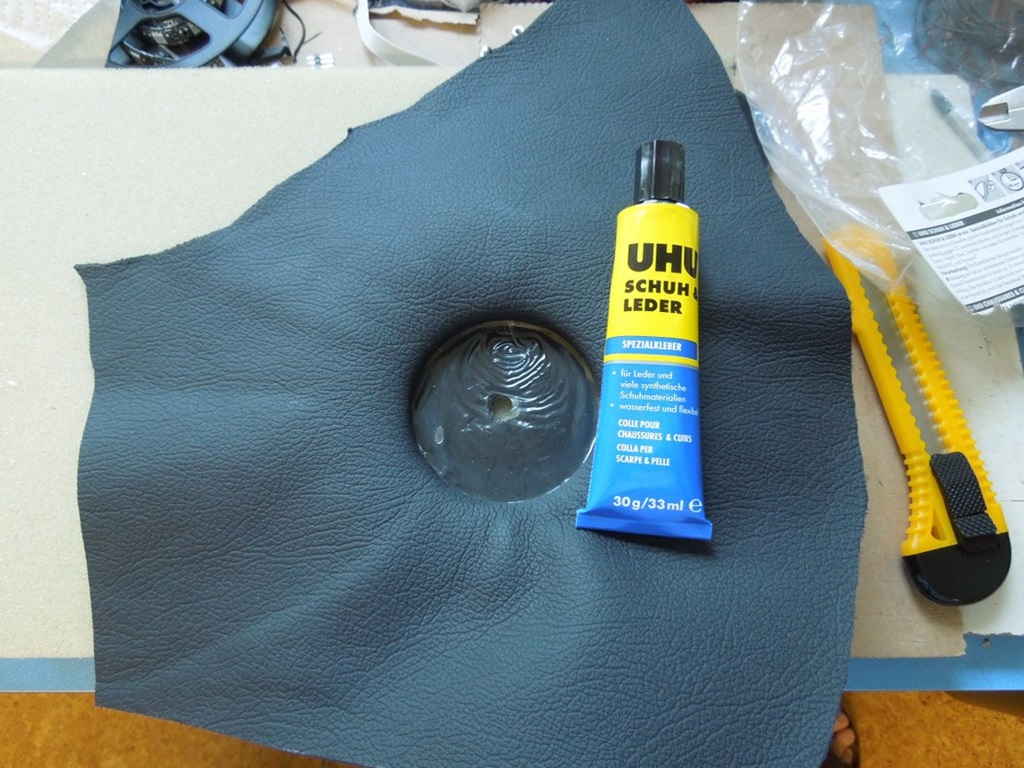
I cut a hole of 50mm into the leather and used the tool to press the leather into the hole. I left it for 24 hours and the leather "took the form" of the hole after that. I started glueing in the middle - just the edge - and put my little tool (with a foil as a separator) into it. After that was hard I continued step be step with a special leather and shoe glue. Every step took 10 minutes as the glue on both side had to dry out a bit.
To me it's alright, the "perfect roundness" will come, when the sun shines on it or I use a hair dryer to soften the glue a bit.


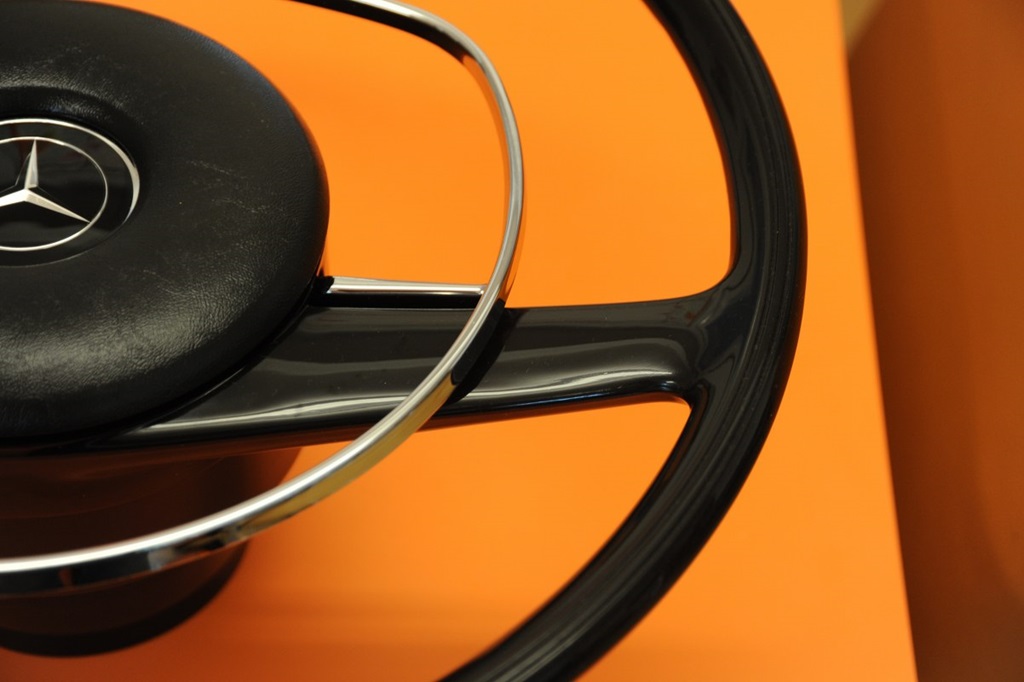
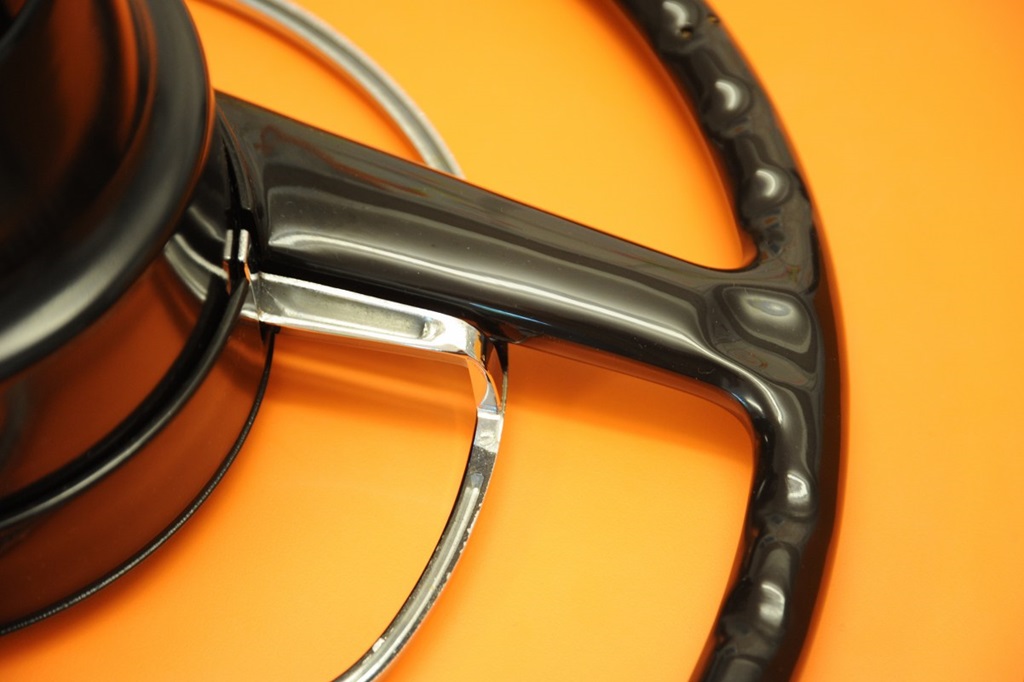
New (!) steering wheel ...
29 August 2020
With a little bit of luck, I was able to source a brand new (!) W115 steering wheel for a reasonable price. It was put away new in 1971 and was intended to be installed one day, but never was. So today I took a 650km drive and picked it up. Spotless, no scratches, dents or anything ... sometimes you win and sometimes the others lose ;-)

Nice detail re carpet ...
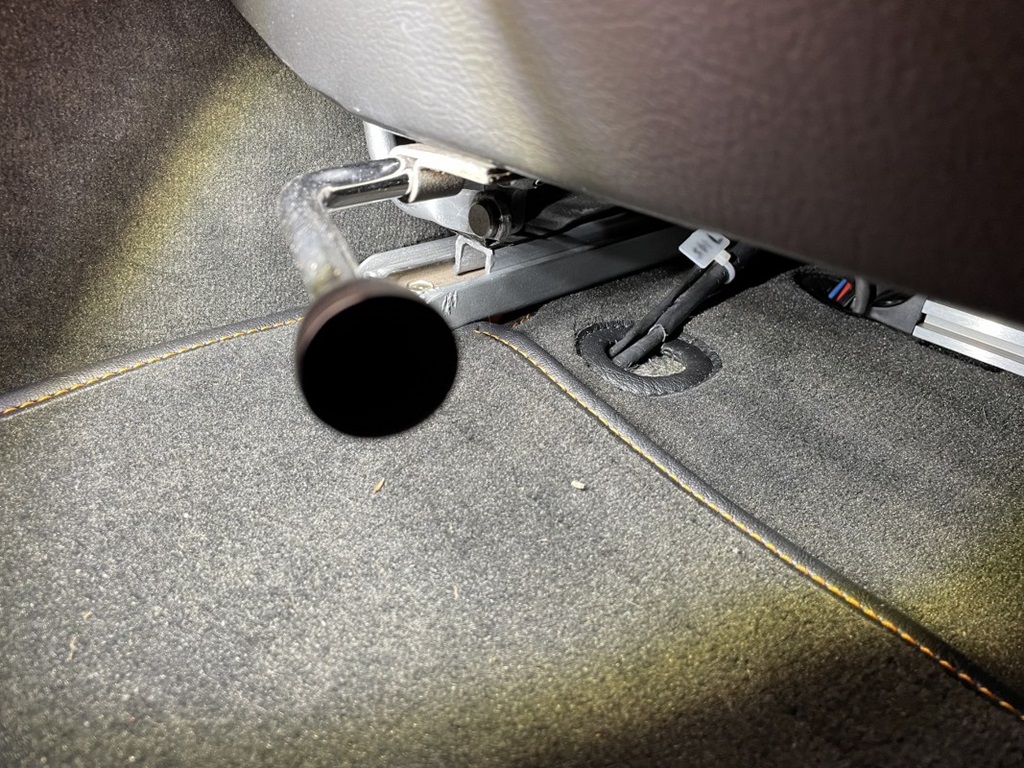
8 March 2022
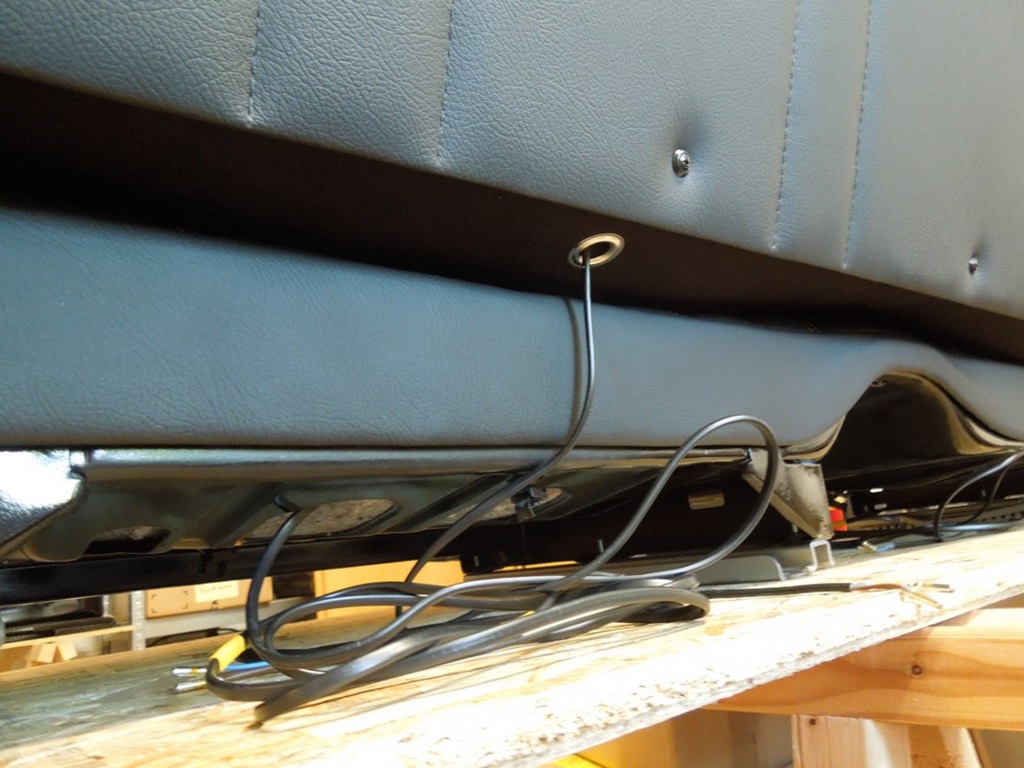
I'd like to show you a little detail, that I only detected by accident ;-) ... something slid underneath the seat bench and I started looking for it. The amplifier of the music system as well as the wiring for the seat heating is there.
The carpet goes all the way through to the rear cabin wall - although you cannot see it. However, other people would have just somehow fiddled the cables in there. Here a proper, framed hole (two actually) were done by the saddler. I'm just fascinated about this work!