Cluster
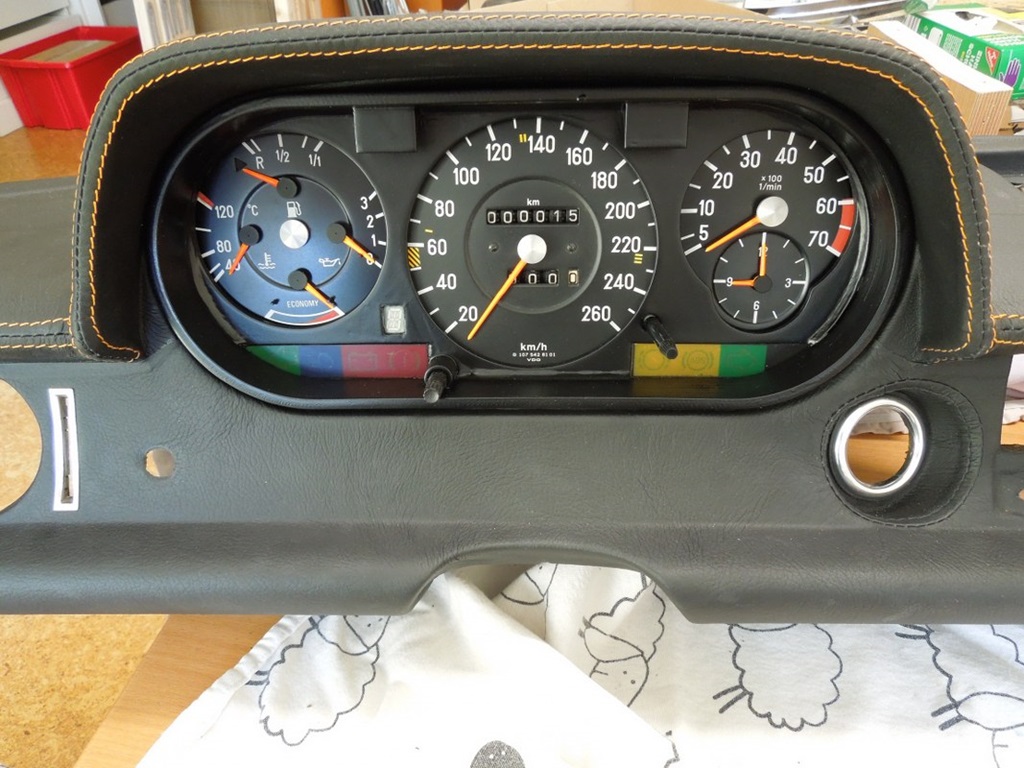
Due to changing the motor to the 5-litre-V8 from the SL, it would be handy to have the SL-instruments in the car. Speedometre, Rev-metre etc. just fit and no adaptations would be necessary ...
BUT ... the Pickup-Cluster is much smaller ... so what to do?
Part 1: "Shrinking" the SL-Instruments
21 March 2017
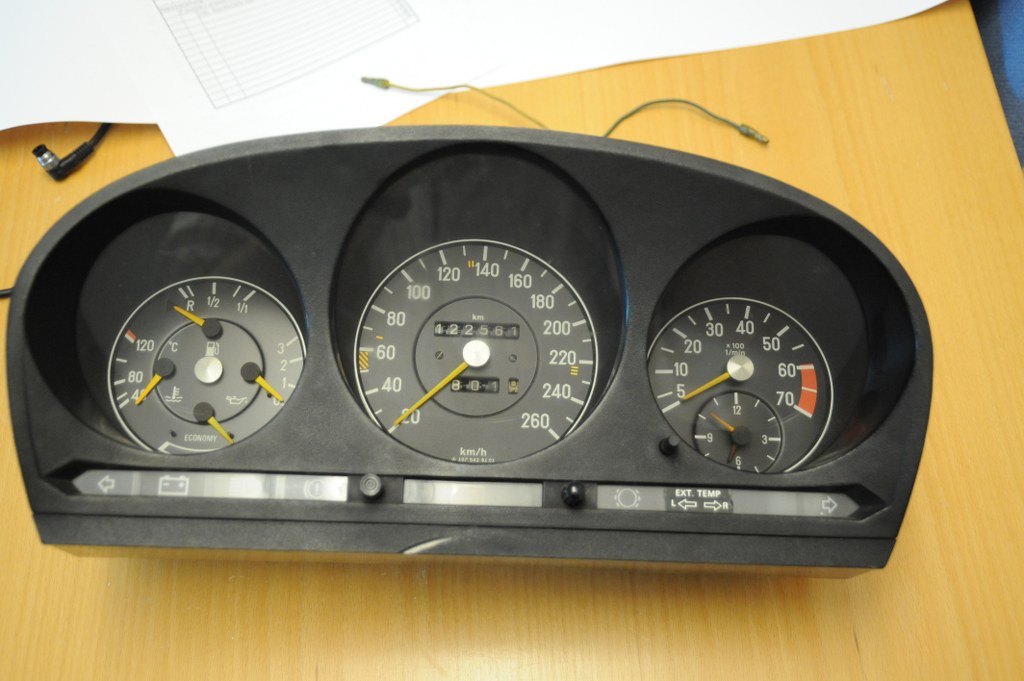
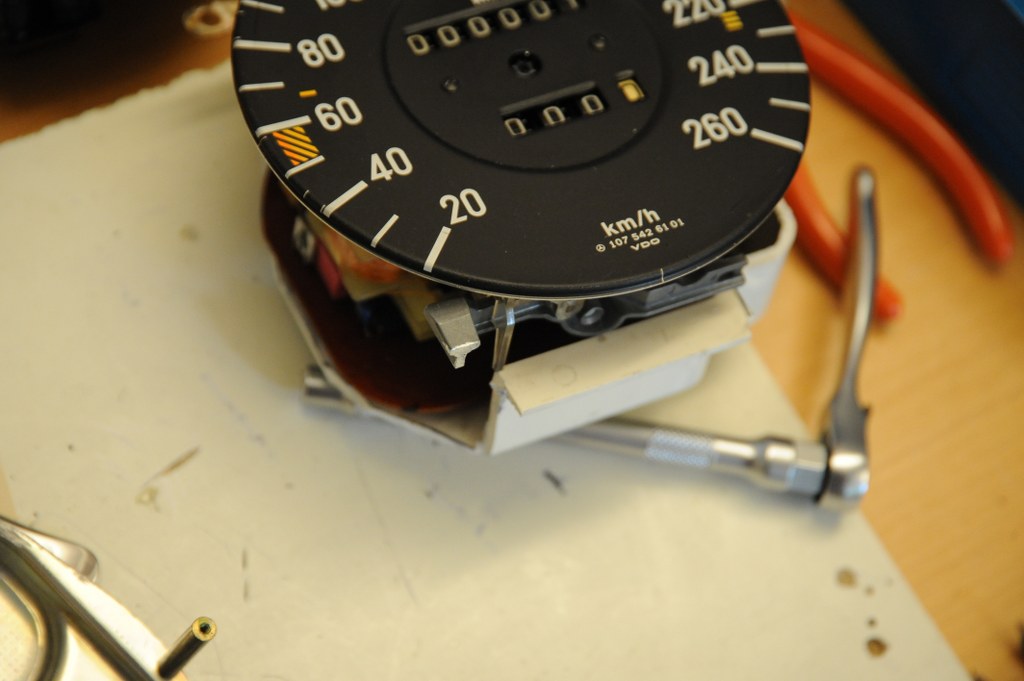
Dismantling the SL instruments
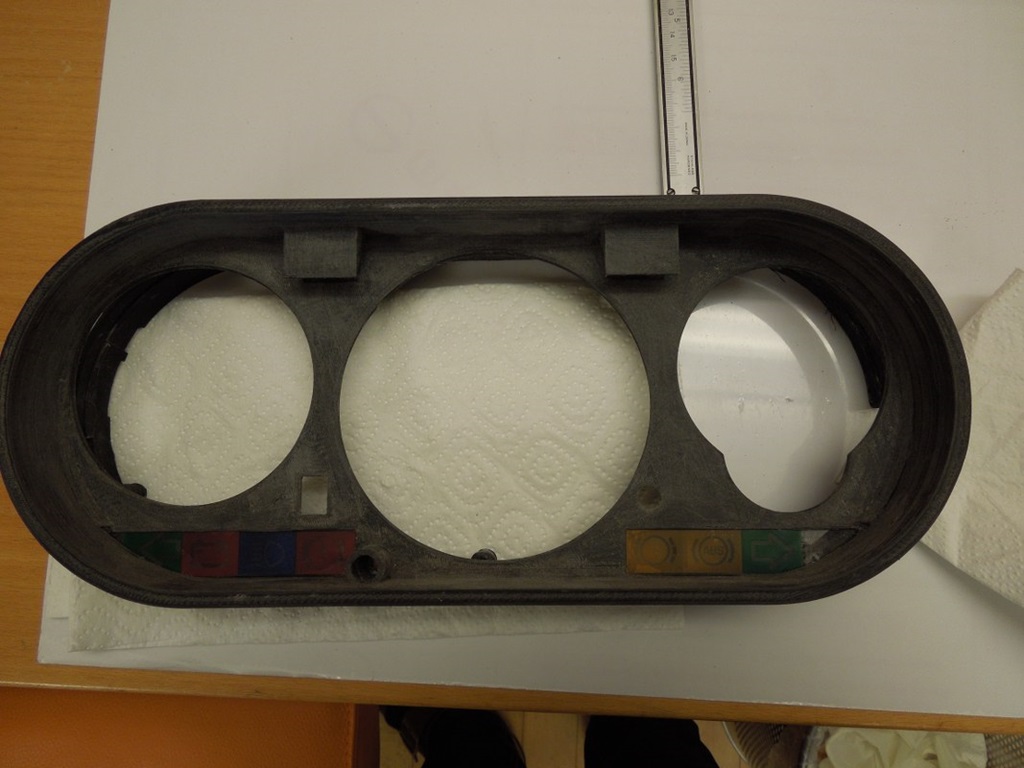
The cluster of the SL is significantly larger than the one from the Pickup. So I took it apart. I got a defective W115 cluster cheaply and used the frame to somehow try to fit the instruments in. One thing I found out right at the start: the control lights of the SL would not fit.


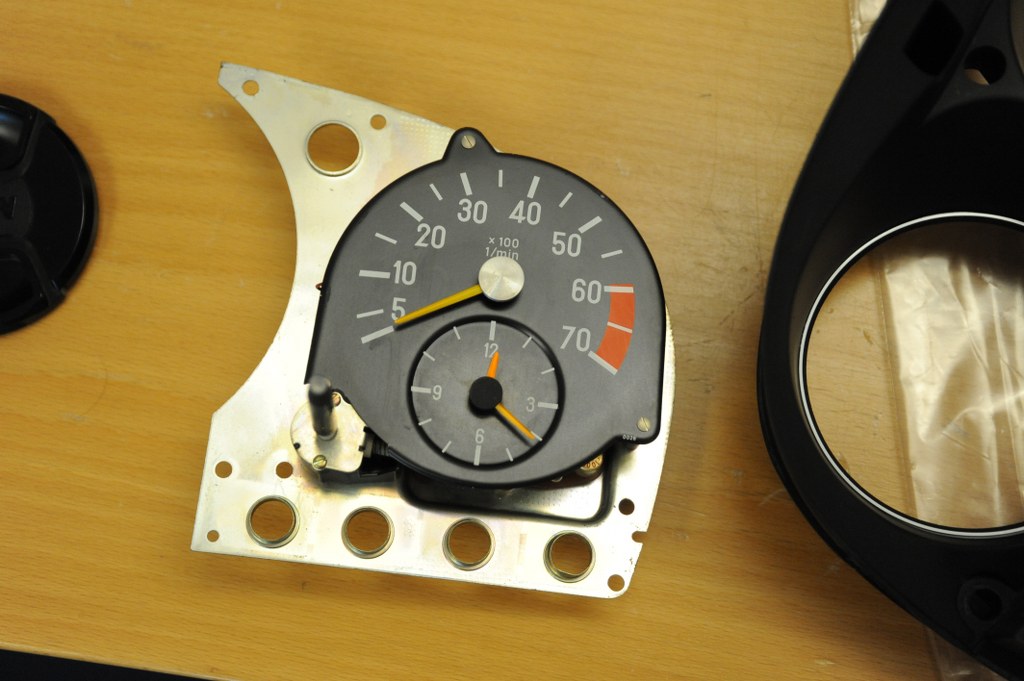
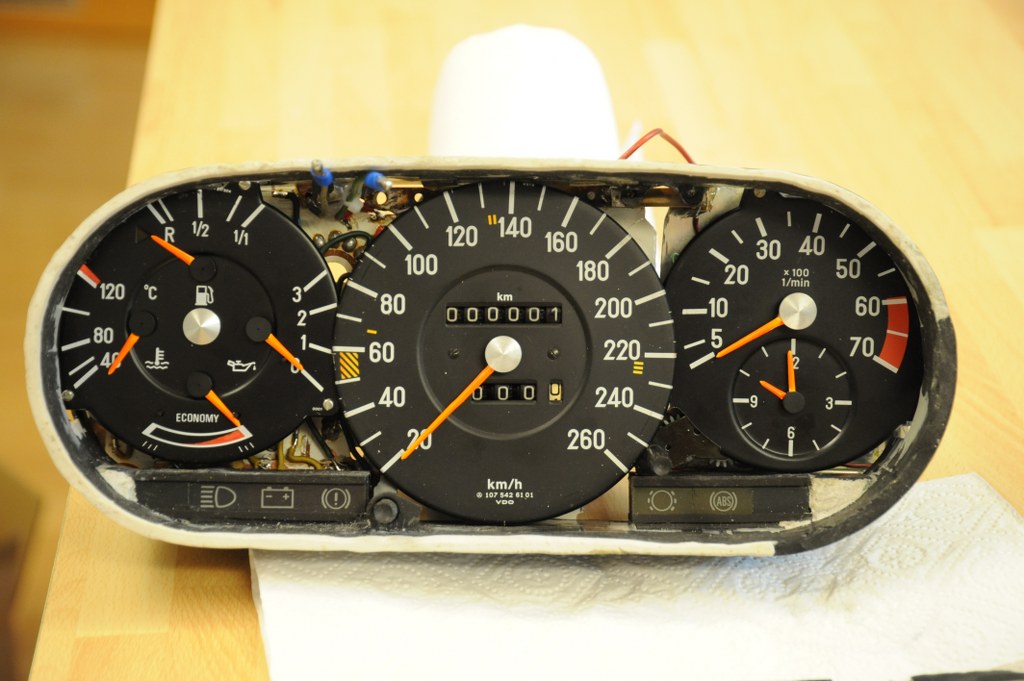
Modifications
Next step was to modify those instruments (significantly), so they might fit. As the circuit board had to be cut, quite some wires had to be reconnected. Furthermore I got a W124 cluster to use the - smaller - control light compartments. Those had to be fitted with the SL instruments.
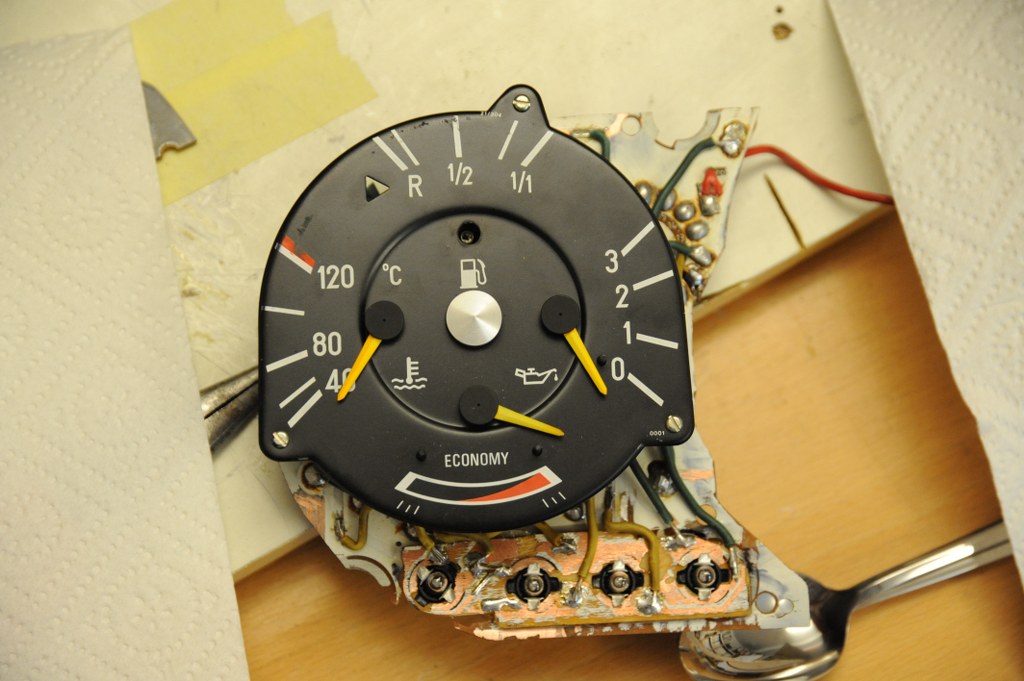
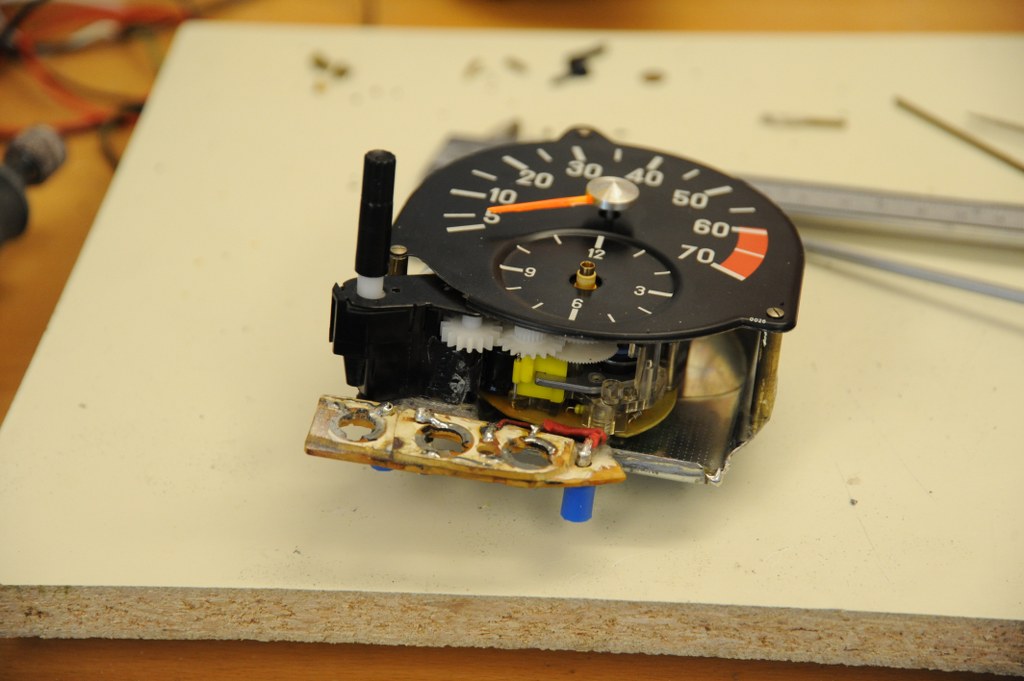
First prototype ...
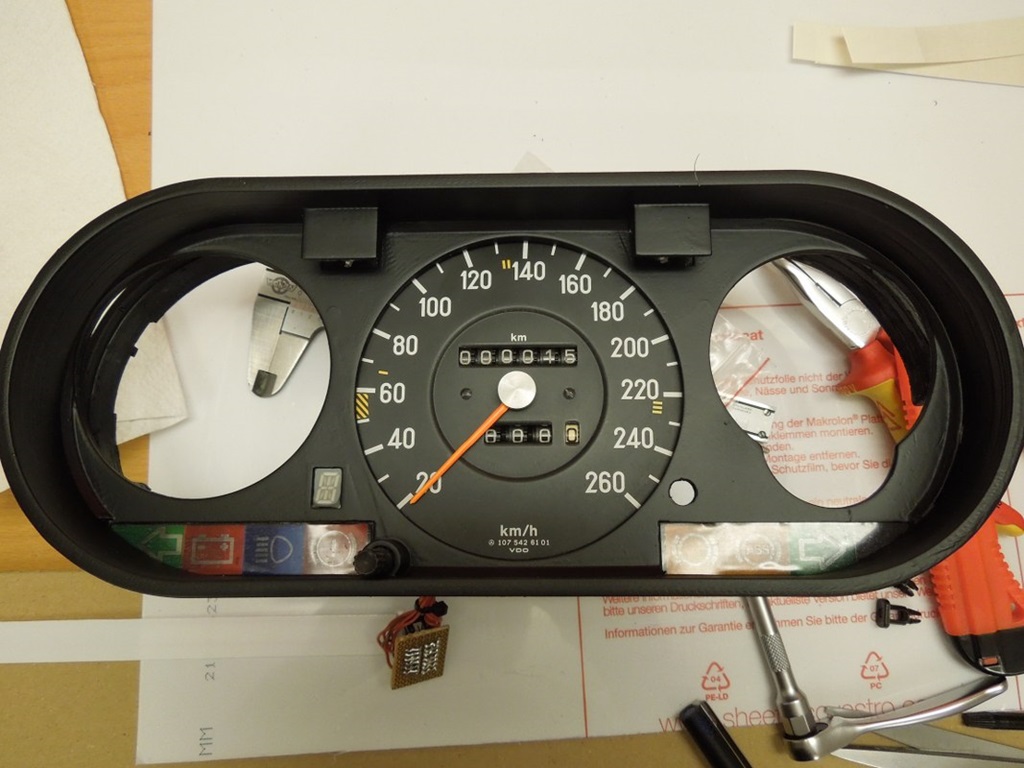
So after a lot of glueing, grinding etc. a first prototype was finished. The reset mechanics of the trip counter was shortened and also the adjustment "gears" for the clock had to be modified:

In the next chapter I will show you, why I was unsatisfied with the "unprofessional" look of it and how the 3D-Printer helped again ;-) ... stay tuned!
Part 2: 3D-Print of the Cluster
1 April 2017
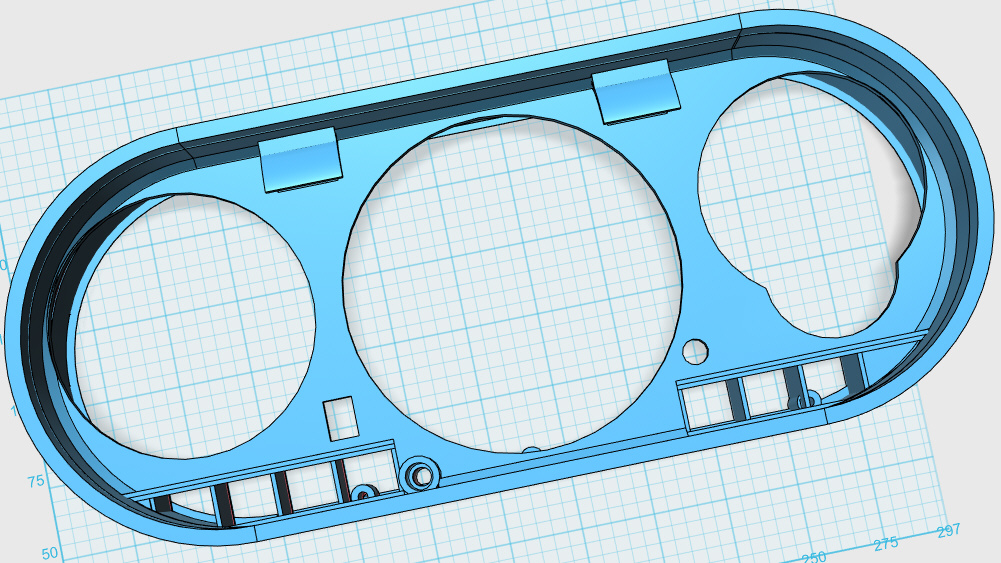
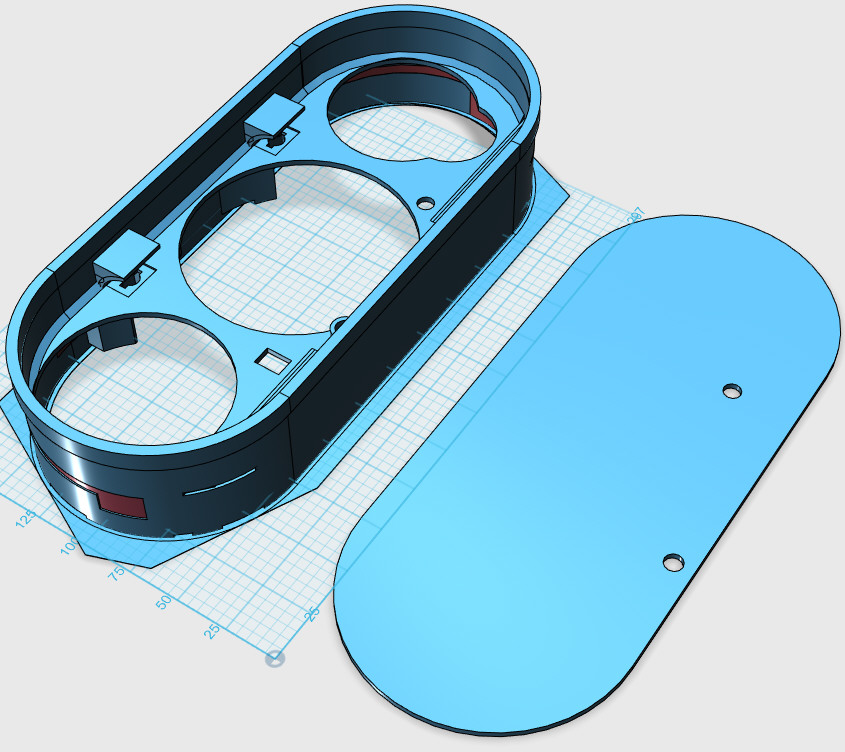
The Construction ...
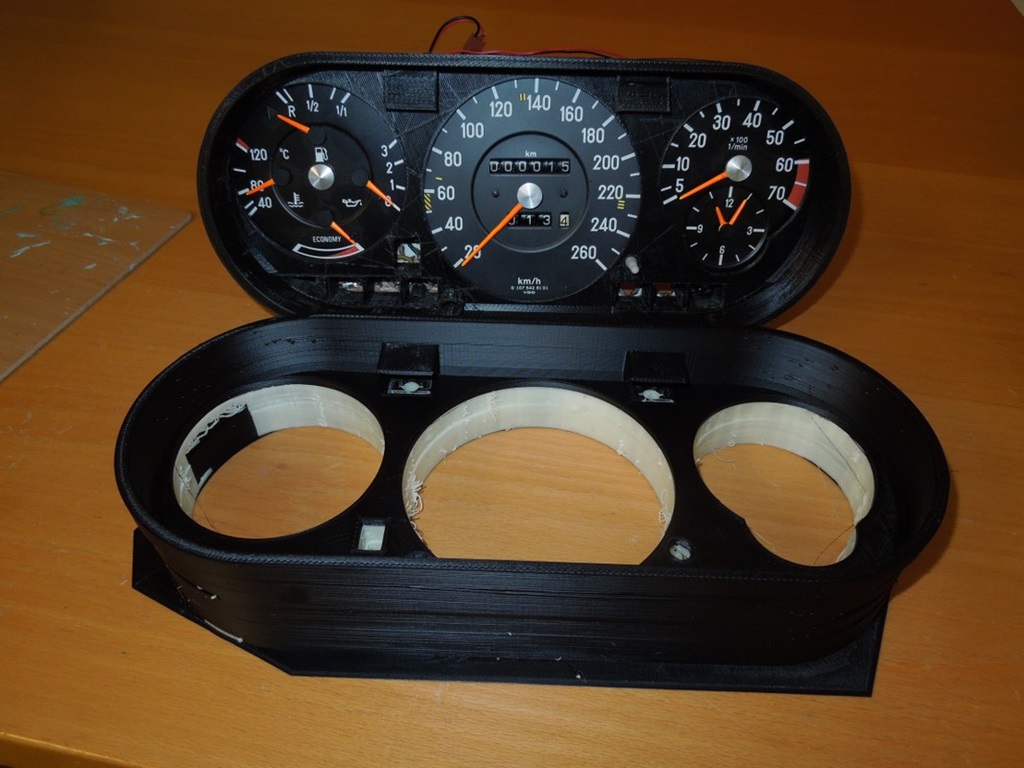
As mentioned before, the "hand-modified" cluster didn't look too professional, so I thought I try printing it in 3D. My first 3D-printer didn't have a printbed big enough, so the whole construction started with two pieces ... to be glued together.
After purchasing my second 3D-Printer - which has a printbed of A4-size - I had a prototype lying on my desk on a sheet of paper. By accident I had a look at it and saw that it might fit diagonally on an A4 sheet. So after fiddling around for a while, I found out, that turning the whole thing 25.2 degrees would make it fit exactly on an A4-sheet ;-)))

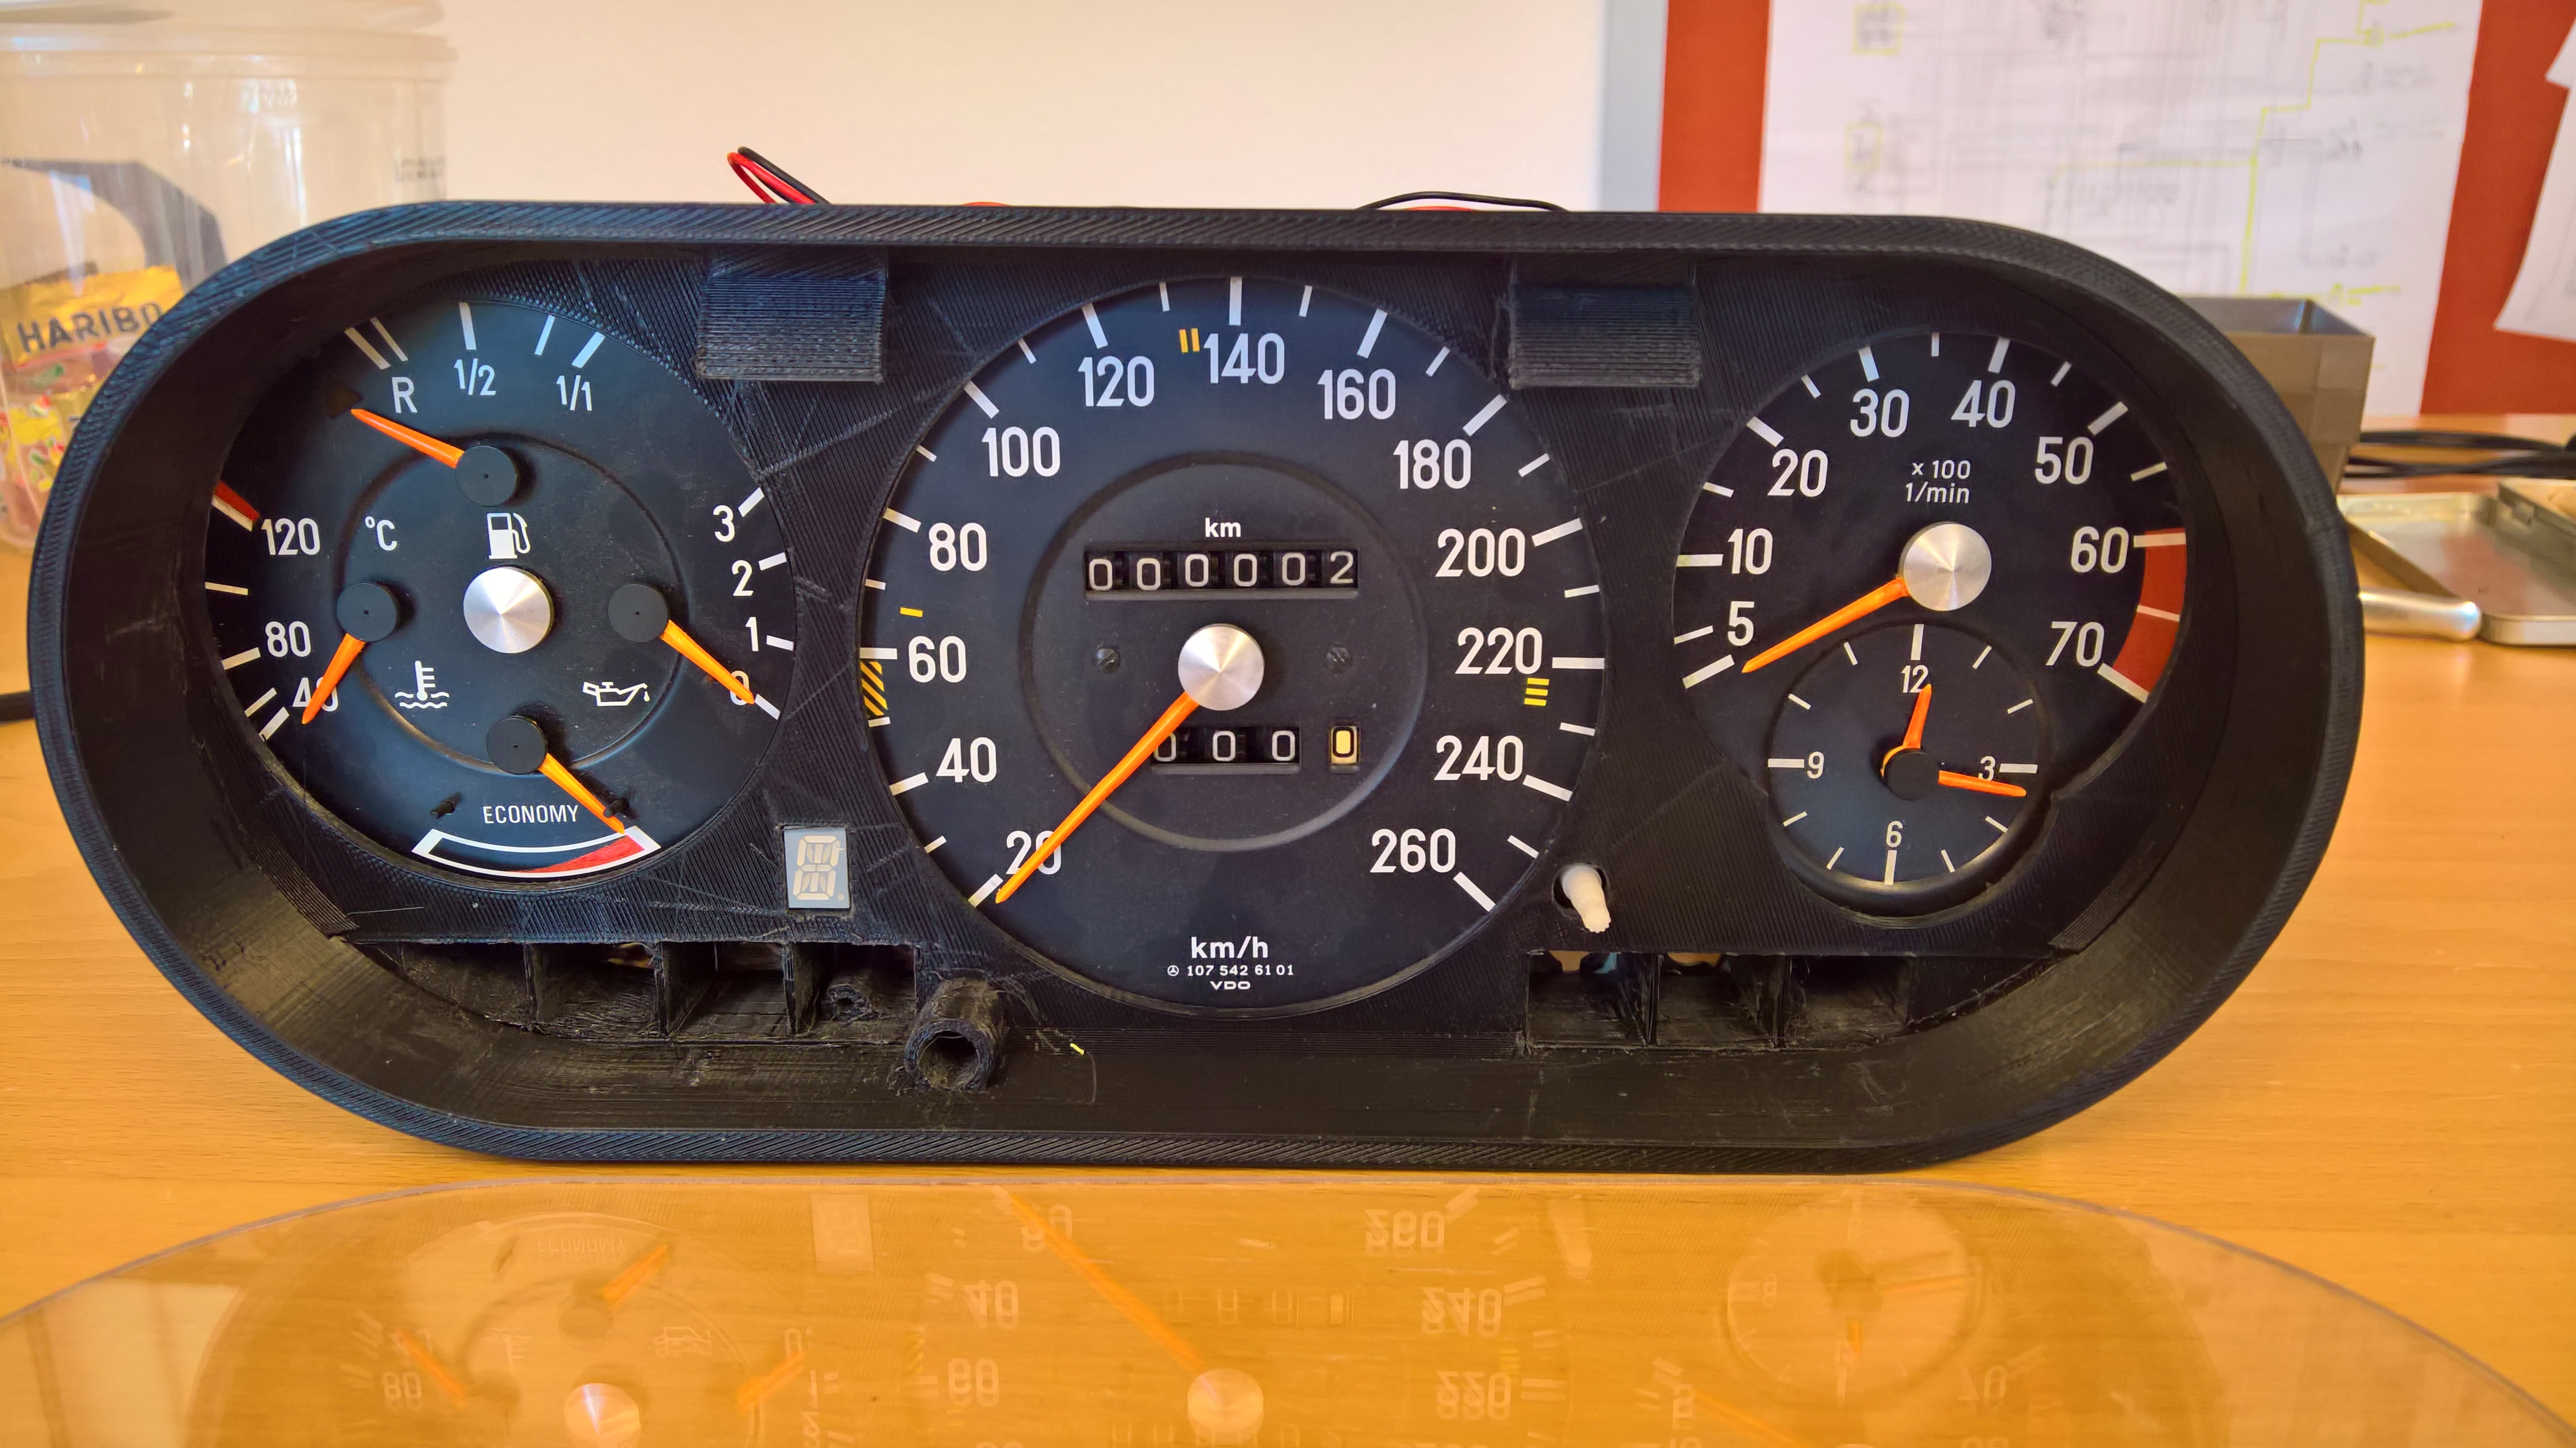
The Result ...
Here you see photos of the last prototype. Everything fits, however there's no grinding for a proper finish done yet. Also it's printed in the most rough resolution, i. e. 0.3mm layer height. Nevertheless the printing time was around 26 hours (!).
A good friend of mine also watercut the plexiglass covers; the construction of those came directly from my construction and were put straight into the machine. Openings for resetting the trip counter and adjusting the clock are fit in. The 14-segment LED-display is another story, which I will tell you ... ;-)

Final Print of the Cluster ...
10 September 2019
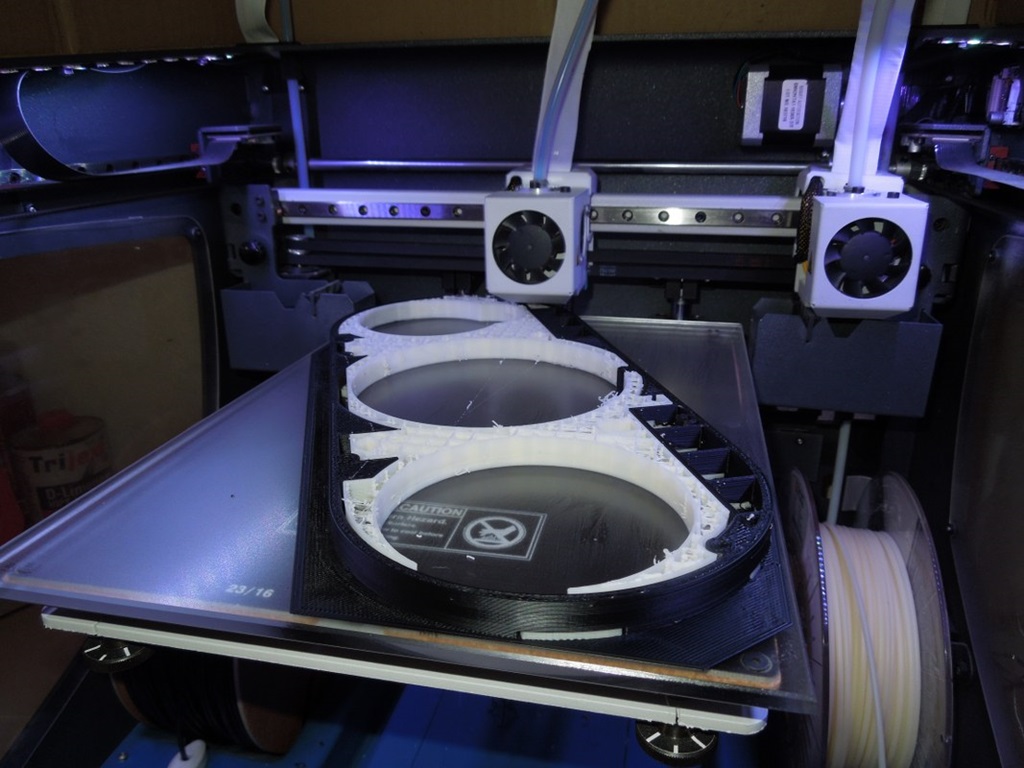
After fiddling with a lot of other stuff for a while, it was about time to start the final print of the cluster. Calibrated the printer, cleaned and greased everything and I gave it a go. First print failed, it's a bit tricky to print the water-solvable filament … the extruder clogged.
Second print ran through, roughly 20 hours, but it is done. You can still see the support structure (white) and of course everything has to be ground and painted to look nicely ...
Cluster Control Lights ...
9 January 2020
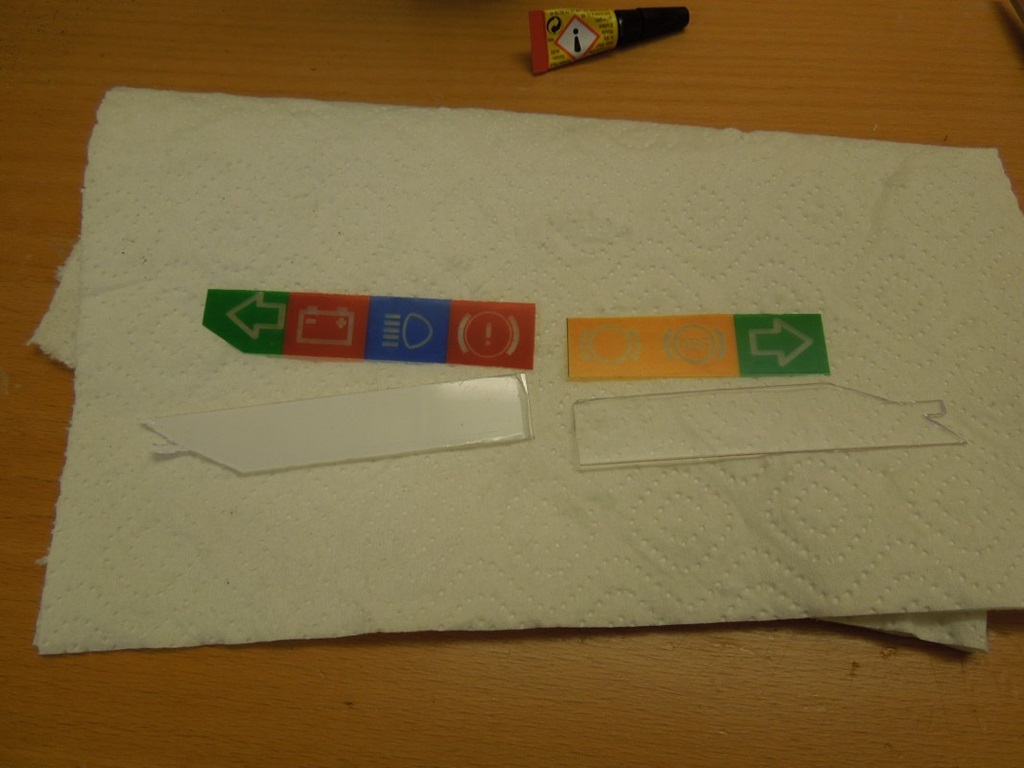
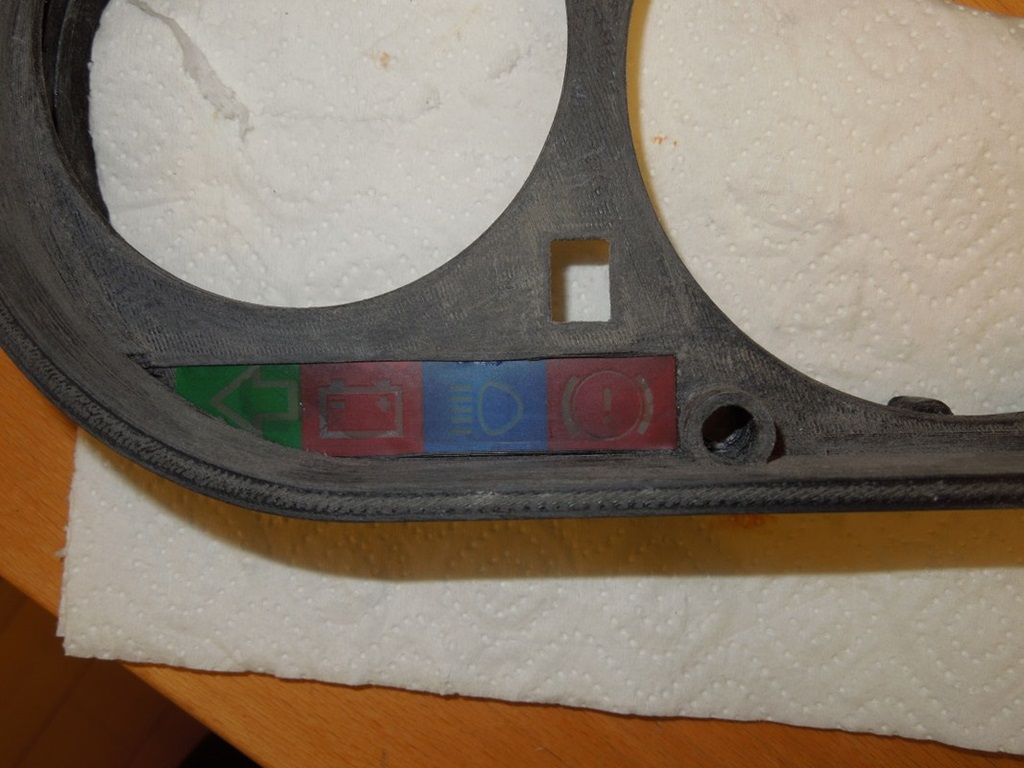
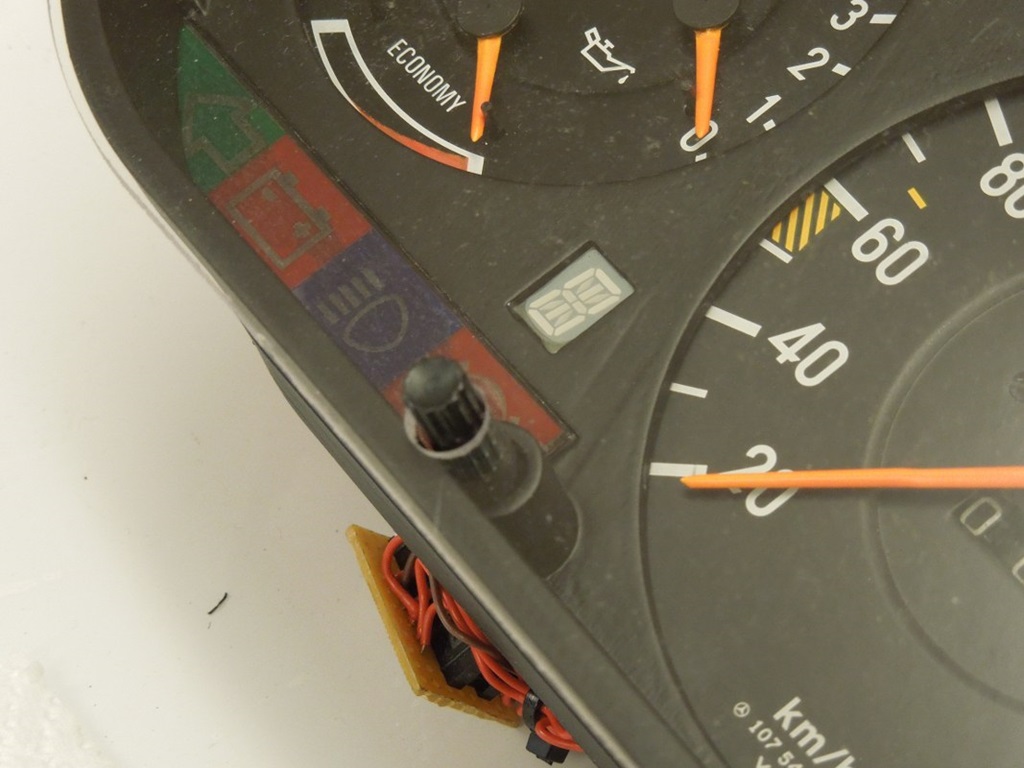
The "holes" for the control lights had to be designed so that everything fits in the cluster. W124 was too small for the lights, R107 was too big for the cluster.
So I ended up drawing the symbols myself. I bought 0.75mm plexiglass (Makrolon), which I cut out accordingly.
The following methods I tried and they weren't to my liking:
- Printing on a A4 transparency sheet and use super glue (you could see the glue)
- Printing on a A4 transparency sheet and use normal glue(you could see the glue)
- Printing on self-adhesive transparency
So I finally an idea came into my mind: A4 Sheets of "waterslide decal paper" (Wasserschiebefolie). I printed with the colour laser on it, cut it out, put it in warm water for approx. 45 seconds and then slid it onto the Makrolon. Hair dryer for a minute fixed it. Next day I used a clearcoat spray to fix the laser toner on it. That works!

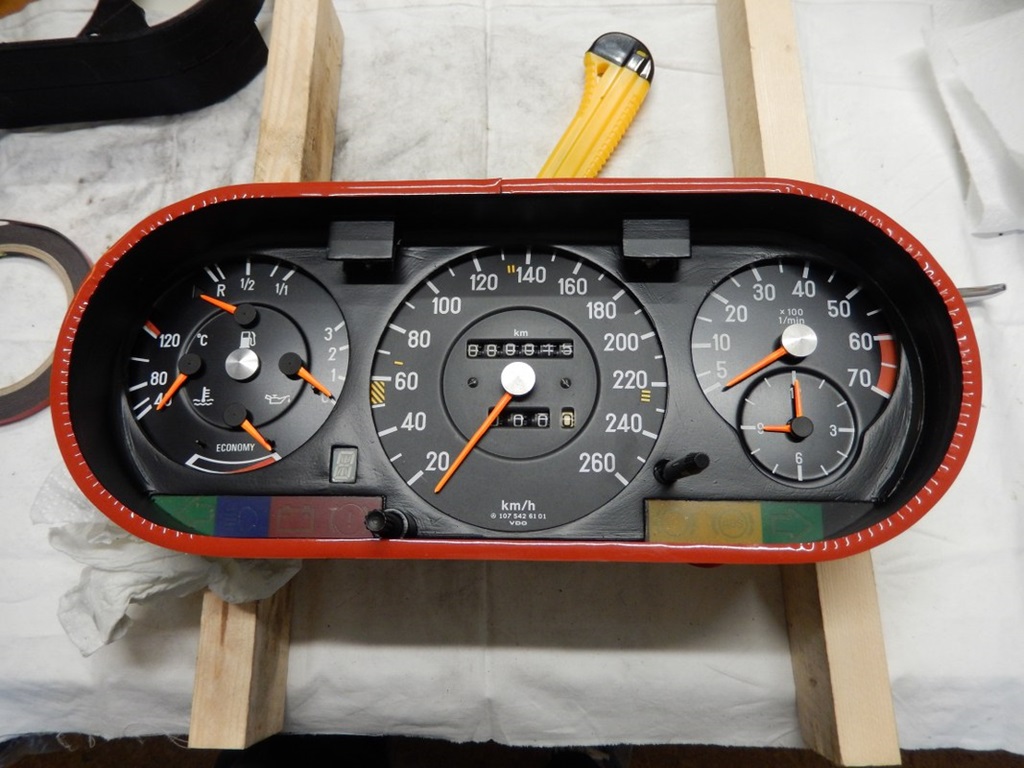
Finalising the Cluster (I) ...
17 January 2020
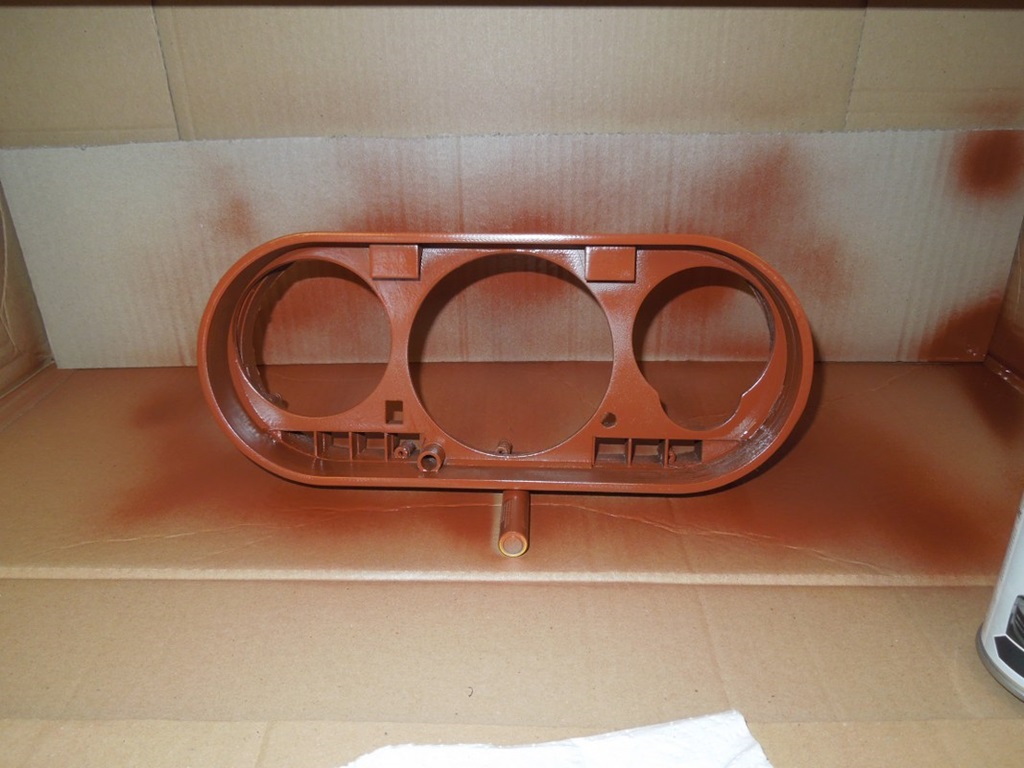
After finalising the print, it took some time to "fine-tune" the whole thing, so all instruments fit. After that it was a test of patience to sand it carefully.
First I applied a plastic adhesion promoter, the a filler primer. Several coatings of matt black followed.
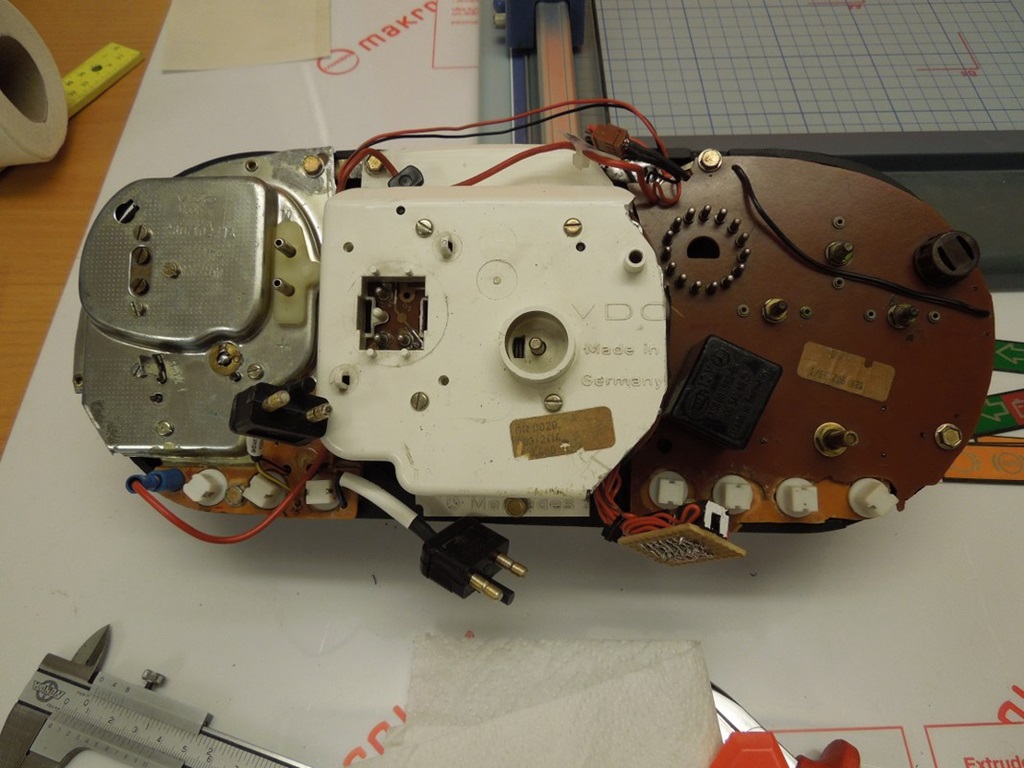
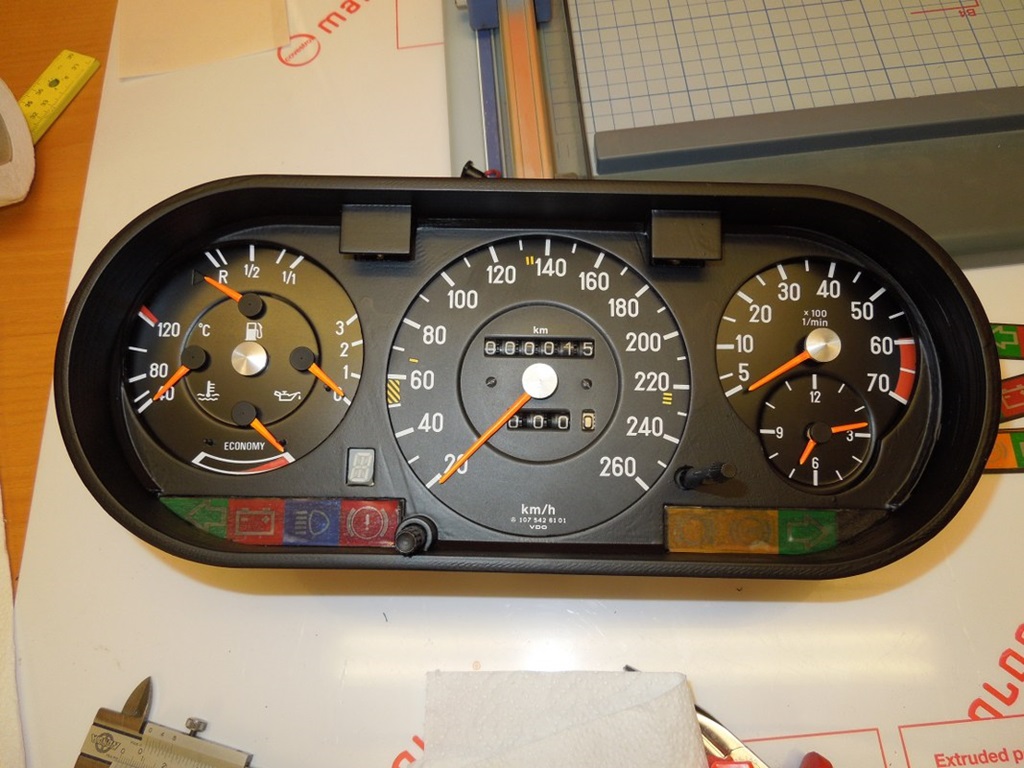
The digital 14-segment display (gears) was glued in with 2-component glue. All instruments were carefully cleaned and put in. As you can see from the back, all instruments are heavily modified to fit the cluster, so a lot of soldering was necessary. The brake pad and the ABS lights got a proper "original" Mercedes plug, so it's easier to connect.
All control lights are now LED and the trip counter reset fits in as well as the clock adjustment pin (mechanics from a W124 clock). On the top - hidden by two covers - I could fit in two more LED's to light the cluster at night.
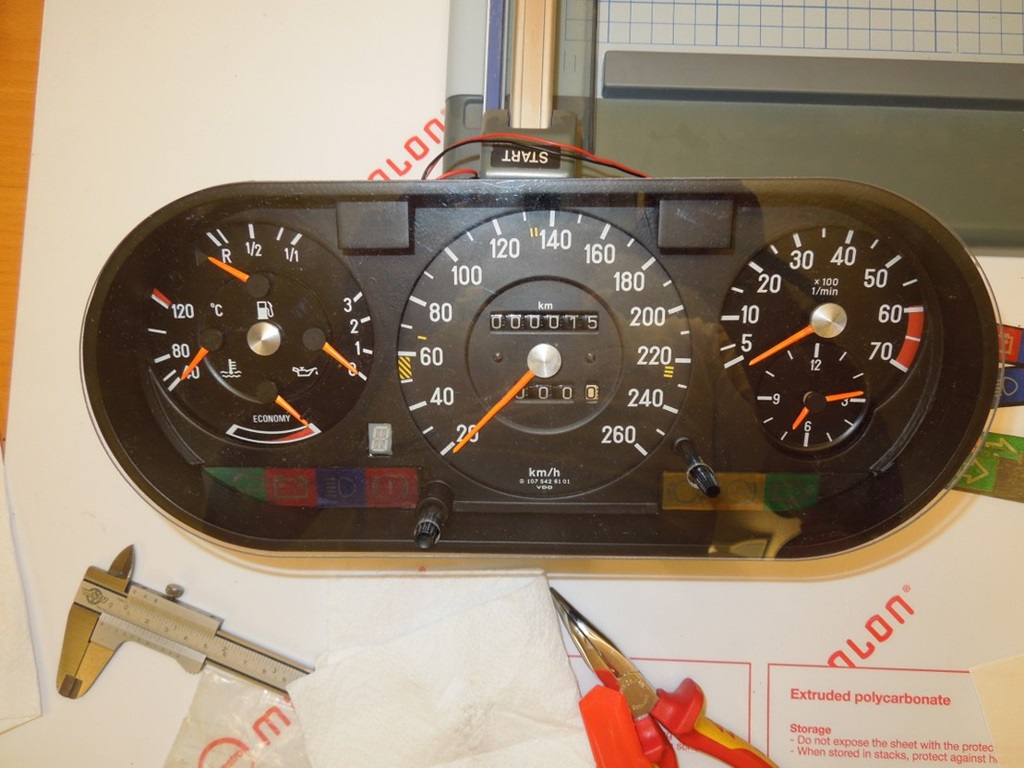
The plexiglass cover was based on my 3D-CAD-data and printed with a water-cut machine. Luckily the holes fit ;-)

Finalising the Cluster (II) ...
I finally took the dashboard with all its leather and tried to fiddle the cluster in. It needed some minor adjustments - on the dashboard and the cluster - but it "just" fits. No need for rubber to fix it, it is hard to get out again ;-)
7 May 2020
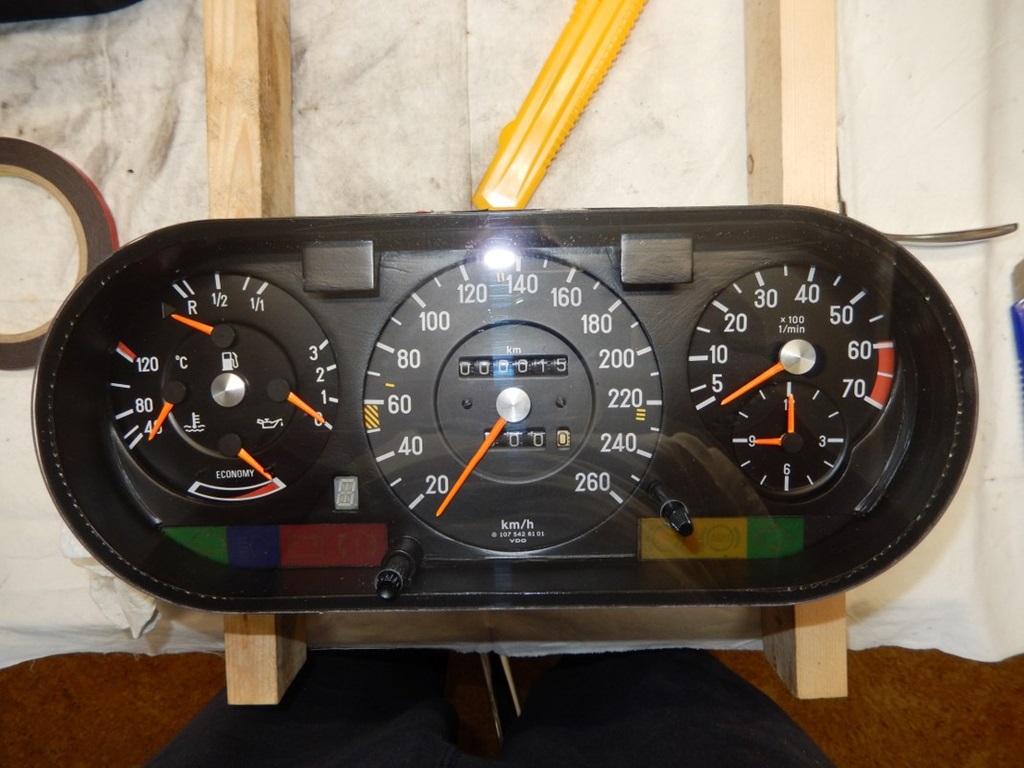
Finalising the Cluster (III) ...
2 February 2021
Finally I got myself moving to finish the cluster as the plexiglass cover was still missing. When I took it out again I saw, that the black paint was coming off at some areas. Sh... Well, dismantling everything again, two days of grinding and two days of respraying ;-)
I was long wondering how to fix the plexiglass cover. Thought of different glues, but how to apply, would it look bad through the glass etc etc. During a phone call with Stefan (again ;-) ) he came up with an idea, I was too stupid to think of myself. Why not use double-sided sticky tape? It's available in black, the outer frame is 5mms thick, so I got a roll of 6mm double sided black tape ... I could even get it around the curves. Hope it works in the long run!
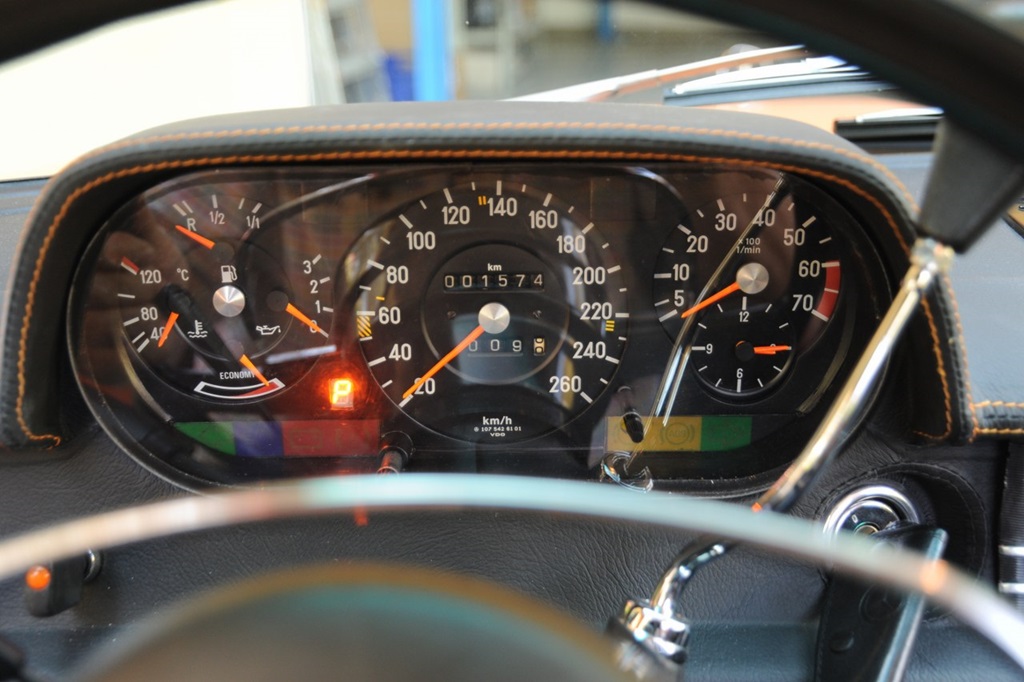
Cluster built-in ...
12 September 2022