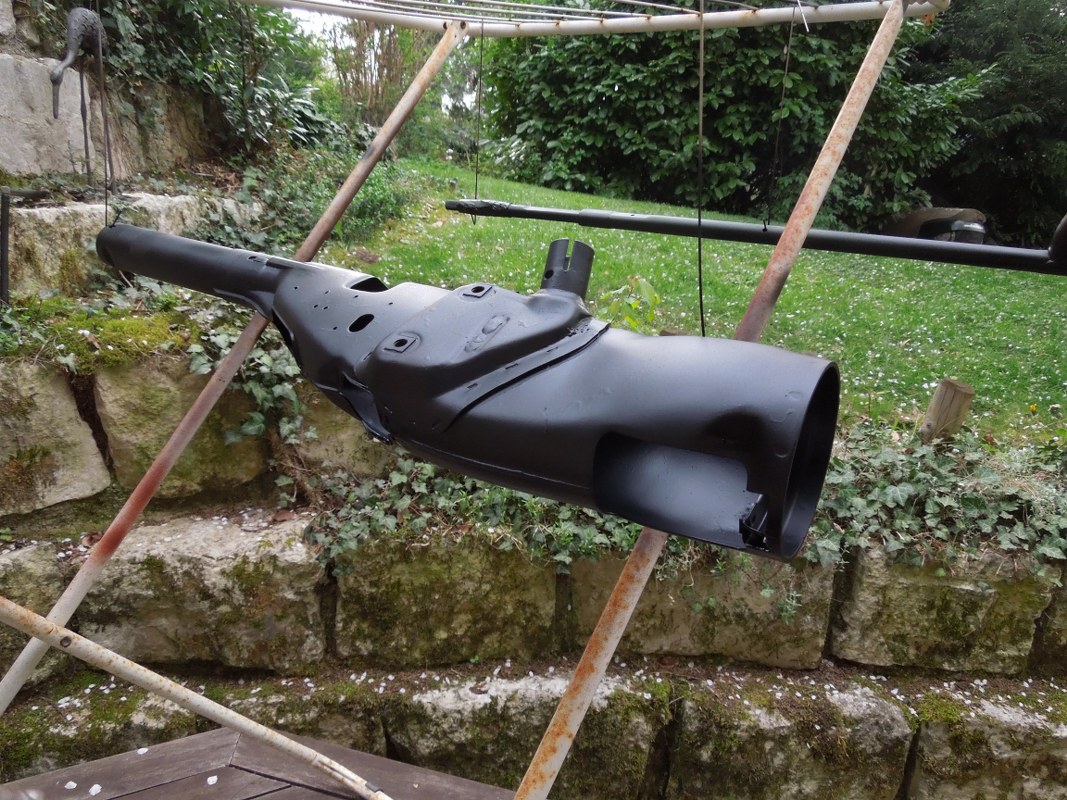
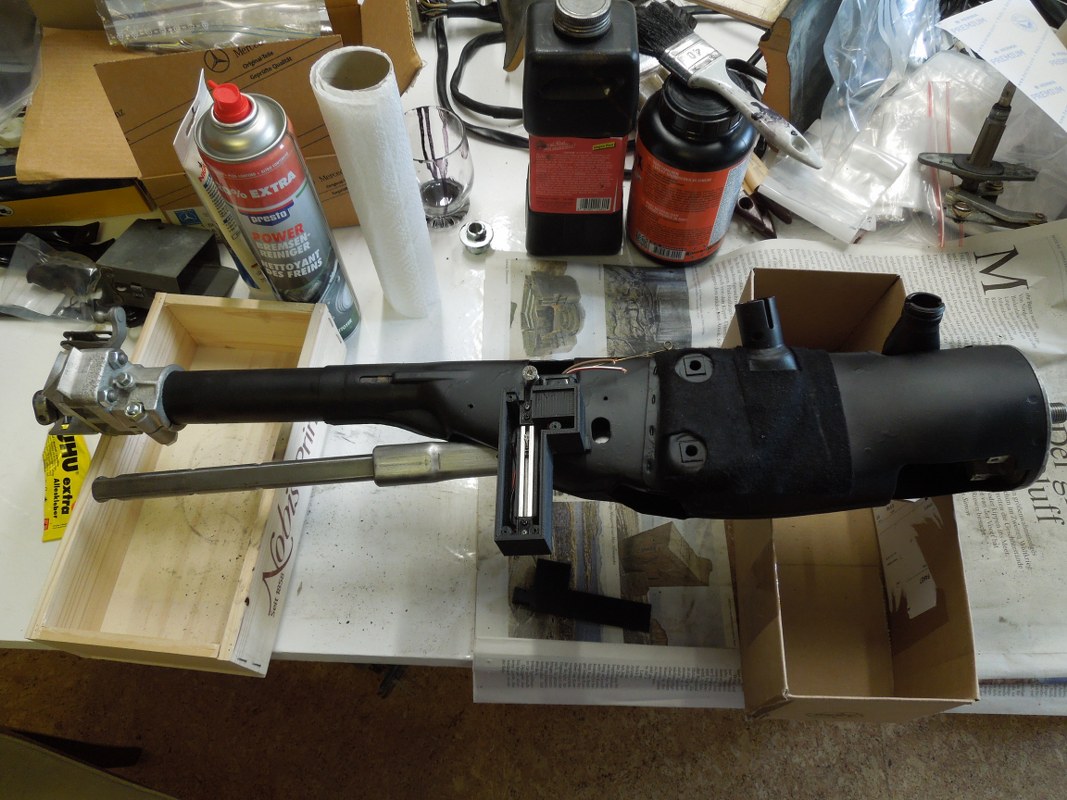
Making the steering column nice ...
17 April 2019
Here's some pics from the steering column restoration … took it apart, sanded it and put Brunox (rust converter) on it. After 24 hours red primer was sprayed on it and it was painted black.
The steering itself was "hand-sanded", cleaned and painted with a clear coating. The gear shift stick still has to go to re-chroming, then it's finished.


Fuel Pump Package ... nearly as new ...
4 August 2019
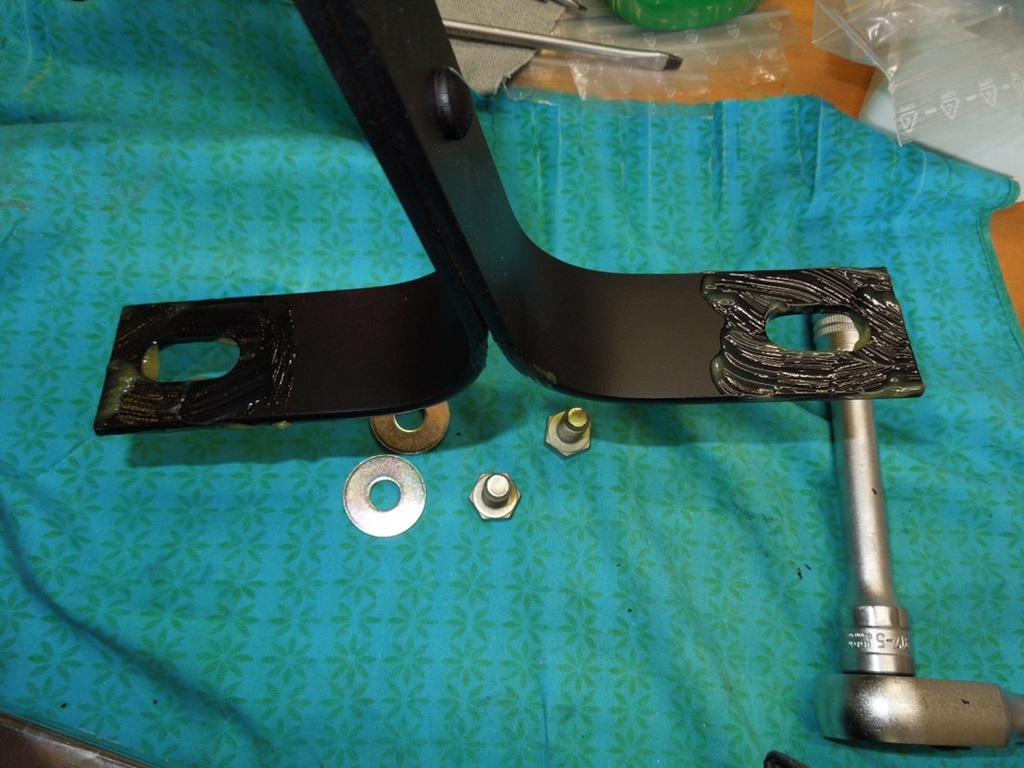
After the galvanising of parts, I started with the fuel pump package. The brackets were badly corroded and the fuel line didn't look good. The big bracket and the fuel line I sandblasted and had it galvanised.
However the bracket in the front (with the rubber bumpers) was still available at Mercedes … just 10 Euros … so this is brand new, as the rubber bumpers are.


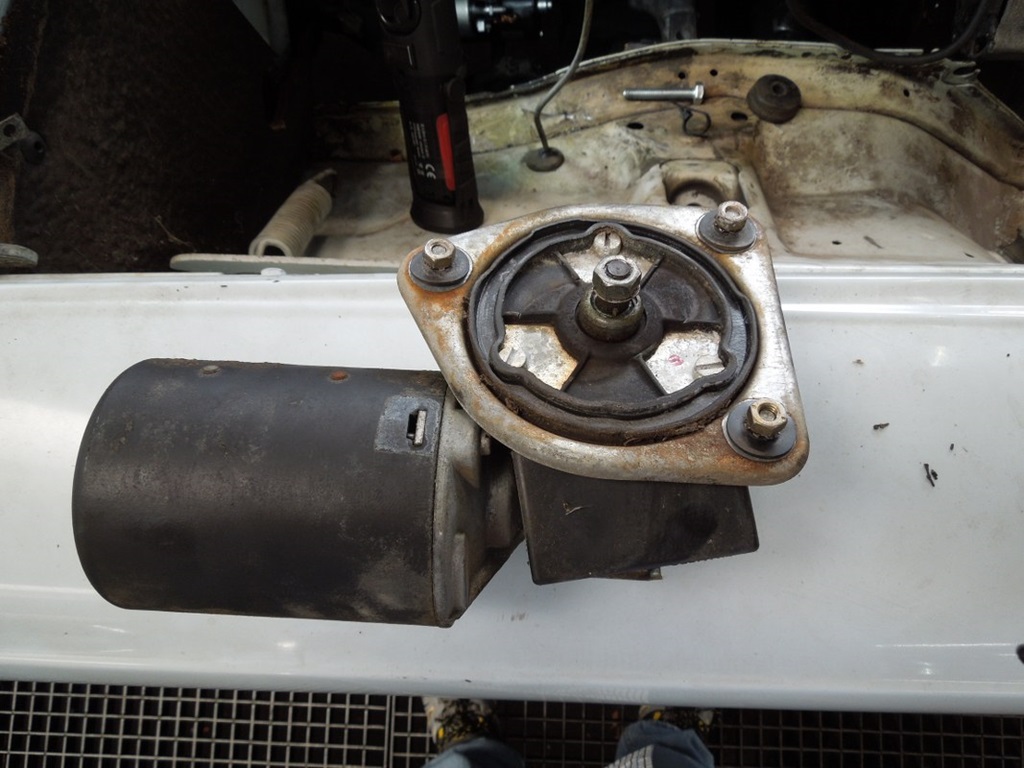
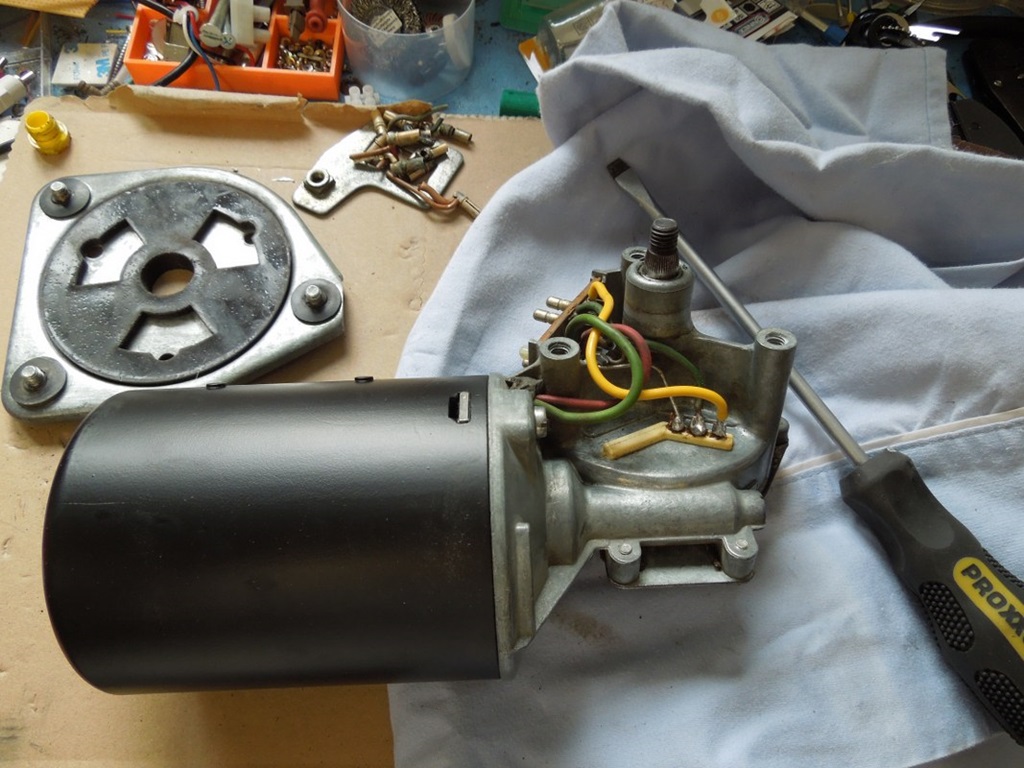
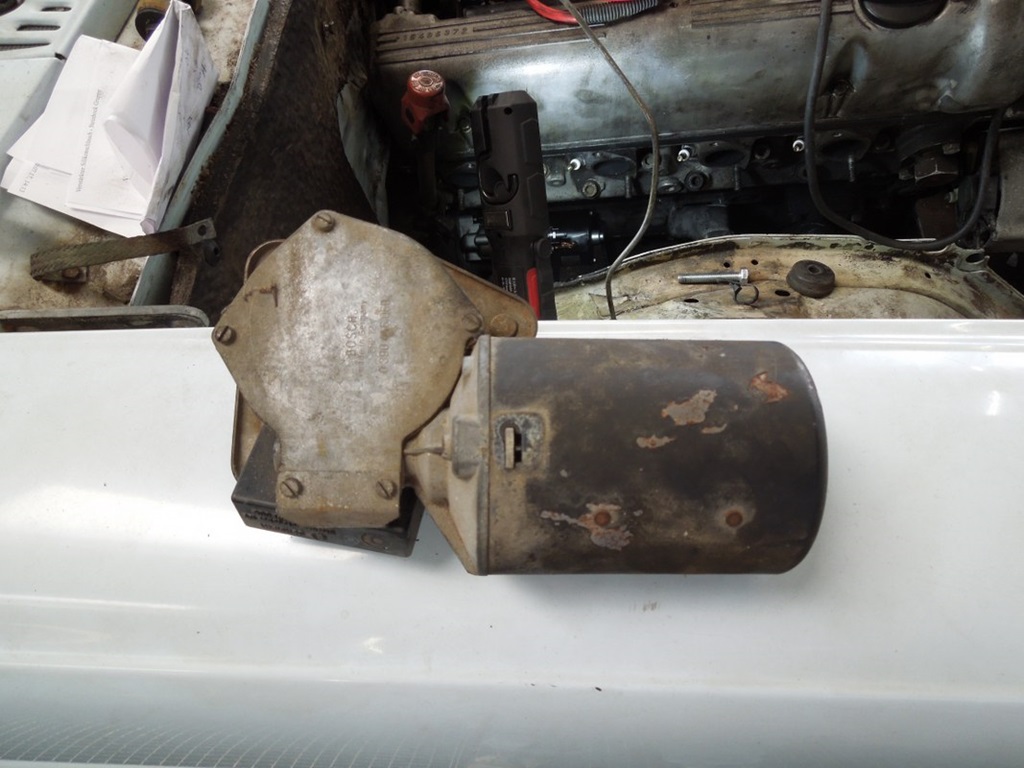
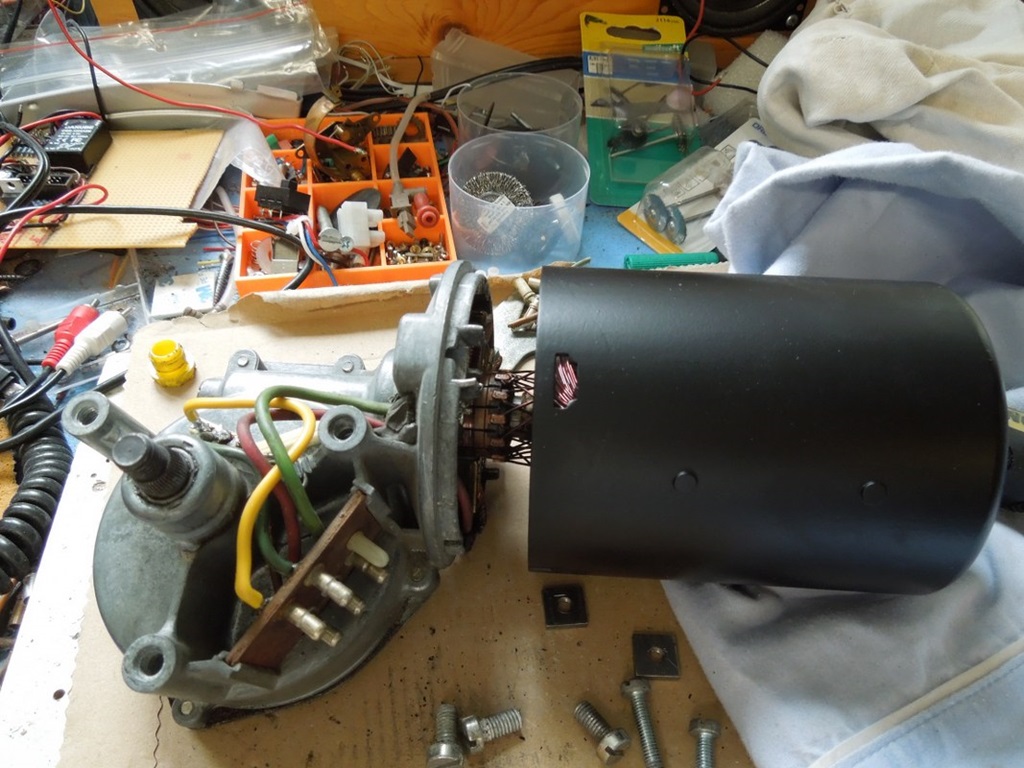
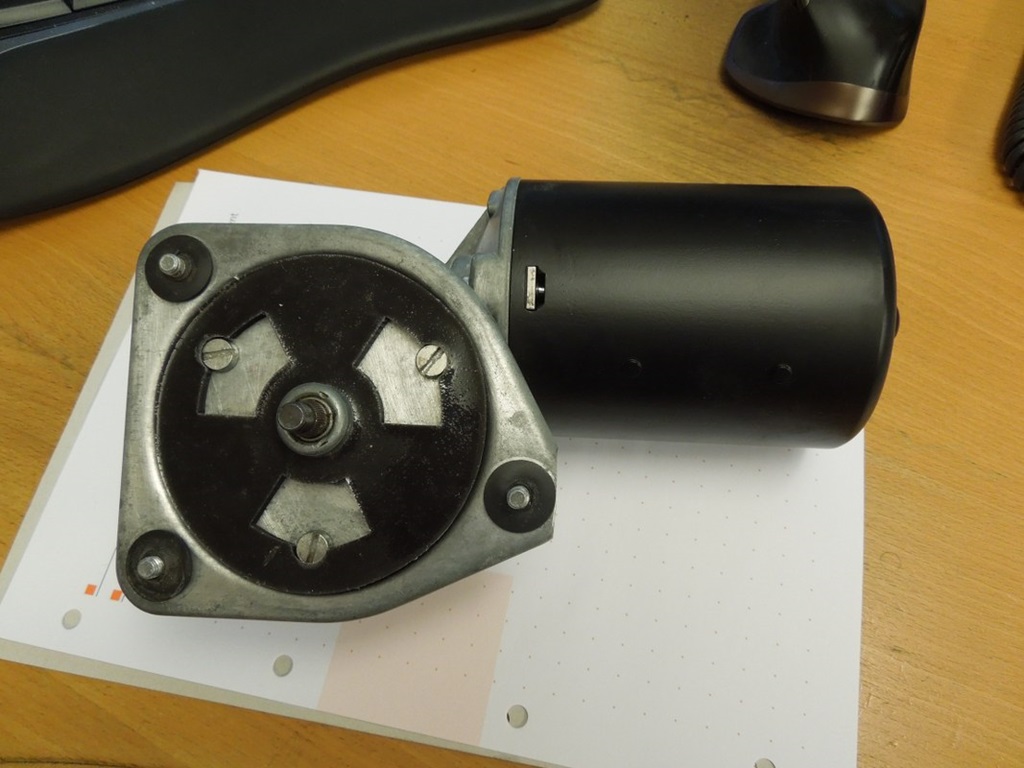
Wiper Motor restored ...
5 March 2020
I unpacked the wiper Motor for testing the harness. While I was at it, I designed a new gasket for it. After cleaning it looked much better. The housing I sandblasted and repainted it black. Another part, that can go in a box to be installed straight away once the car is back.

Tank modified ...
27 March 2020
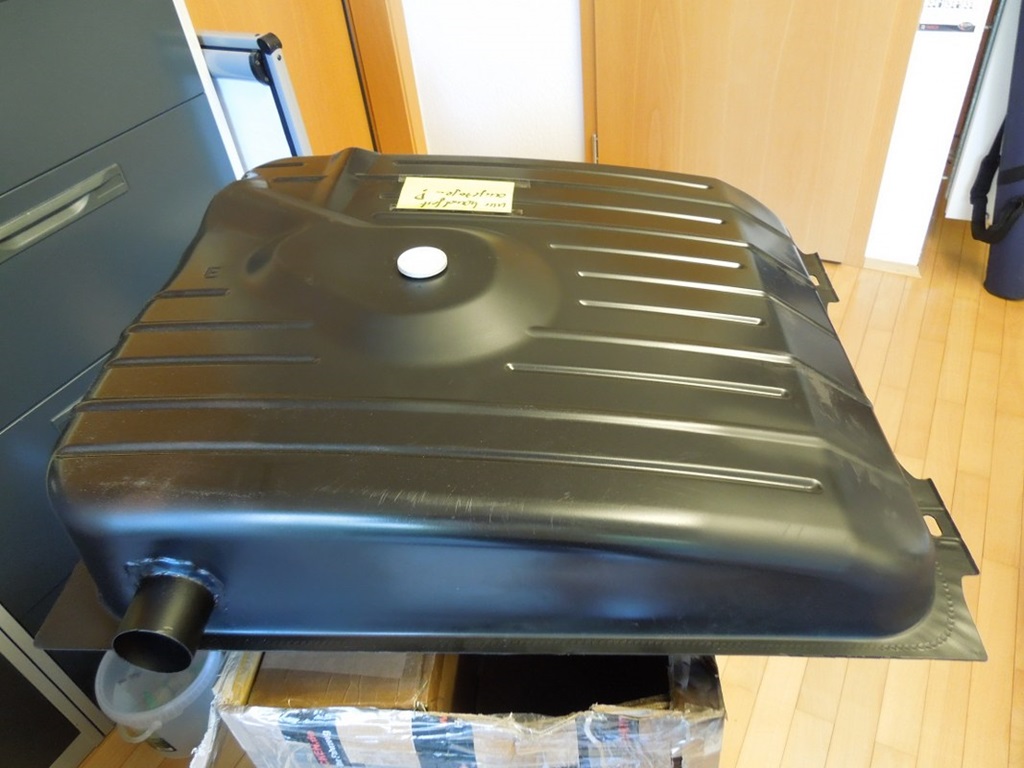
Finally the tank will be sent back. Although the Pick-Up tank was in good condition (surprise, surprise), I couldn't use it as I need a different tank for a fuel injection car.
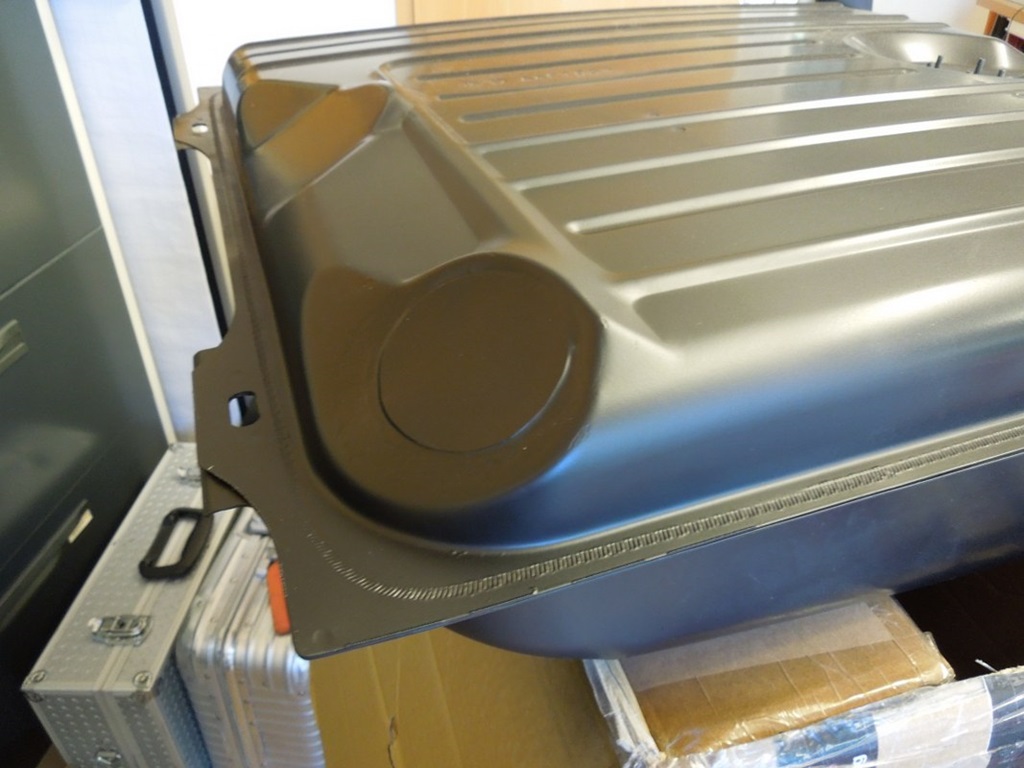
So I bought a brand new W115 tank (reproduction) in the bigger version (82 litres). With the standard W115, the fuel flap is at the back, next to the license plate. This is not possible with the Pick-Up due to the cargo door, so the opening is on the right side.
So I cut out that corner of the original tank and sent it together with the new tank for modification. Cutting the infill part at the end, close it and open a new hole in the original position … here's some photos from the guy who modified my tank.

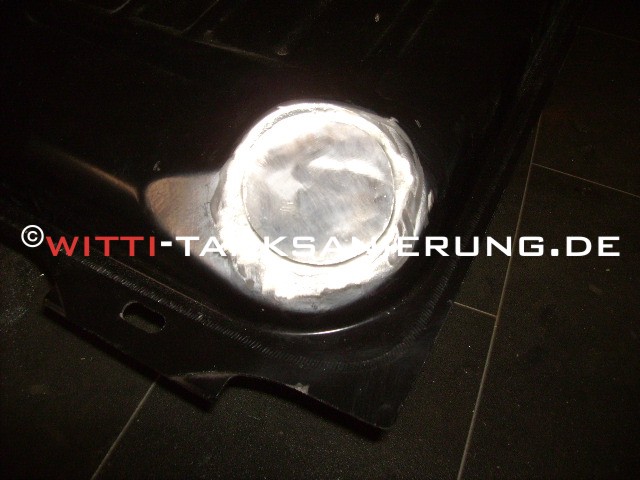
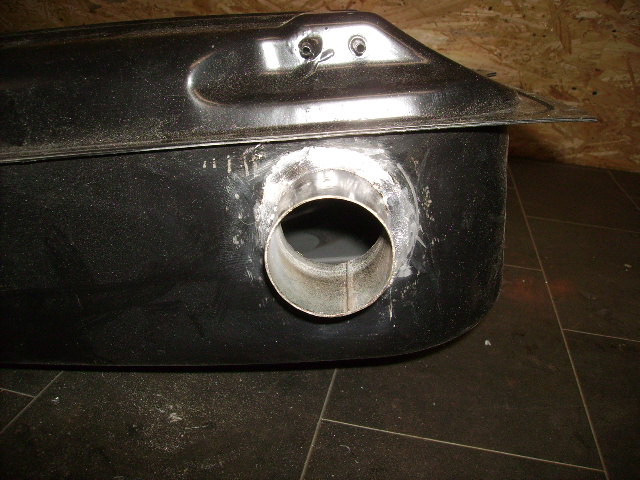


Tank finished ...
5 April 2020
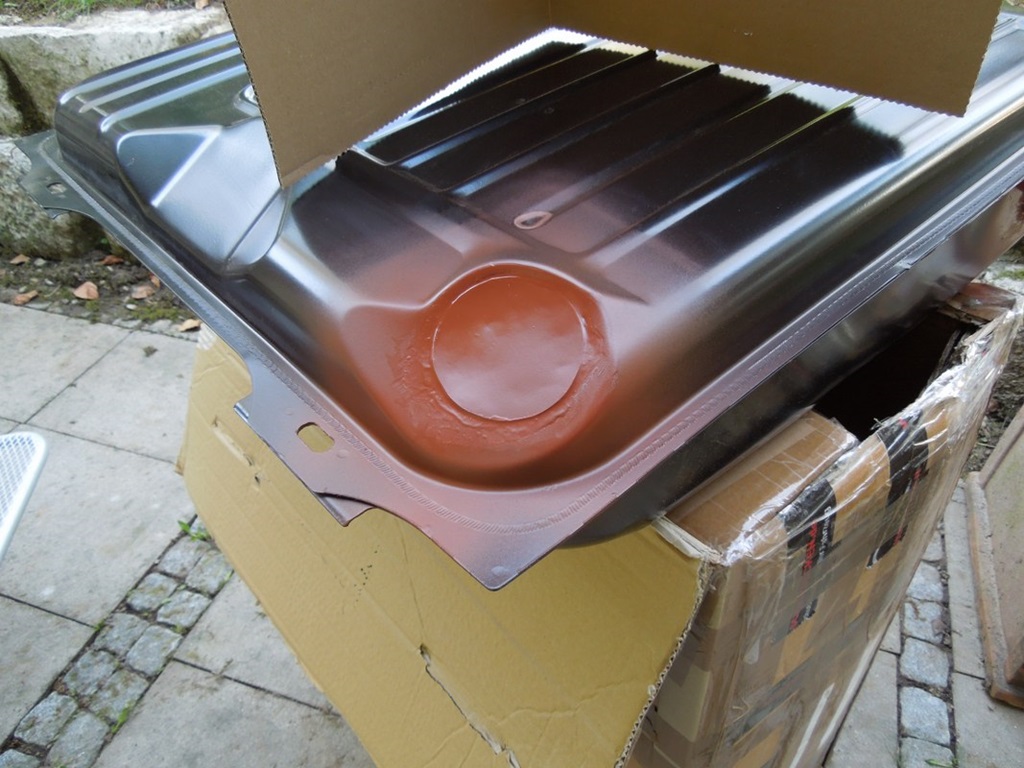
Last Saturday the tank came back, so it was time to finish it. The tank guy only did the soldering, but not the finishing. I wasn't too happy with the "soldering finish", but I left it that way because a) I didn't want to risk that it leaks and b) you won't see it.
So a bit of primer and colour and I think it is alright so far. A brand new fuel filter is installed and once the electrical installation testing is done, the fuel sender with a new sealing will be installed too.

First quarter window restored ...
28 April 2020
After finishing the harness I started with the doors. All "mechanical" parts were cleaned or galvanised. I took apart the interiour door handle to have it rechromed.
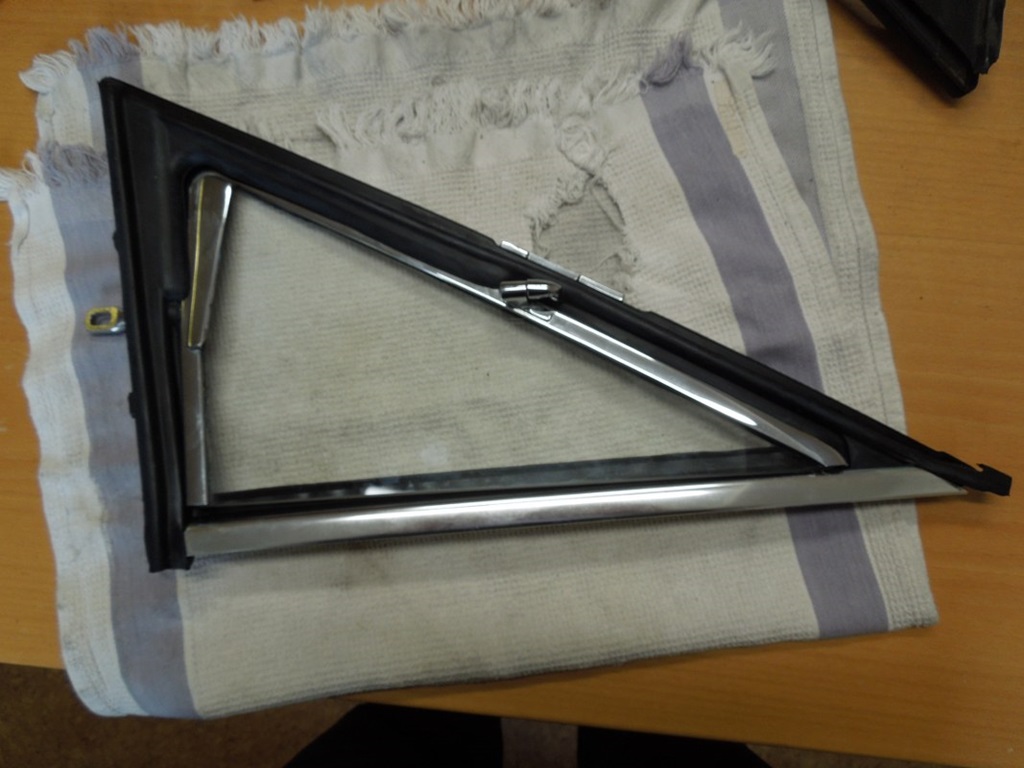
Main issue were the quarter windows in the doors. Both gaskets aren't available any more. I could source the right one from a Mercedes Club here, but the left is just not available, no reproduction etc. I had a search running for around two years now and on Easter Sunday an email popped up. Someone sold it, original, from an aborted restauration. It was only 10 minutes online and I got it for 125 EUR, not cheap, but still in perfect condition.
So I started on the driver's side, taking all apart (and taking lots of photos how it's all puzzled together). The metal frame I ground and resprayed it properly. Took me an hour to fiddle the new sealing in, but it fits.
Next step is the passenger's side. There I'm again lucky to have the parts of two cars. The chrome of the California sedan is pretty bad, but surprisingly the one from the pickup is pretty good ... so I will combine the parts of two cars to have a reasonable window.


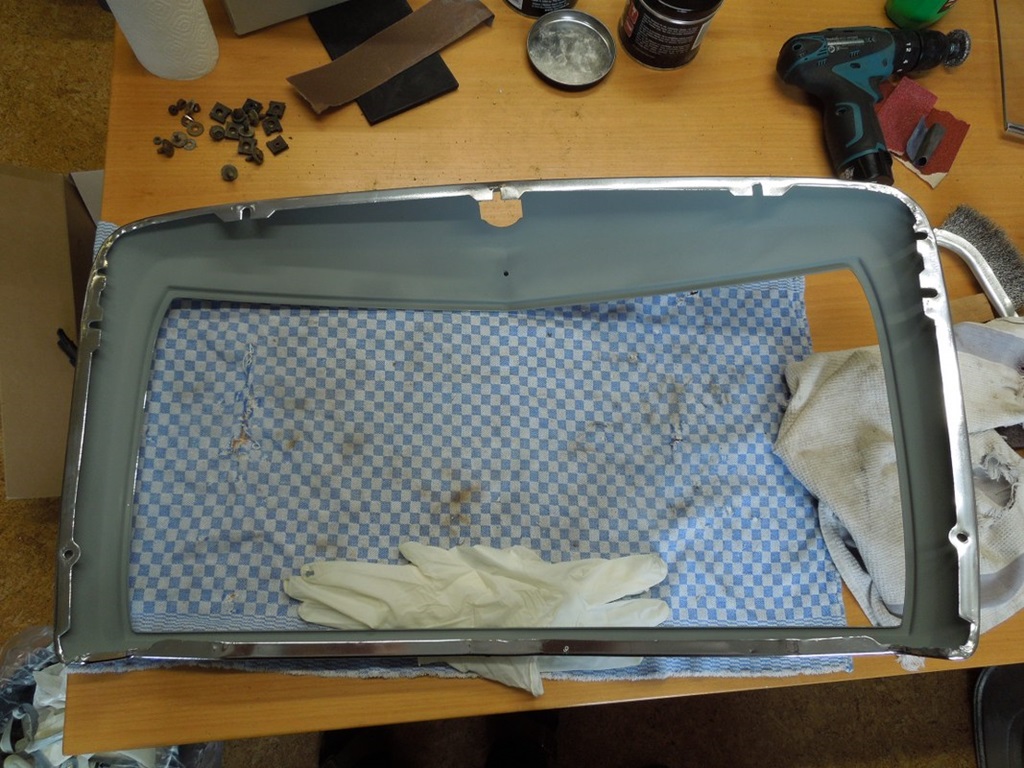
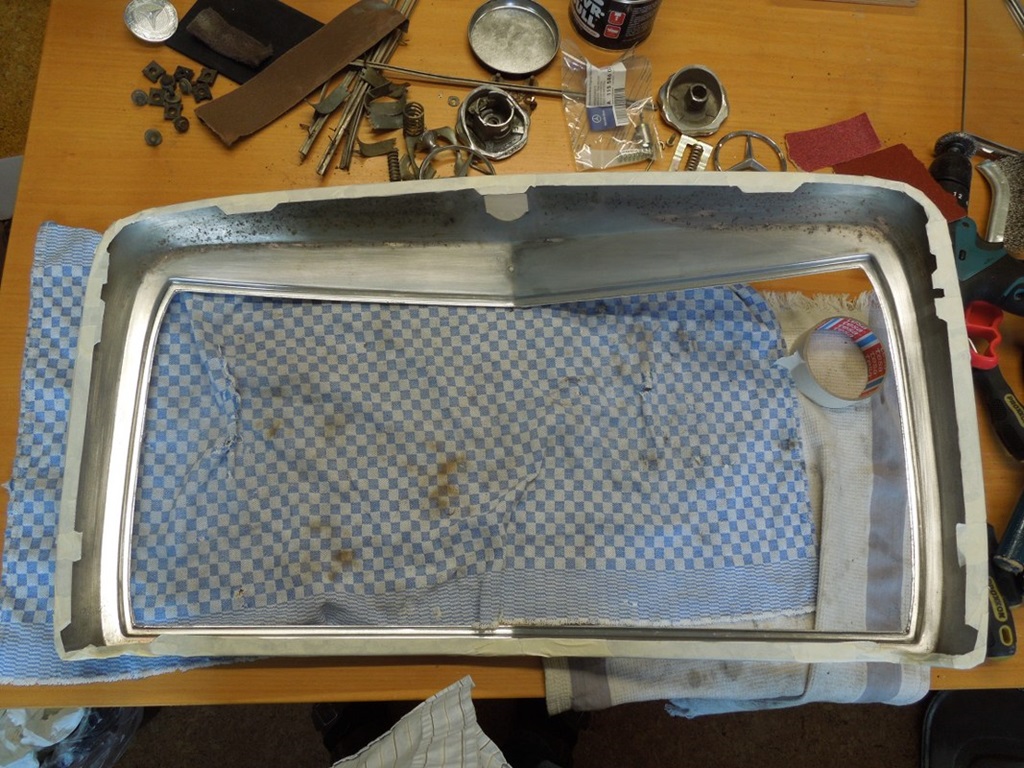
Radiator grill restoration started ...
5 May 2020
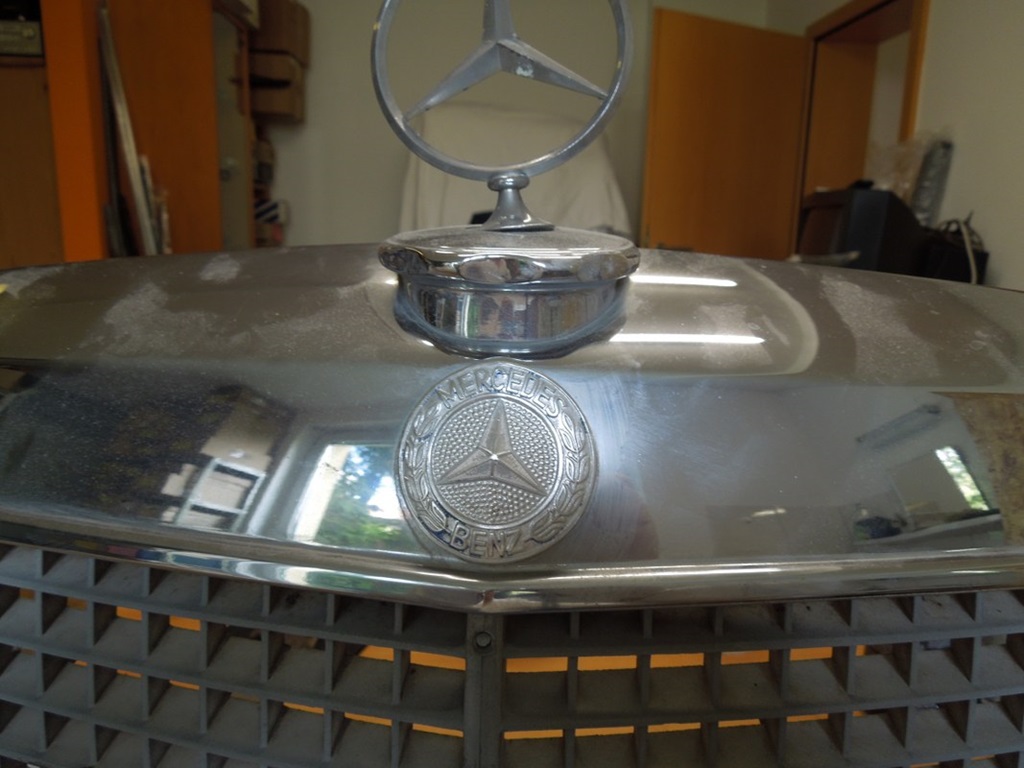
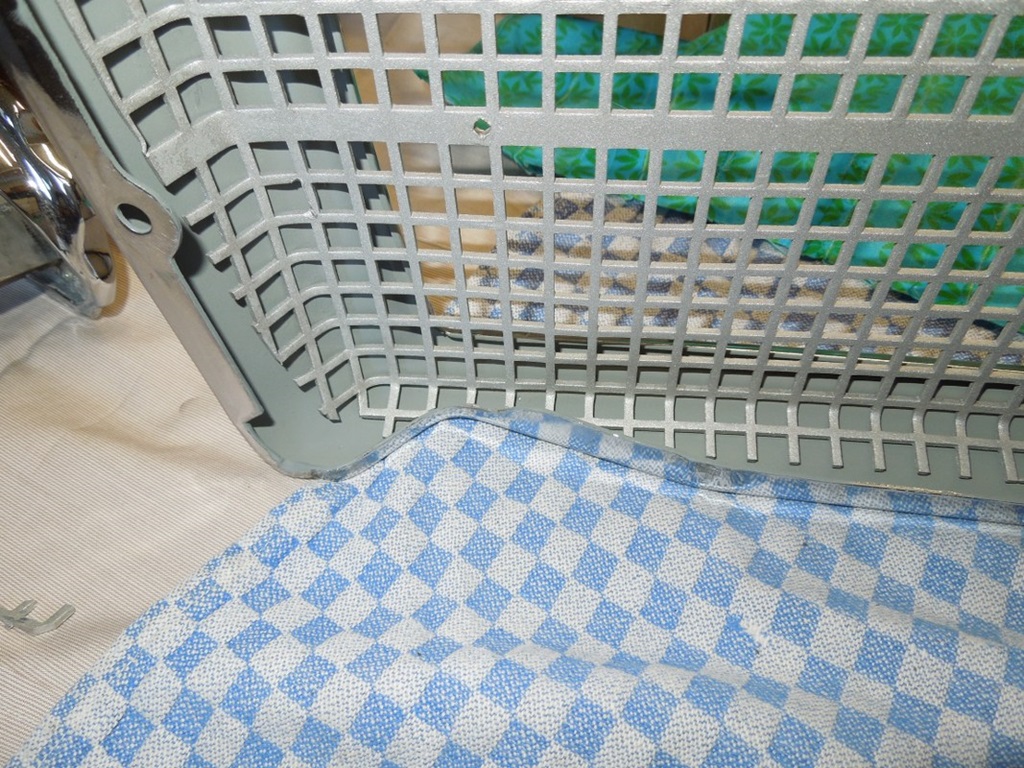
I continued with the radiator grill. Having two pieces again, I chose the chrome frame of the sedan and the insert of the pick-up. There were two versions, the pickup with the small honeycombs in aluminium and the sedan version with the bigger honeycombs in plastic.
I'd like to have the original pick-up version, however the open area of the honeycombs is 22% bigger with the "modern" plastic version. Maybe that's the reason for the change. I will see how the motor temperature will be, so I can always swap.
What you see on the photos is two days of chrome polishing, rust removal and making it nice again. Next thing is to restore the aluminium honeycombs, the star and the ornamental bars for the grill (I have a set of new ones).
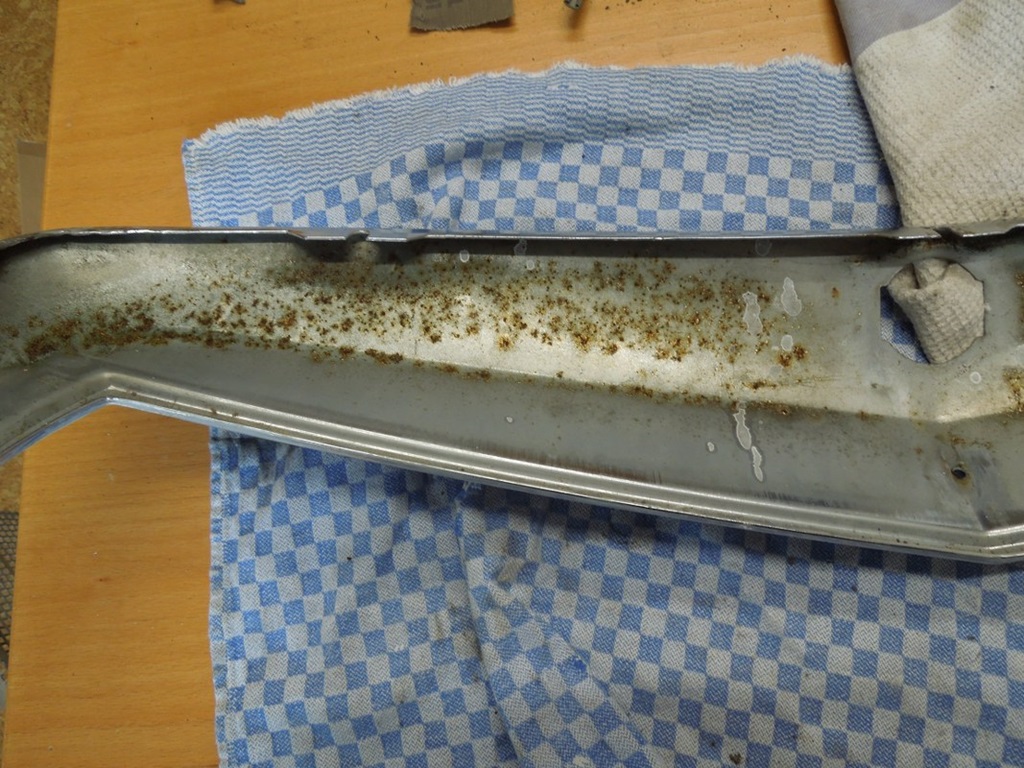

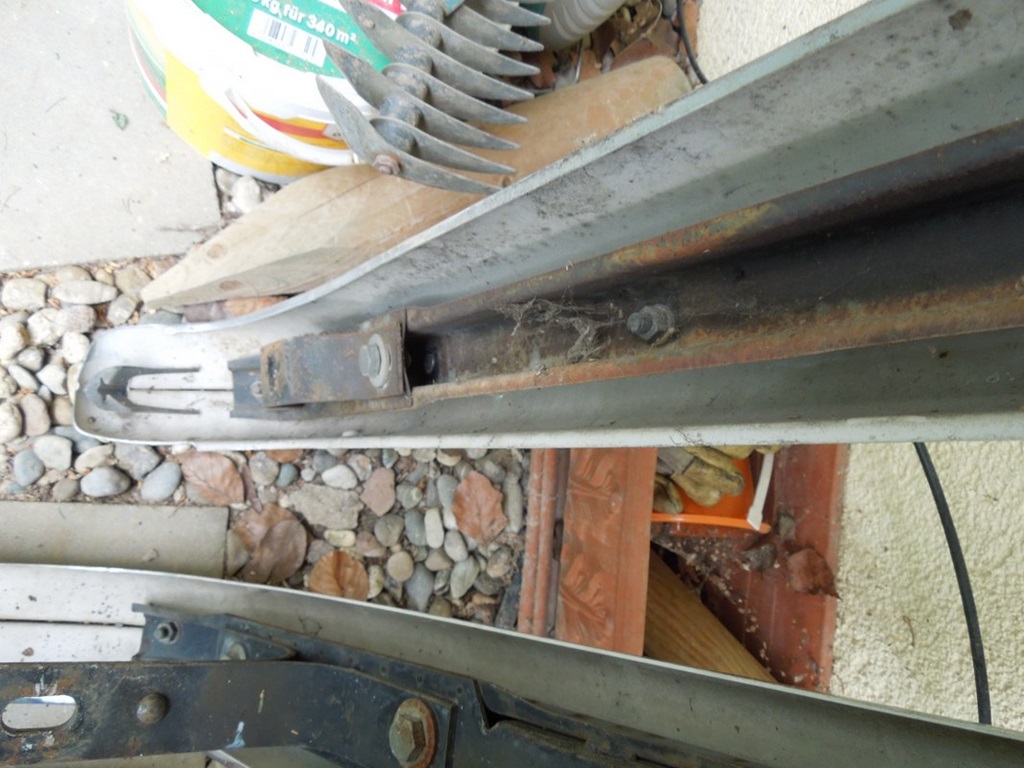
Bumpers brackets started ...
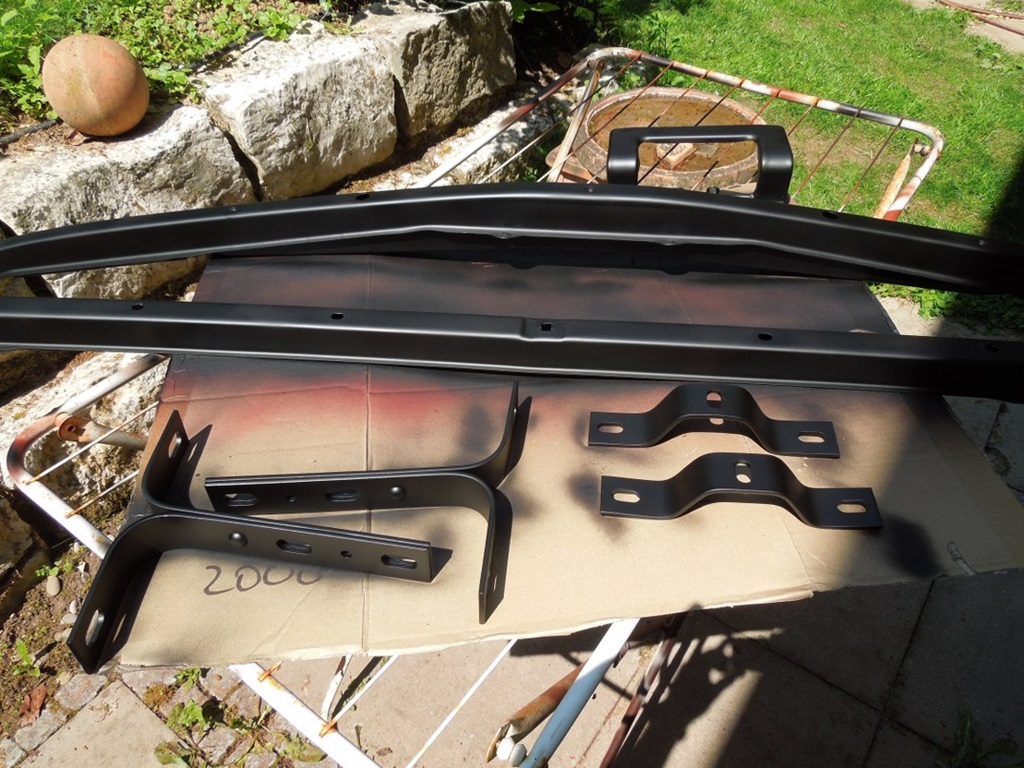
15 May 2020
I started the bumper brackets now. Dismantled the bumpers from the California sedan, which was quite a challenge in itself. The steel brackets inside were in quite a reasonable condition as well as the chrome. Two stickers on the chrome proved to wear three fingernails off ;-) ...
Yesterday I got the steel brackets glass bead blasted and it turned out to be really good. So I have primed and painted it. The two chrome clamps in the middle weren't in good condition, but I could source them new from the club. So next steps are getting the rust off the 4 chrom pieces, get that tackled and waxed and then - hopefully - I can put everything together again.
Radiator grill cont'd ...
16 May 2020
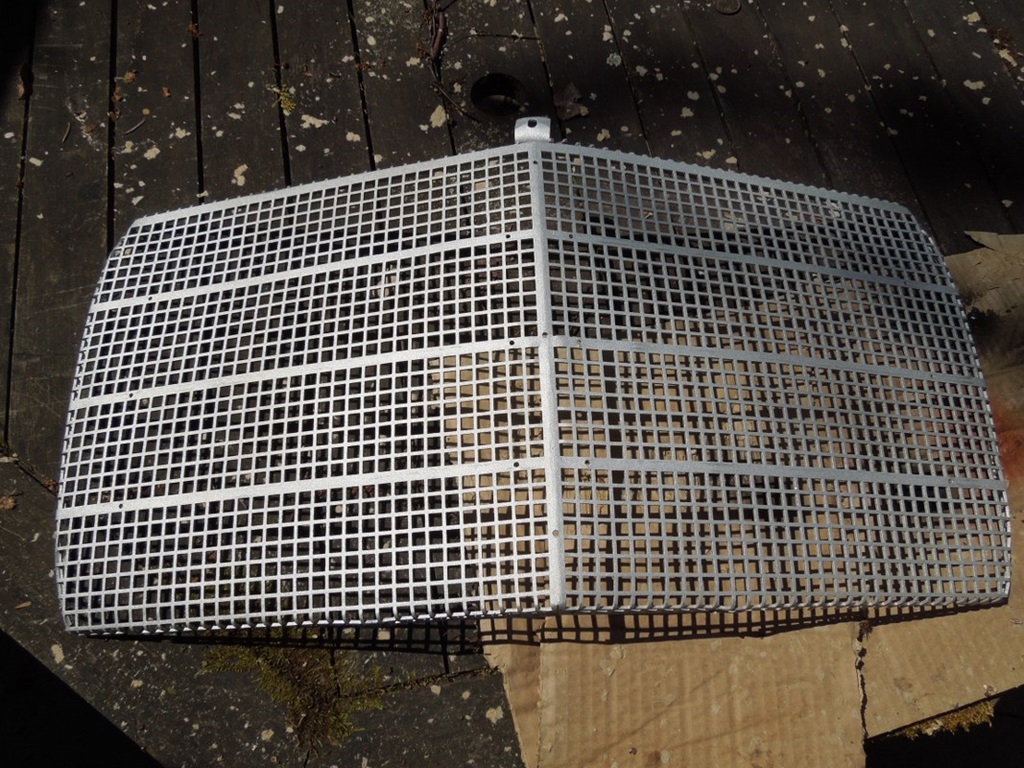
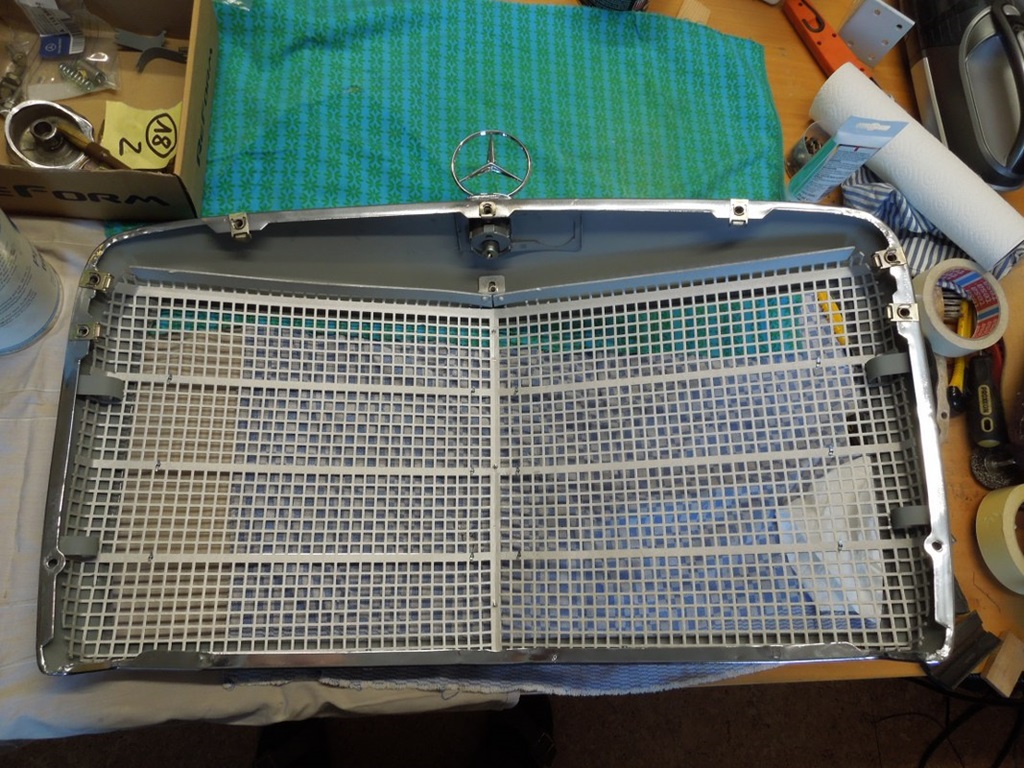
I got the aluminum grill (original pick-up) glass bead blasted too ... and it looks like new.
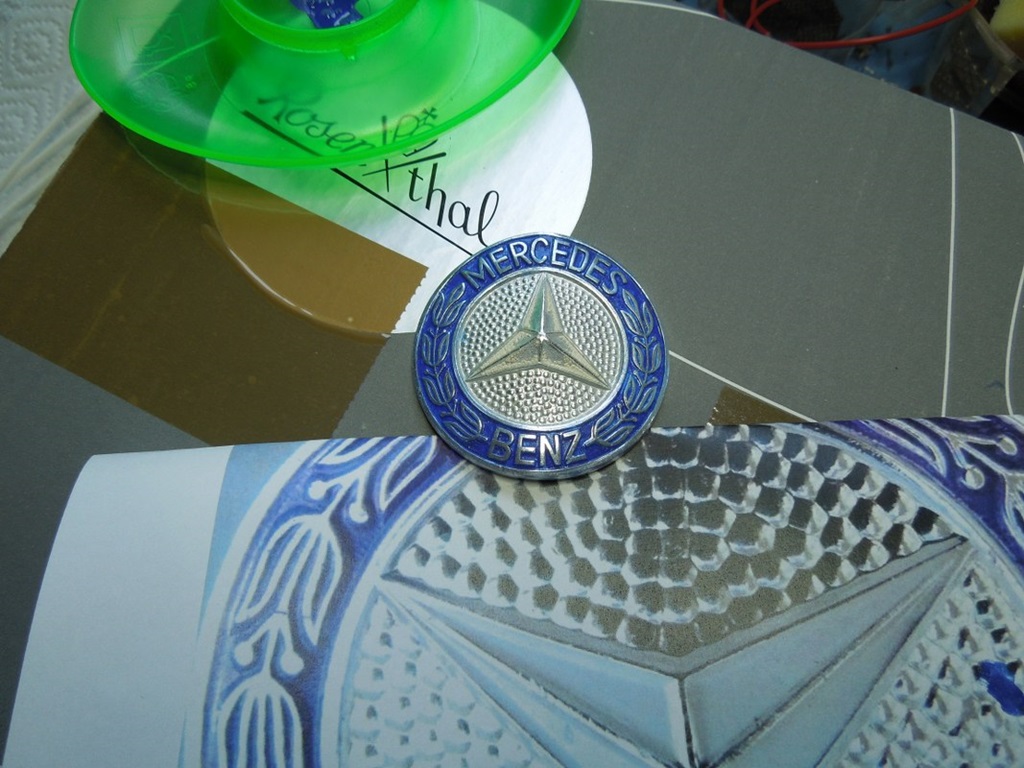
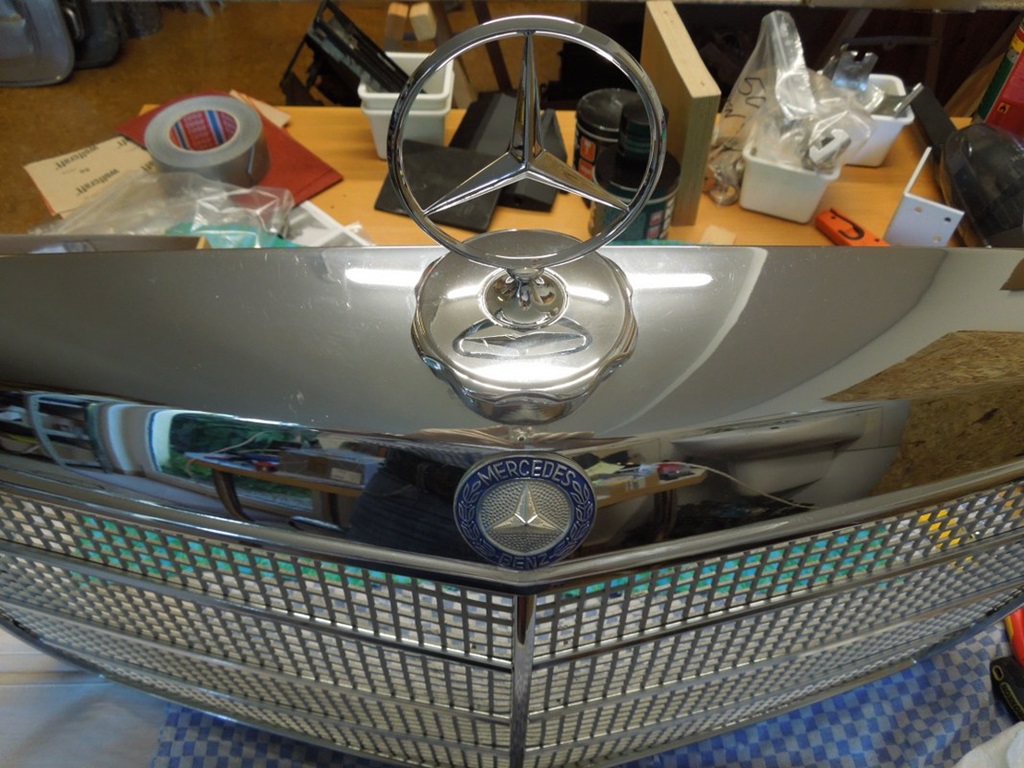
Also I asked my wife (she paints) to try to repaint the emblem, as it was totally faded. I purchased a RAL 5002 paint and I think it really looks good!
Radiator grill finished ...
19 May 2020
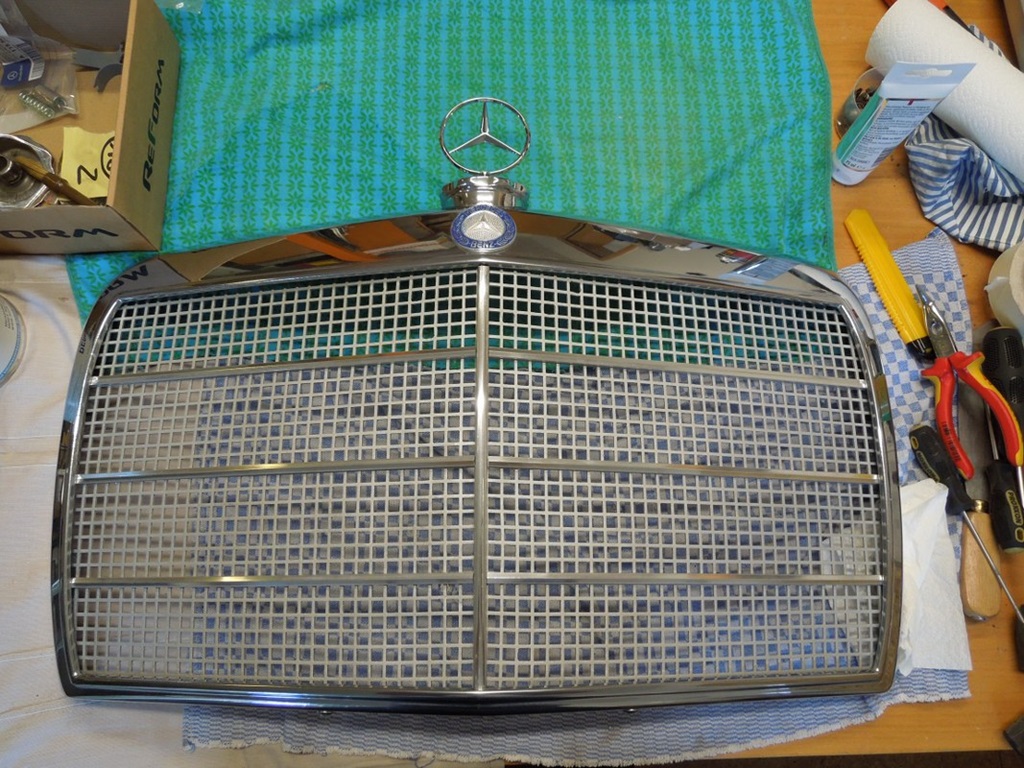
Today I finished the radiator grill. The inside clamps I coated with zinc, so I put it together. I used the chrome frame from the sedan and the inside (aluminium) from the Pick-Up. So the whole thing is not perfect, but original. However, there is a difference in the chrome frames (plastic vs alu inlay): The bottom shape is a bit tighter in the plastic version, so I had to cut off a few bits from the aluminium inlay.
Both stars weren't in good condition, so that's new ... makes it nicely with the emblem, painted by my wife. I had new ornamental bars including the original clamps to fix them, so that looks fine too. The only thing missing (I will order that) are the two rubber bumpers on the bottom.
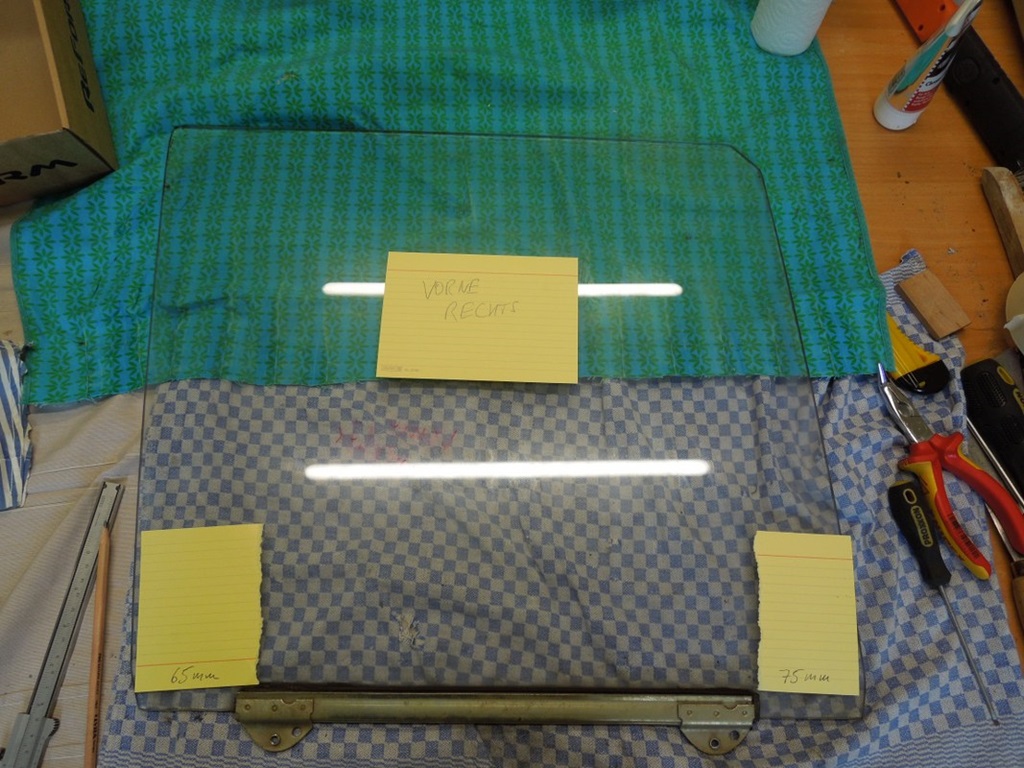
Door windows - bottom rubber profile ...
21 May 2020
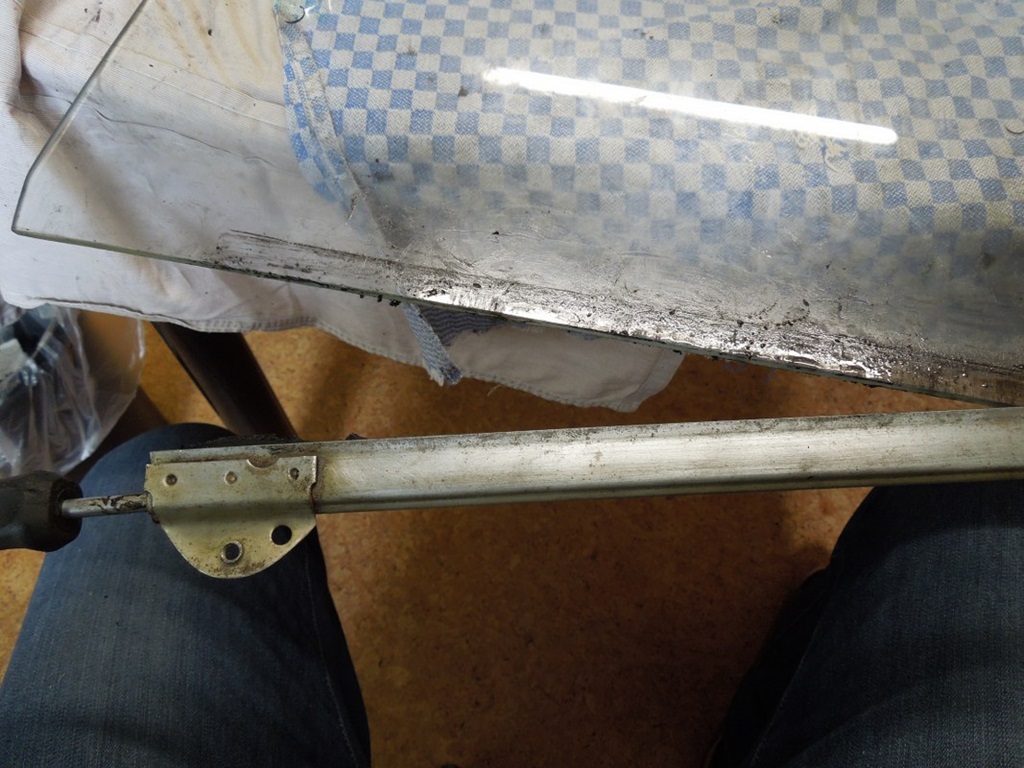
When I ordered all the rubber / profiles for the door, I also wanted to change the rubber profile in the bracket that holds the door windows at the bottom. Bad idea. It took me one (1!) hour per window to get the old ones off.
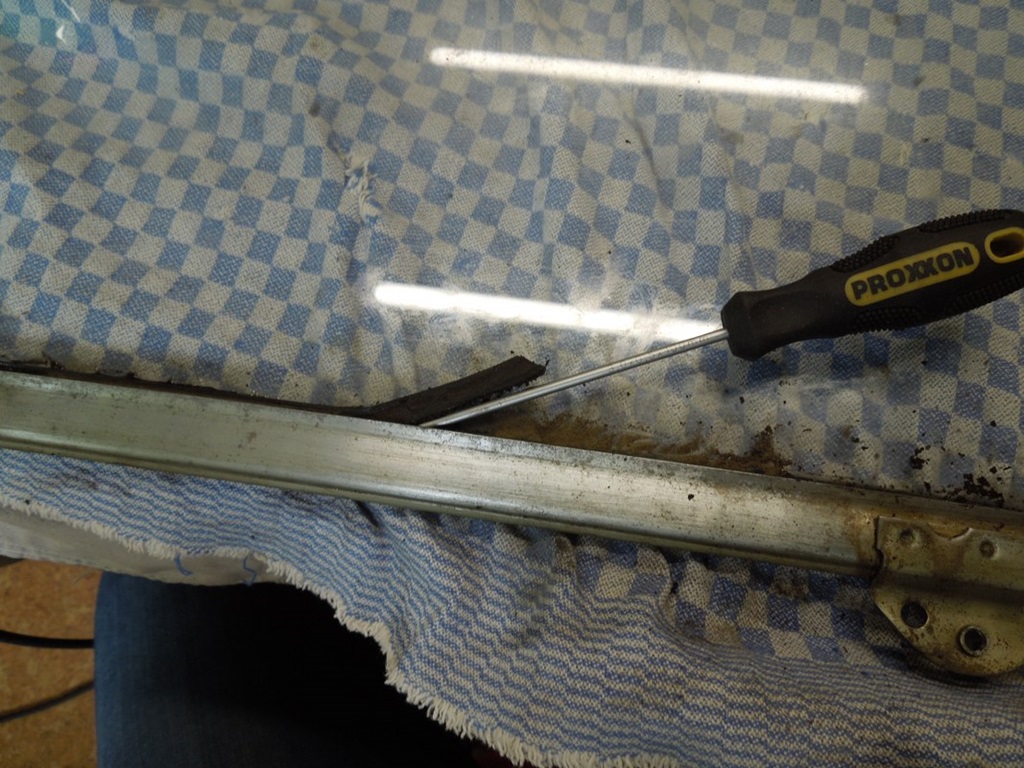
Tips: Oil, oil, oil first. Don't try to lever it out, I broke a bit of the glass off at the bottom. After soaking, I could take off the top 5-10mm of the rubber on both sides with a little screw driver. More oil in it and then put a - more and more bigger - screwdriver into the side (hammer!). That's how it finally went off.
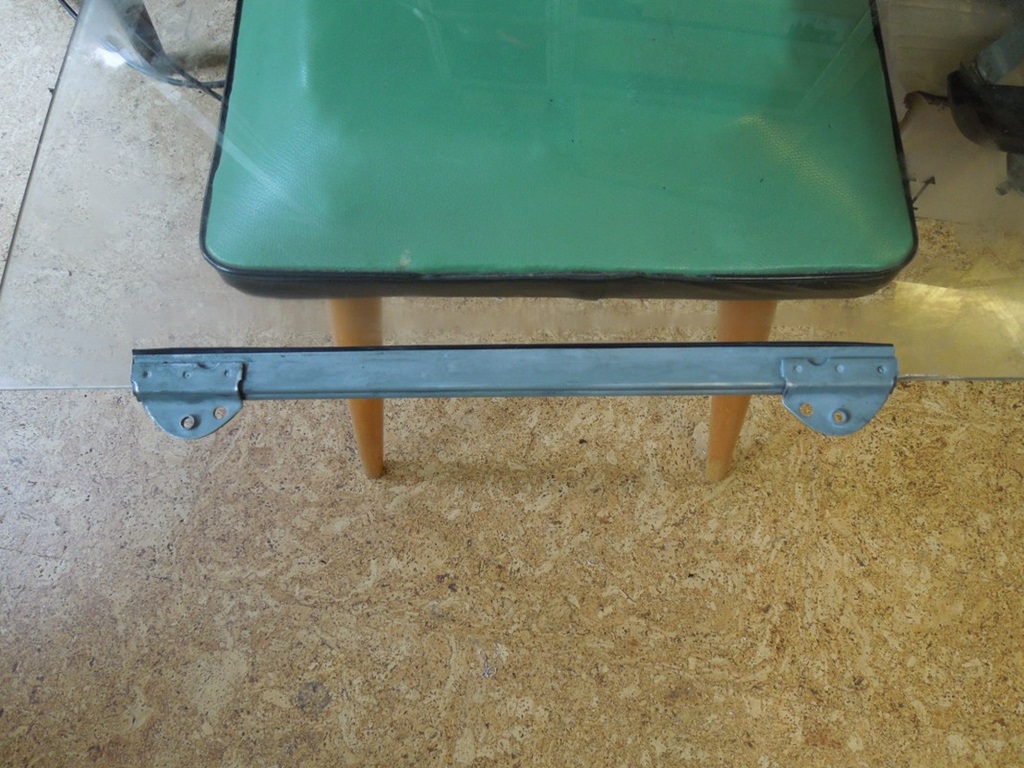
After cleaning I tried to put the new rubber and the sandblasted bracket back on. Another bad idea as it is really really tight. One rubber I fucked up, as I tried with glue to early. After cleaning the whole mess, I tried without glue first. Trick is to put the rubber on the glass, put the glue on top and soak the sides of the rubber with silicone spray, several times. With your wife holding the window you can finally - with a lot of force - put the bracket in. Hours and hours ... ;-)
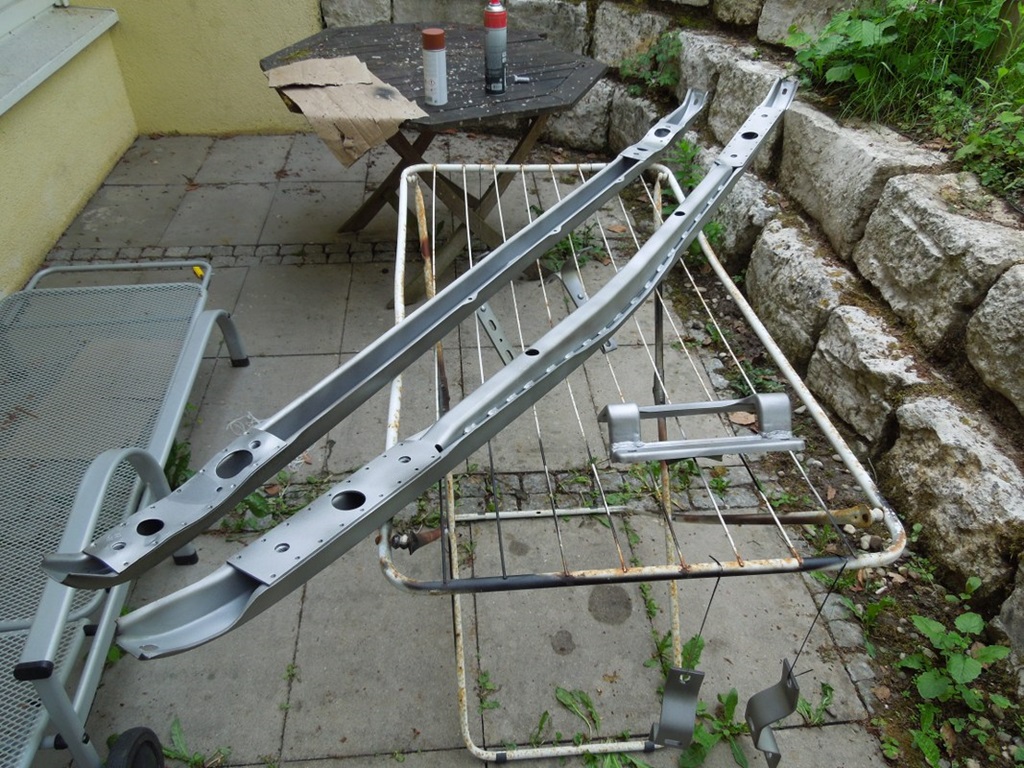
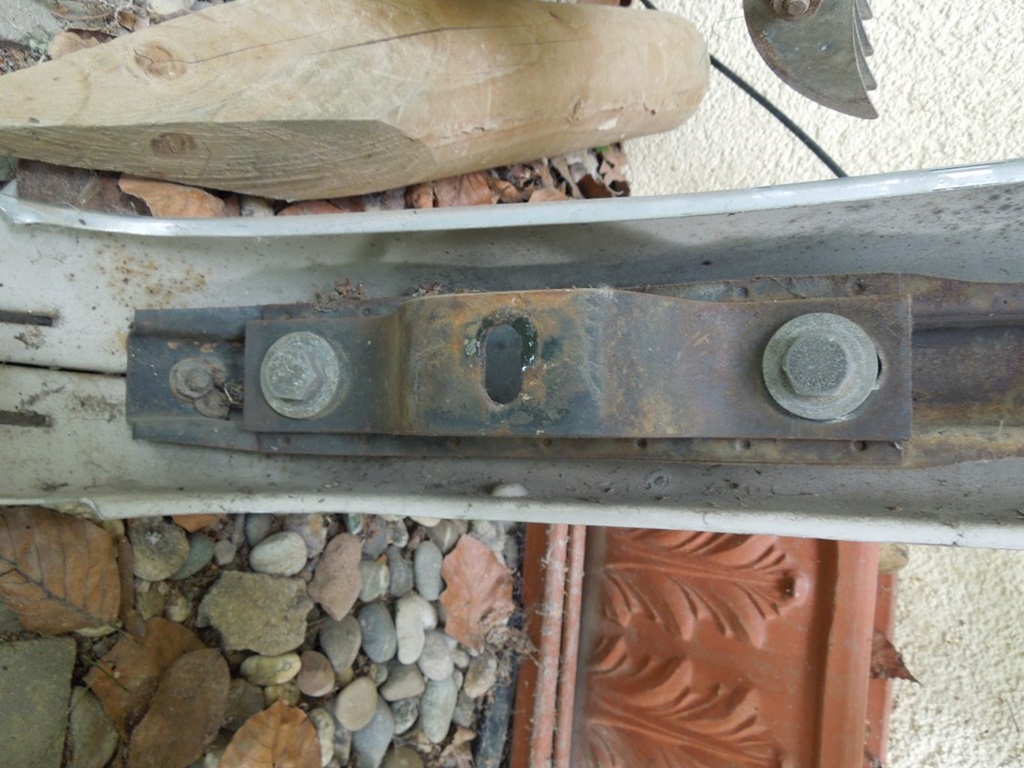
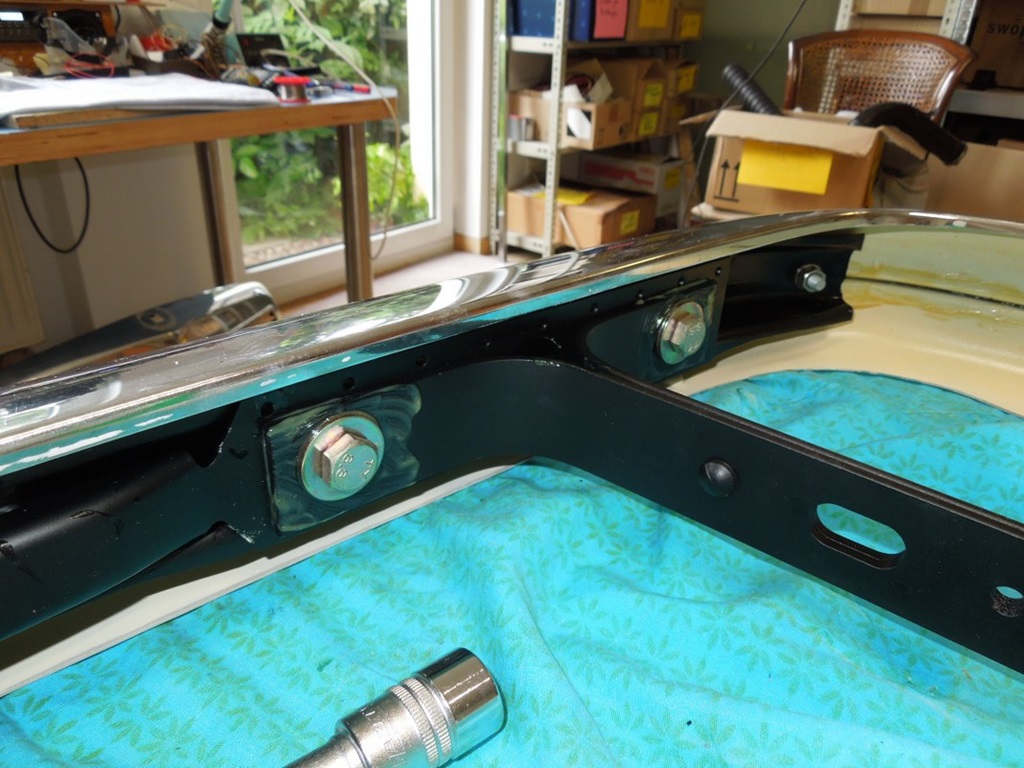
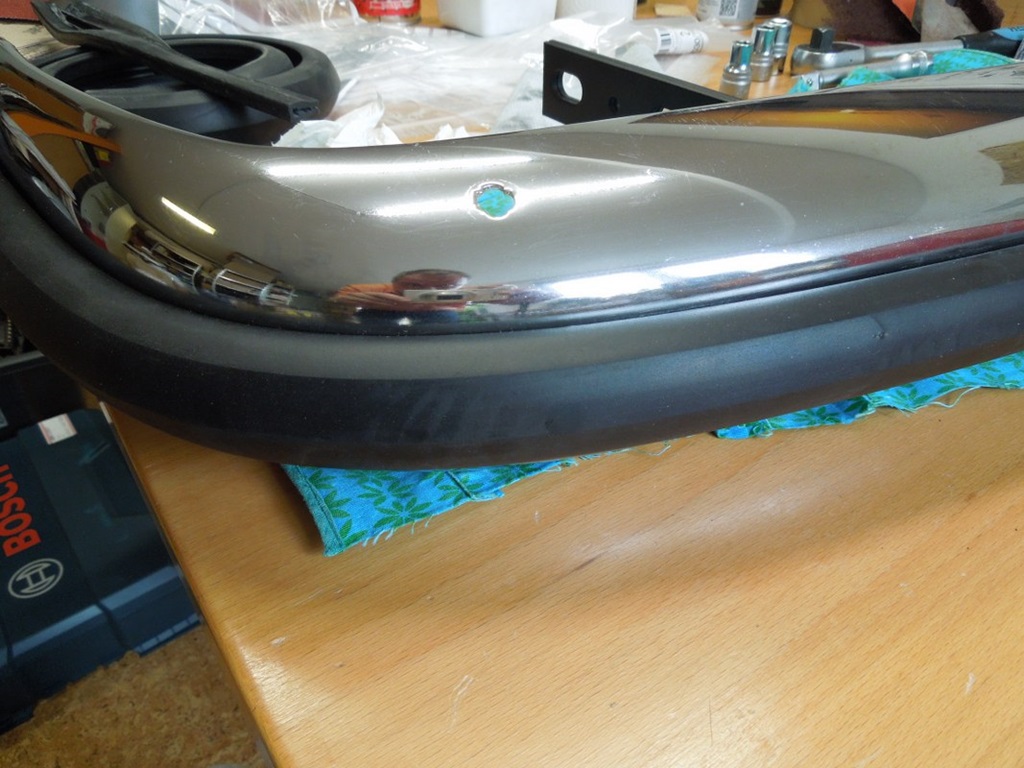
Bumpers finished ...
23 May 2020
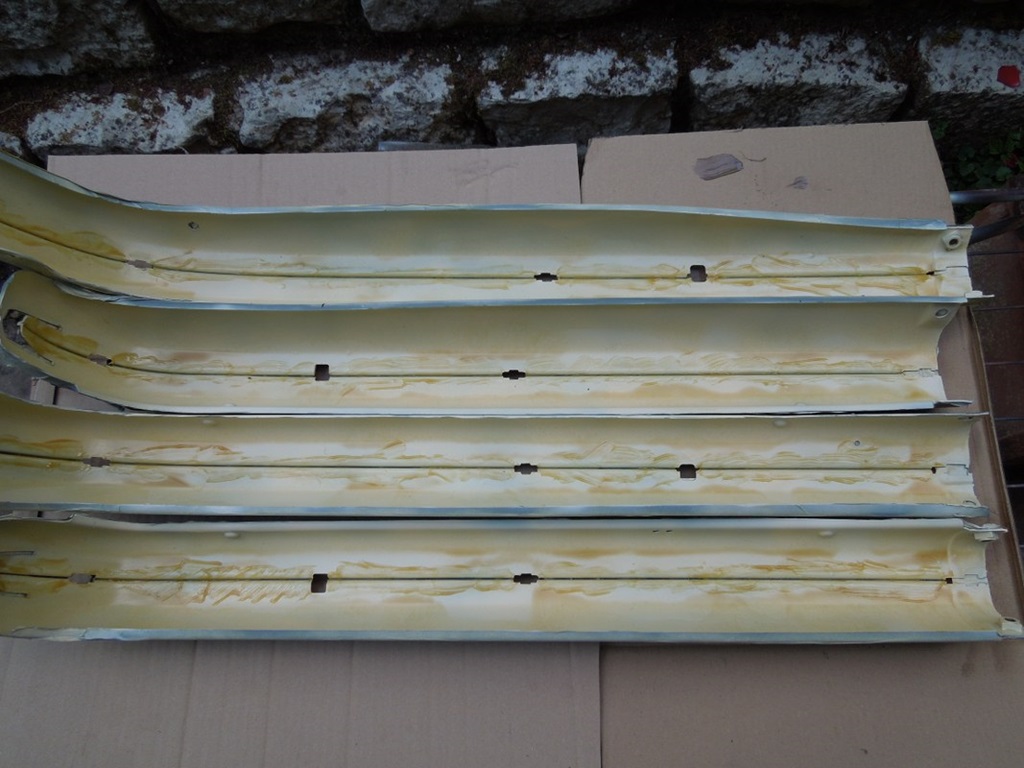
After glass-bead blasting the brackets I continued with the chrome parts. Hand-sanded inside, properly taped and I put some zinc spray on it. After that I painted it in "light ivory" (RAL 1015), as original. In the hidden Mercedes Expert Circles it is also called "sperm white", so you can spray it yourself ;-) (just to check, if anybody reads this).
I removed the rust on the lip where the rubber comes on as good as possible and then put Brantho-Korrux 3-1 on it ... shouldn't rust there anymore. Then I sprayed wax on it with an additional wax on the little openings of those lips.
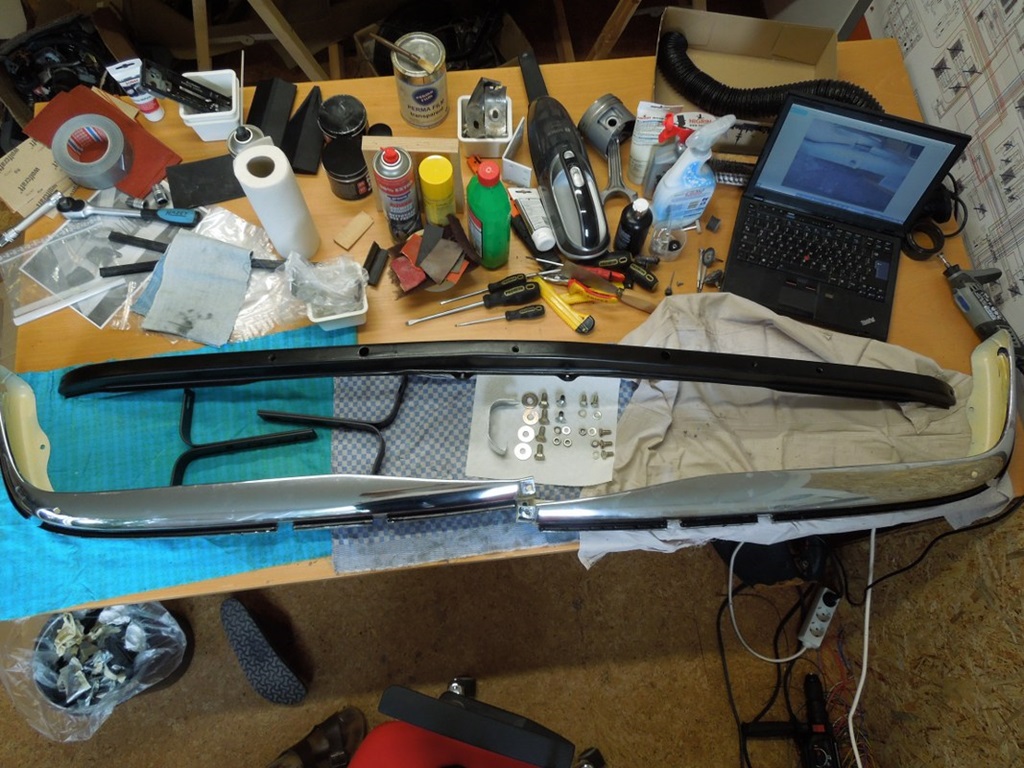
New screws and a new chrome bracket in the middle followed. Waxed the steel brackets too (inside and outside) and put wax (Permafilm by brush) on all screws or where metal is on metal. After putting all back together again new rubber was installed; the trick is to bend the rubber nearly 180° in the opposite direction, so it can easily be installed.


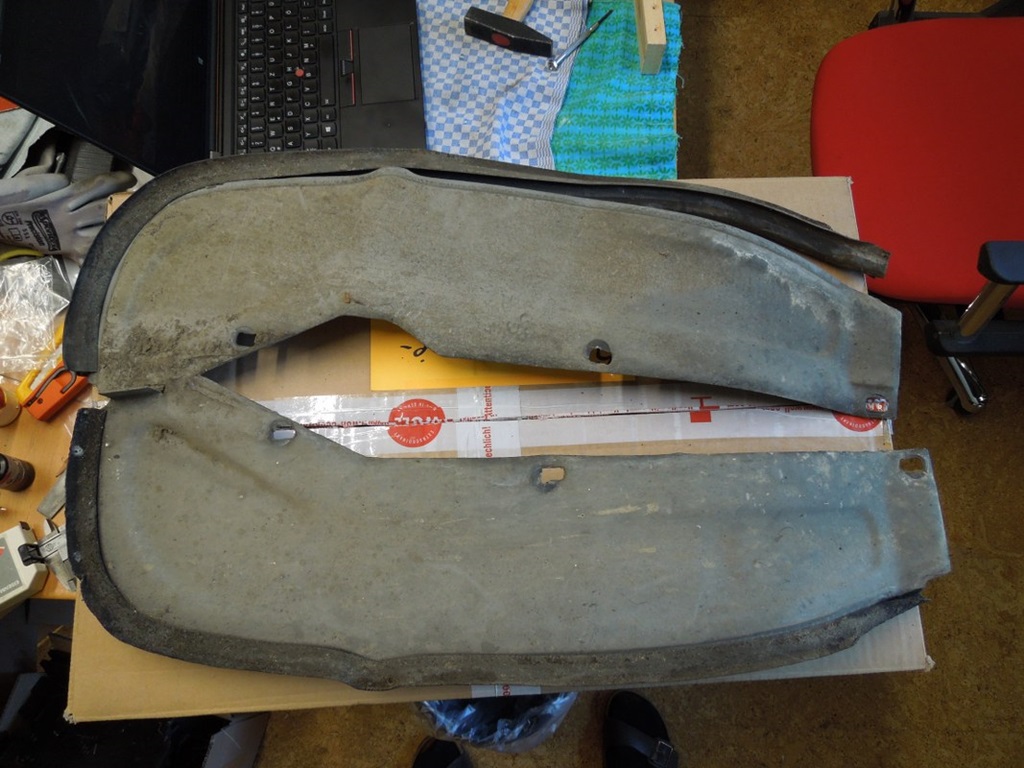
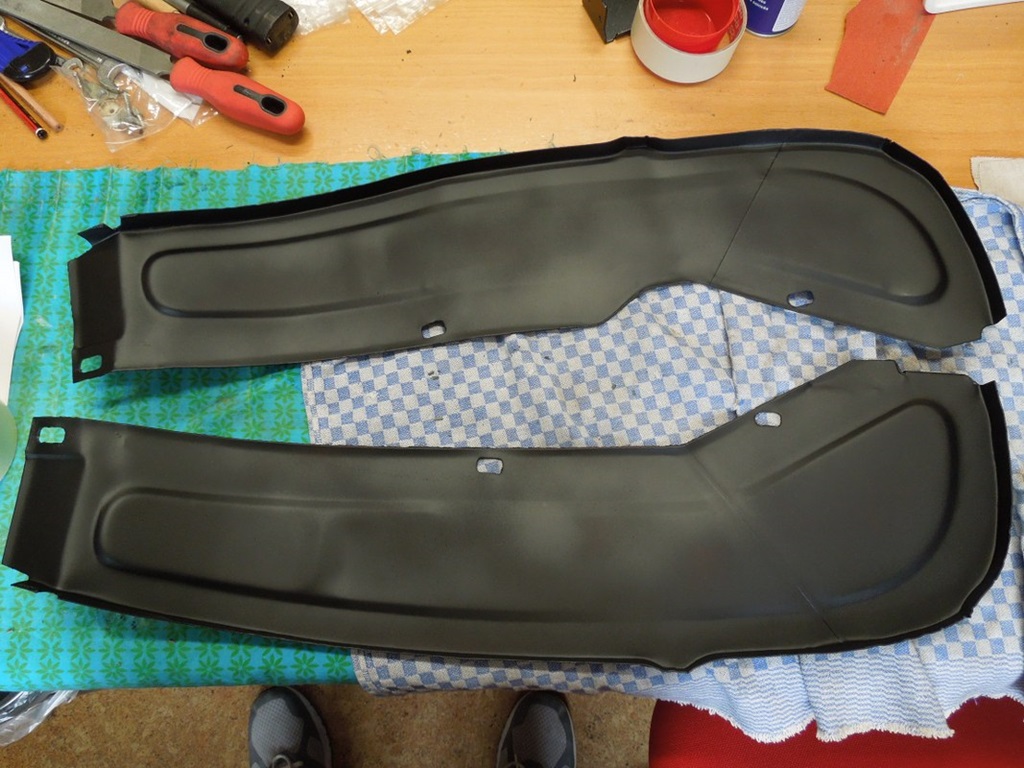
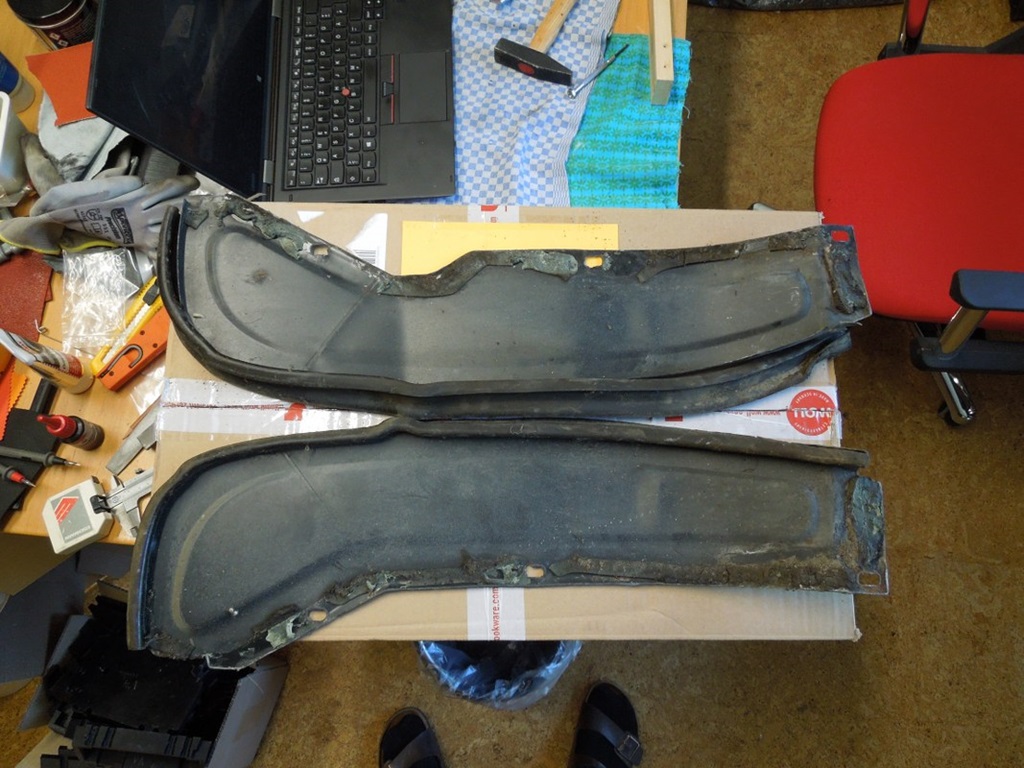
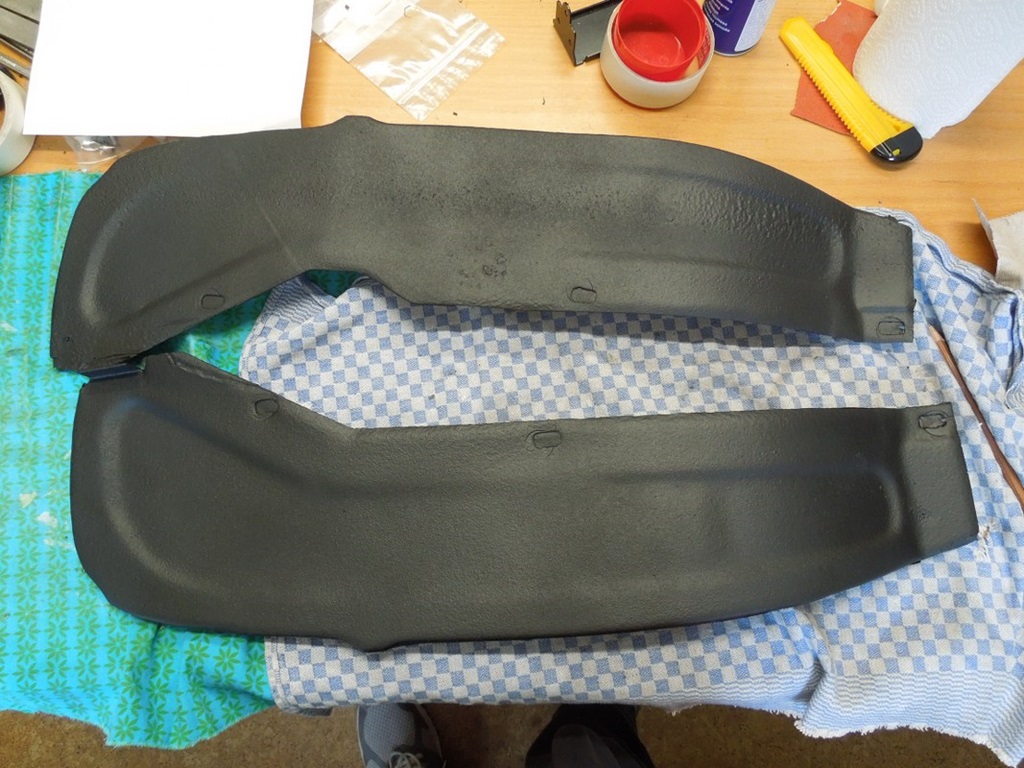
Wheel arch partition plate ...
10 September 2020
The two partition plates in the front wheel arches were still to be done. So glass-bead blasting, painting one side and spraying some underseal on the outside ... together with some nicely galvanised screws this is ready to be installed too.
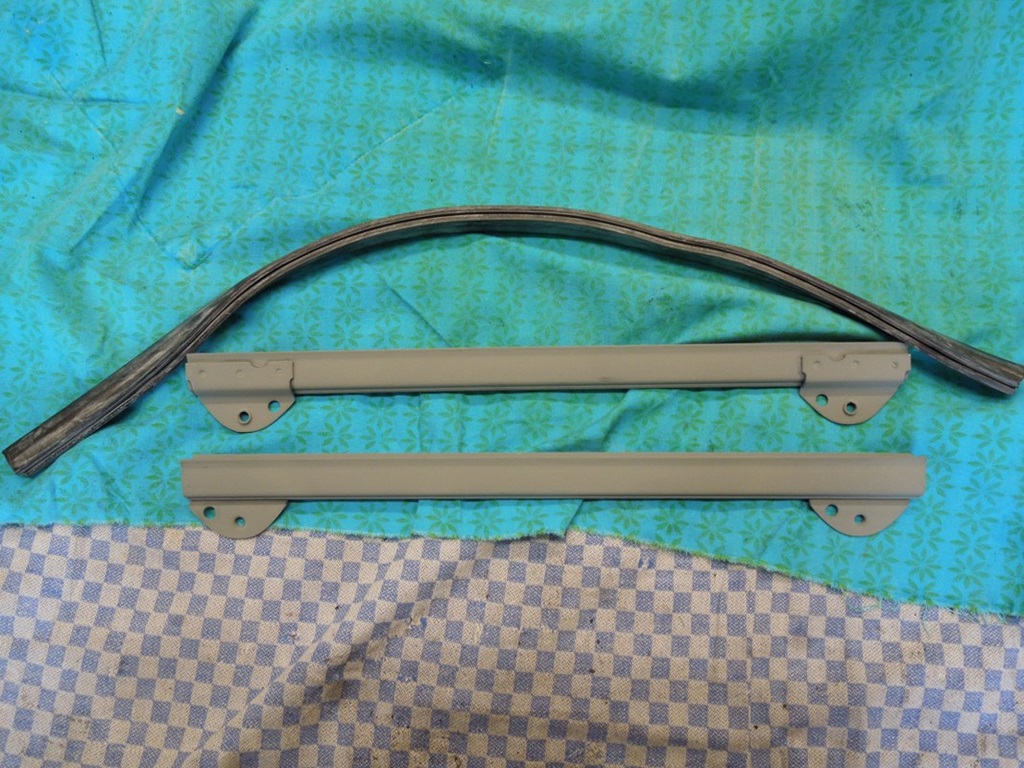
Rear trim bar solution ...
25 May 2021
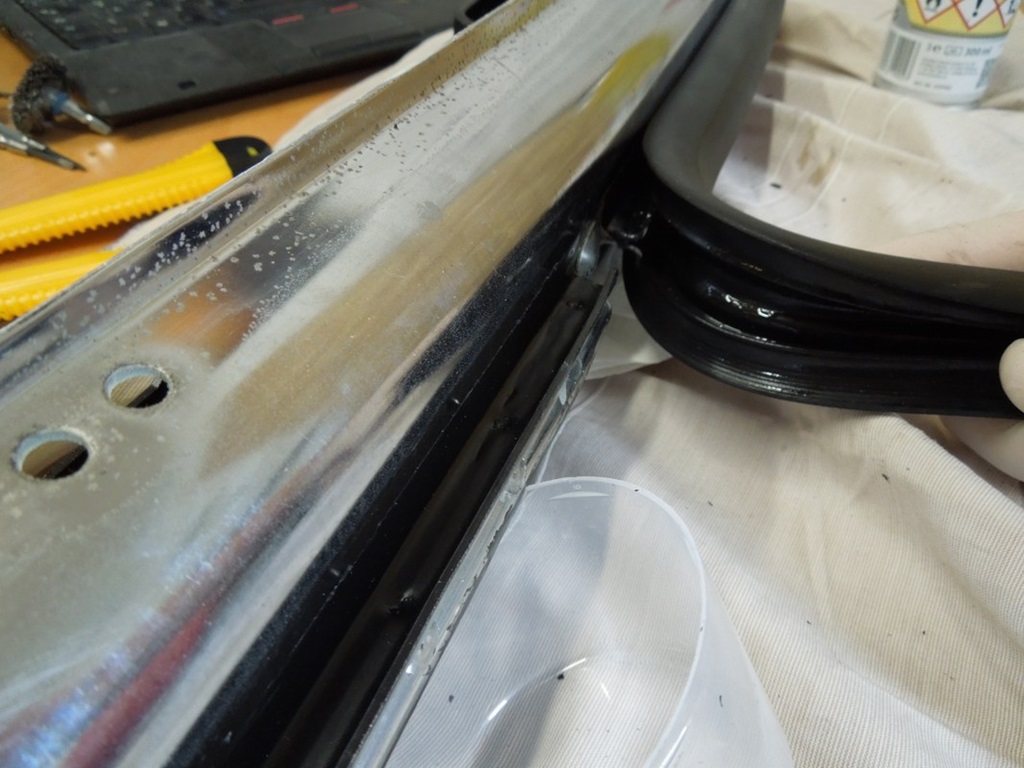
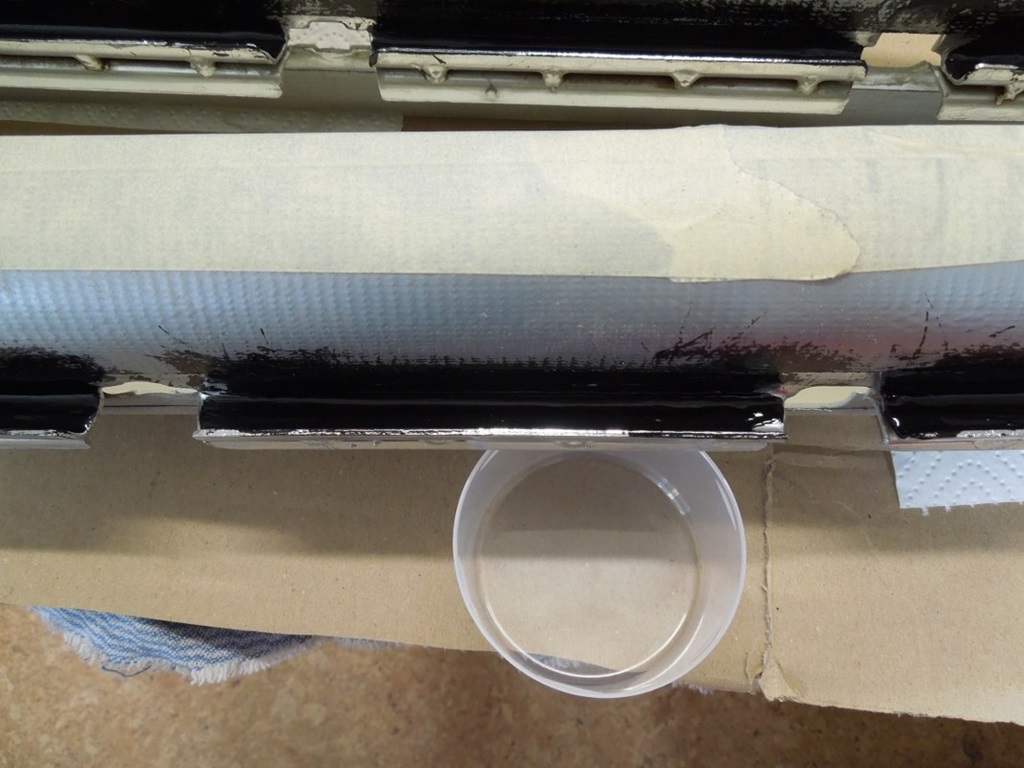
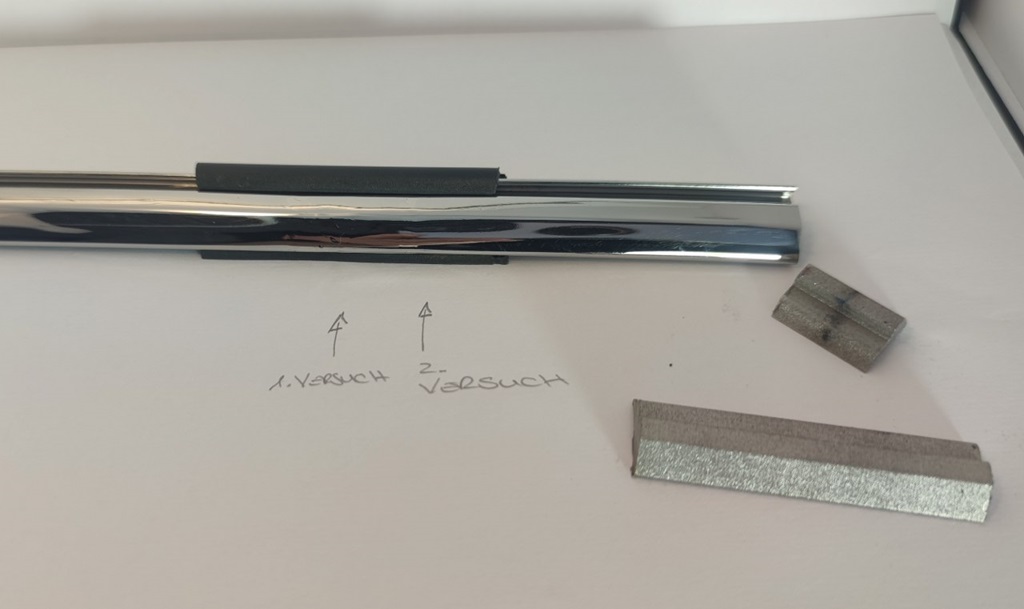
I finally have a solution for the rear trim bar on the long fenders! Of course they're no longer available and even the contact to someone who worked for the original company didn't find any NOS parts for me.
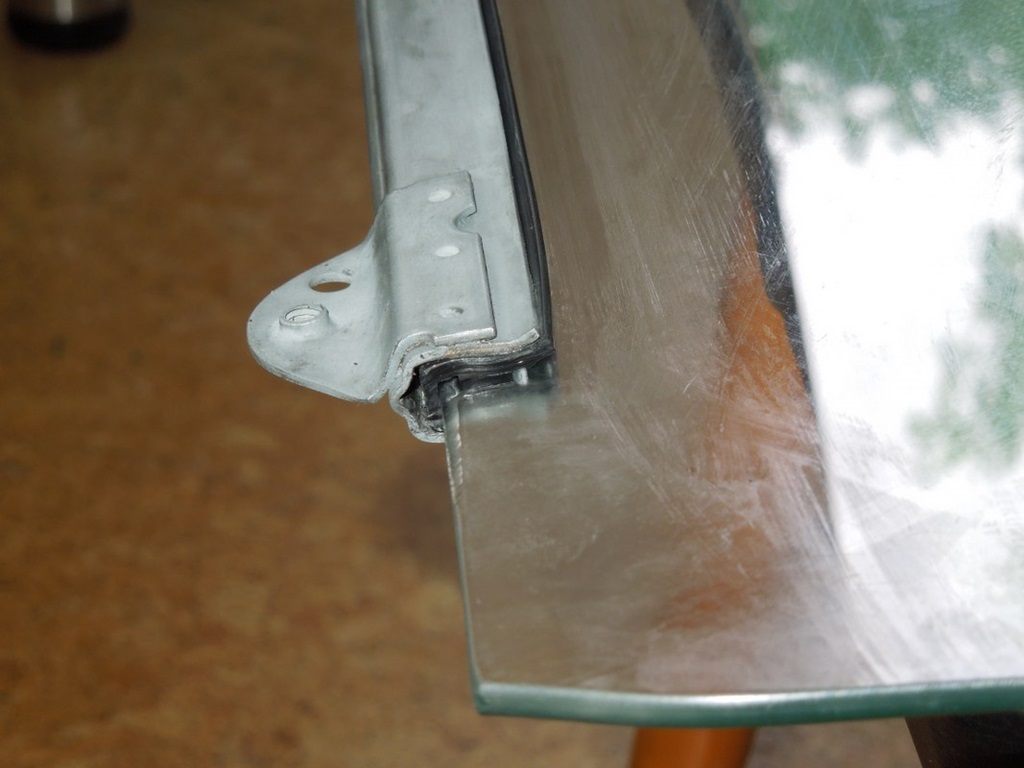
So I will combine the trim bars of the left rear door with the right front fender (and vice versa). They have to be shortened, but how to put them back together again?
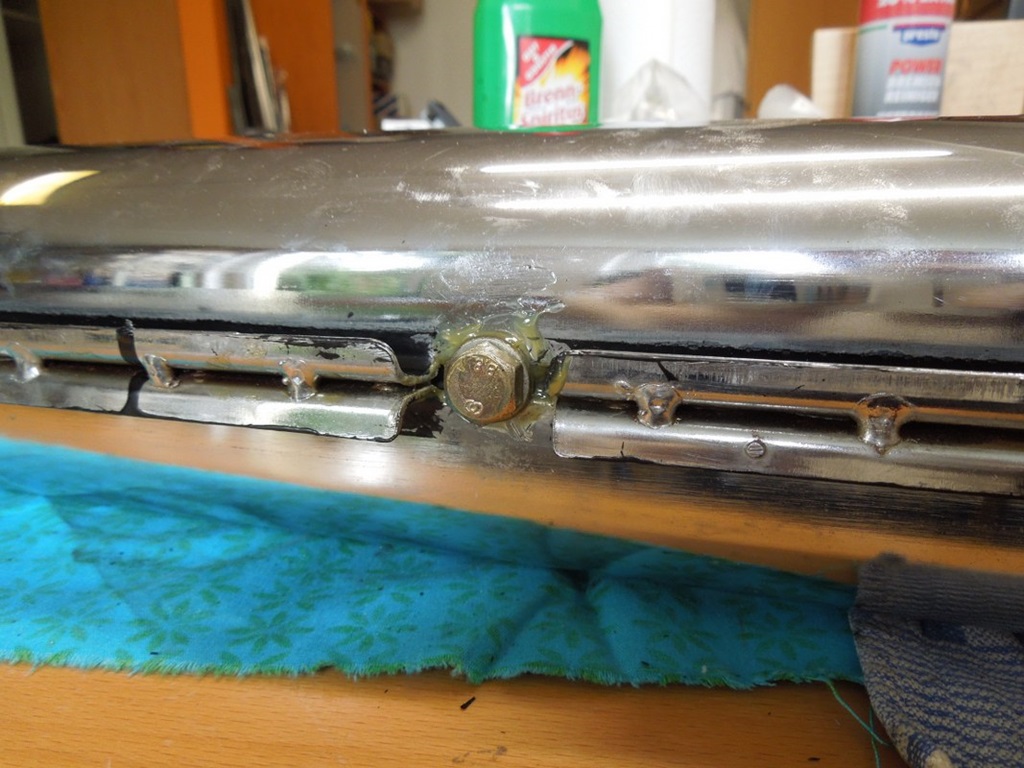
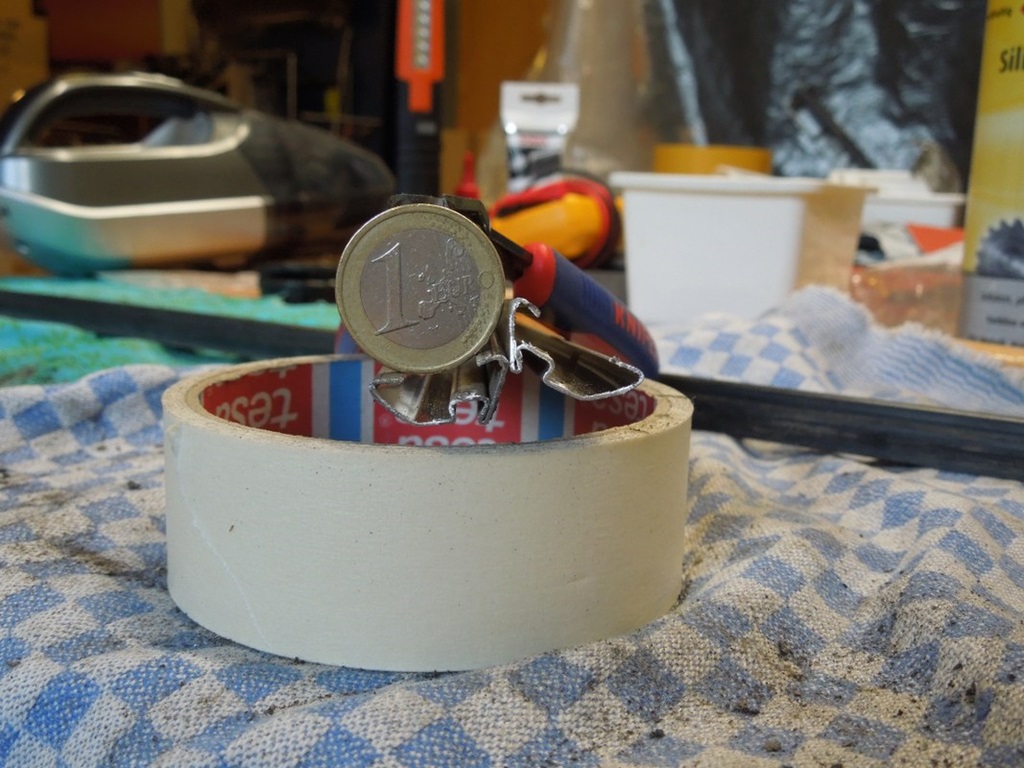
By accident I found a young lady in Bavaria, a goldsmith by profession, who has specialised in polishing and repairing trim bars (and polishing stainless steel). I sent her two cut pieces of the trim bar and she started.
To have some help with the welding, I gave her the 3D-date of a "filler piece" inside the trim bar, which she had produced in metal. With this piece inside, the welding worked and after the polishing it looks perfect!
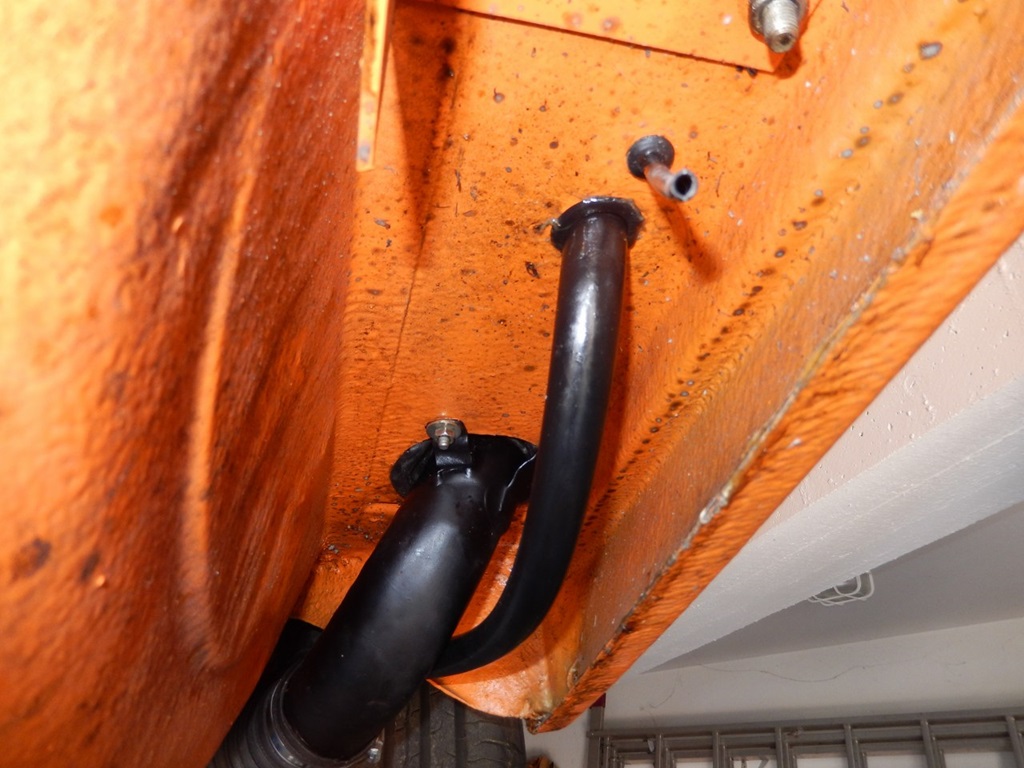
Tank ventilation rebuilt ...
11 May 2022
It turned out, that it was close to impossible to fill the tank. As the infill hole is on the side (not at the top), a much larger vent hose was needed. So John from Oz was so nice to measure it at a S123 tank with around 12-13mm. So I took the tank out again and had two larger pieces welded to the tank and the infill hose (14mm). It is installed now ... hopefully it works!
Update 21.05.22: Filled up the tank, it works. However not all the way to max. I had roughly 8-10 litres of fuel left, the tank is supposed to have 82 litres. After 60 litres it stopped and I could - slowly - fill in a total of 65.5 litres ... at least better than the "20 litres" before ;-)